
Northern Japanese Alps Guide: Complete Itinerary, Logistics & Mountain Huts for Beginners
We have summited the iconic Mount Fuji and done a road trip through the countryside of Hokkaido, but the Northern Japanese Alps (Kita-Alps) remains one of our favourite places in Japan. If you are planning a trip to Tokyo or Osaka but want to spend a few days outdoors exploring the rural side of Japan, this is the region to visit.
The best part? You don't need to rent a car. The entire journey is connected by Japan Rail (JR) and local buses. Because of Japan's legendary punctuality and predictable transit schedules, getting there is incredibly stress-free. It does require a little bit of upfront planning, but if you do the research, we guarantee this will be one of your favourite hiking experiences ever. It is not just the mountains, but the combination of the food, the culture, and the onsen recovery waiting for you at the end of your trek.

Getting to the Northern Japanese Alps
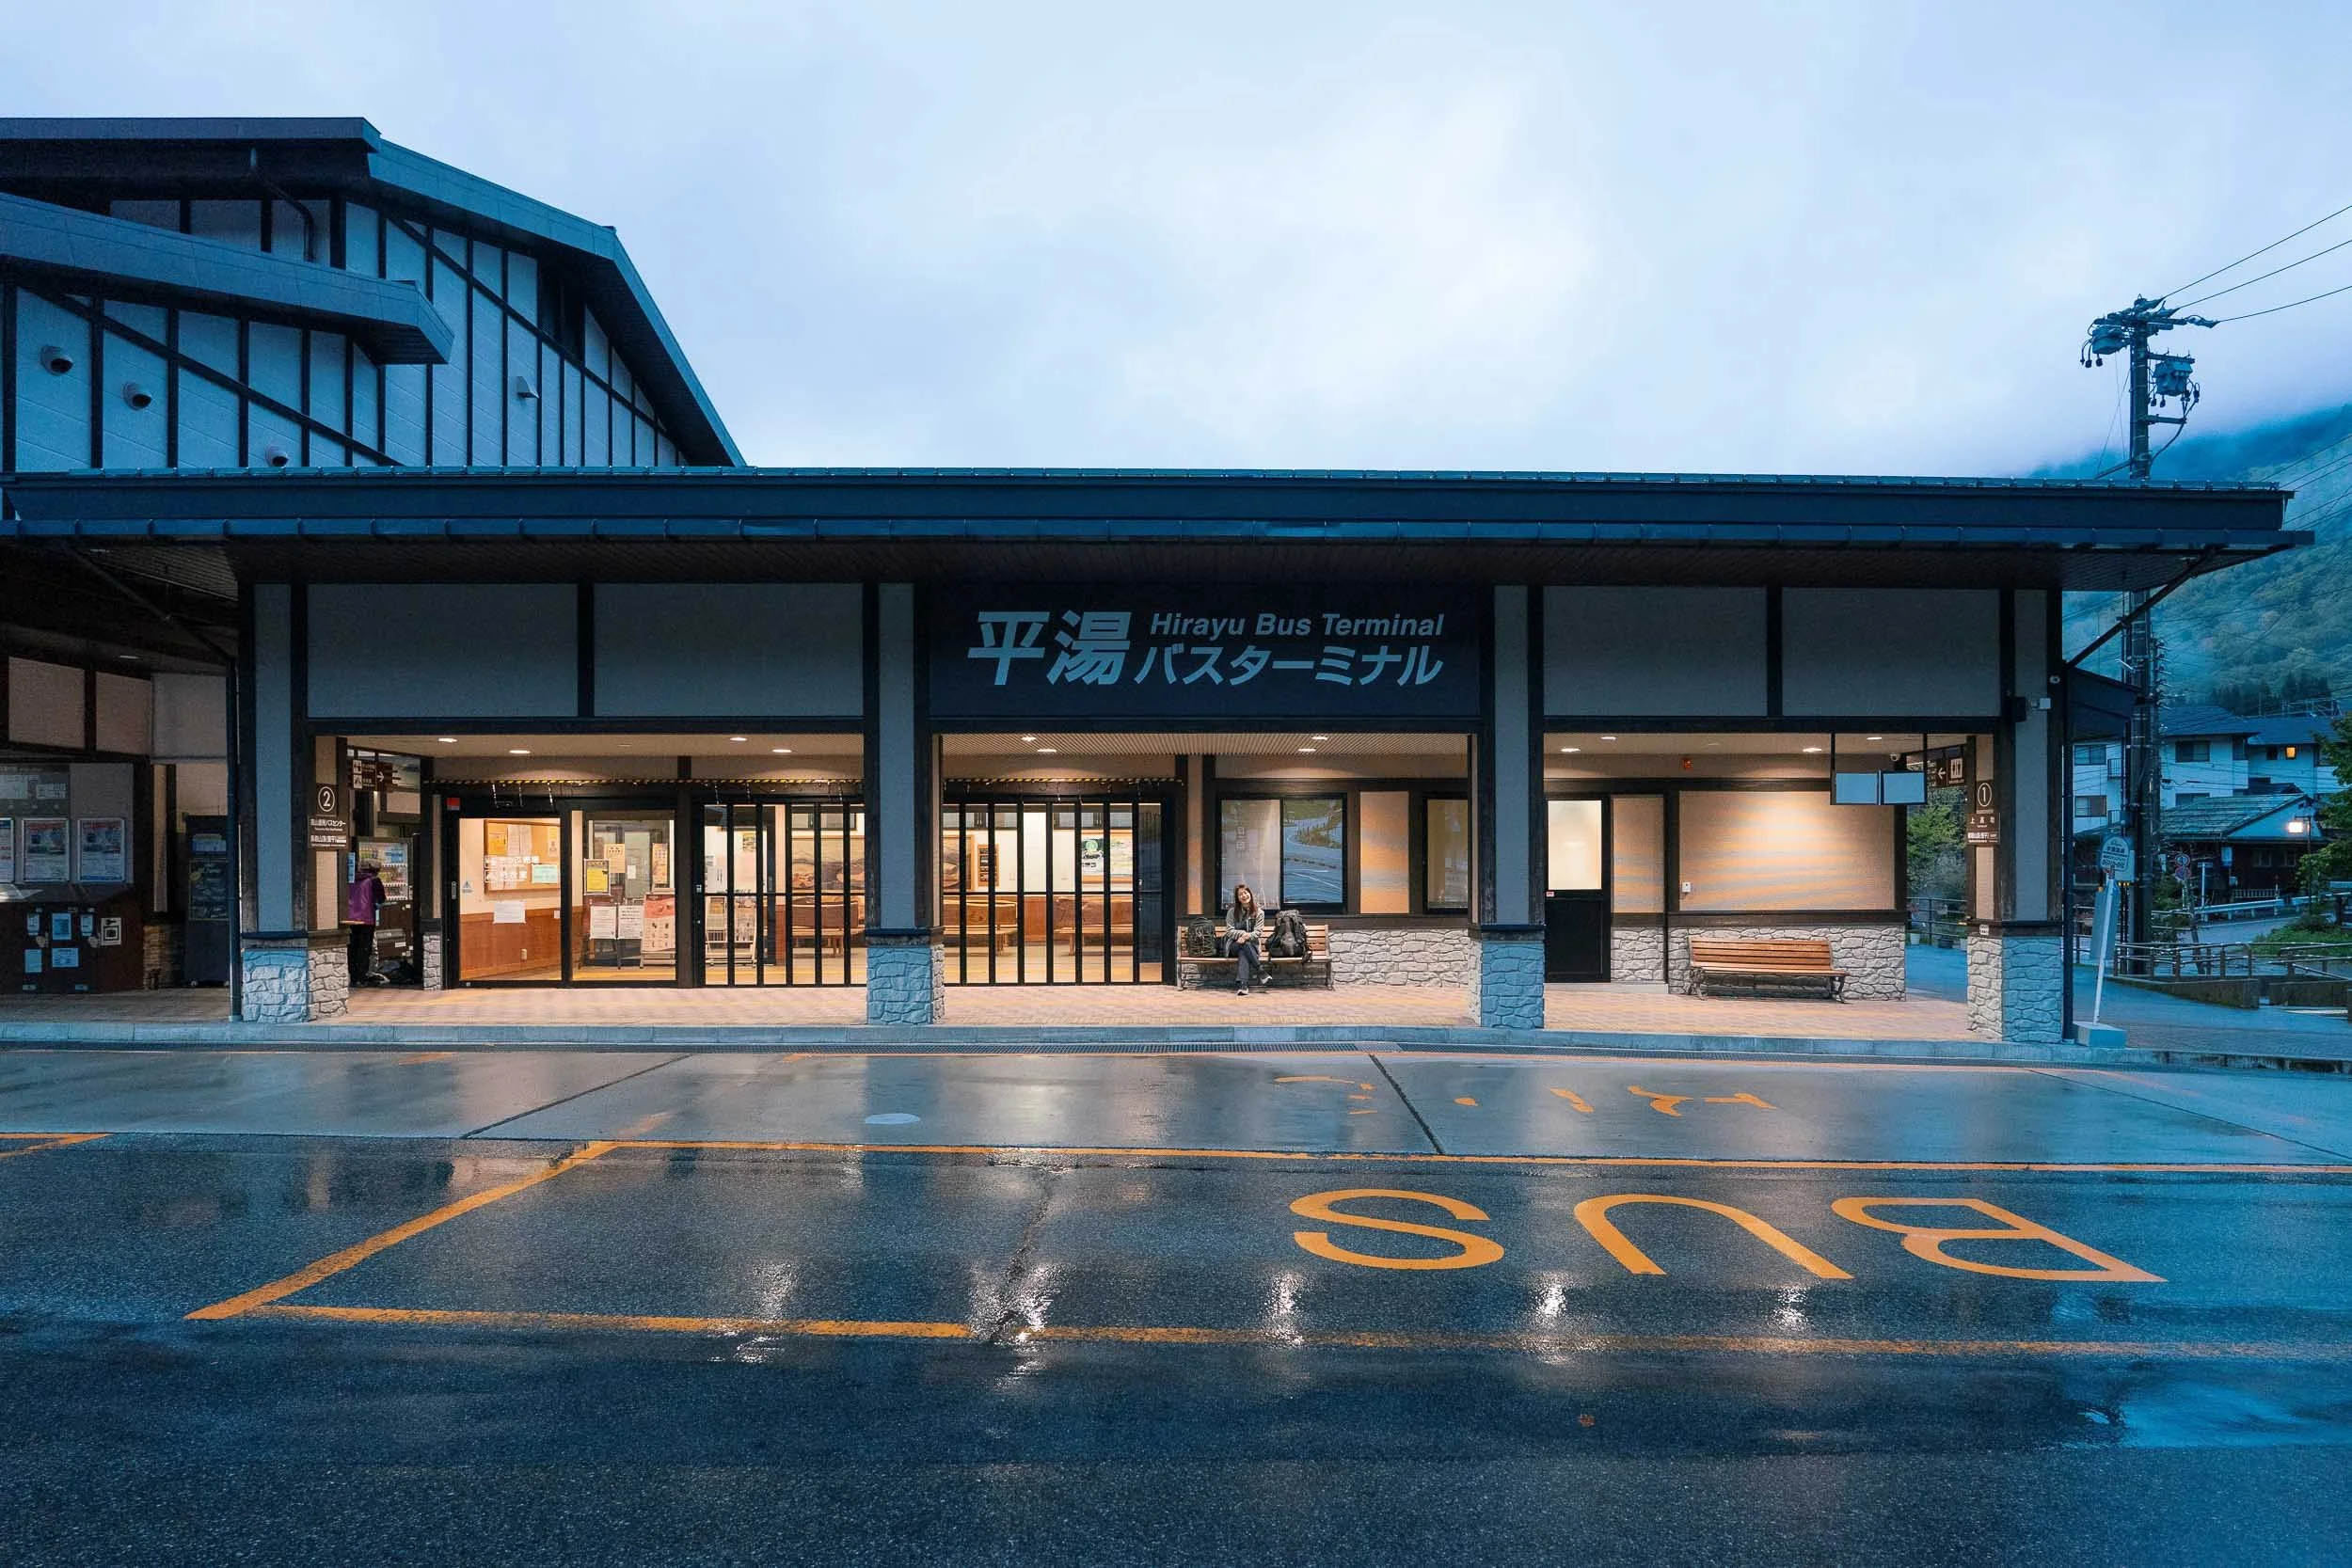
Kamikochi is the gateway to the Northern Alps. It is a strictly protected, car-free zone, meaning you can only rely on public transit to get to the valley.
How to Get from Tokyo to Kamikochi
You have two ways to get to the trailhead from Tokyo via public transport:
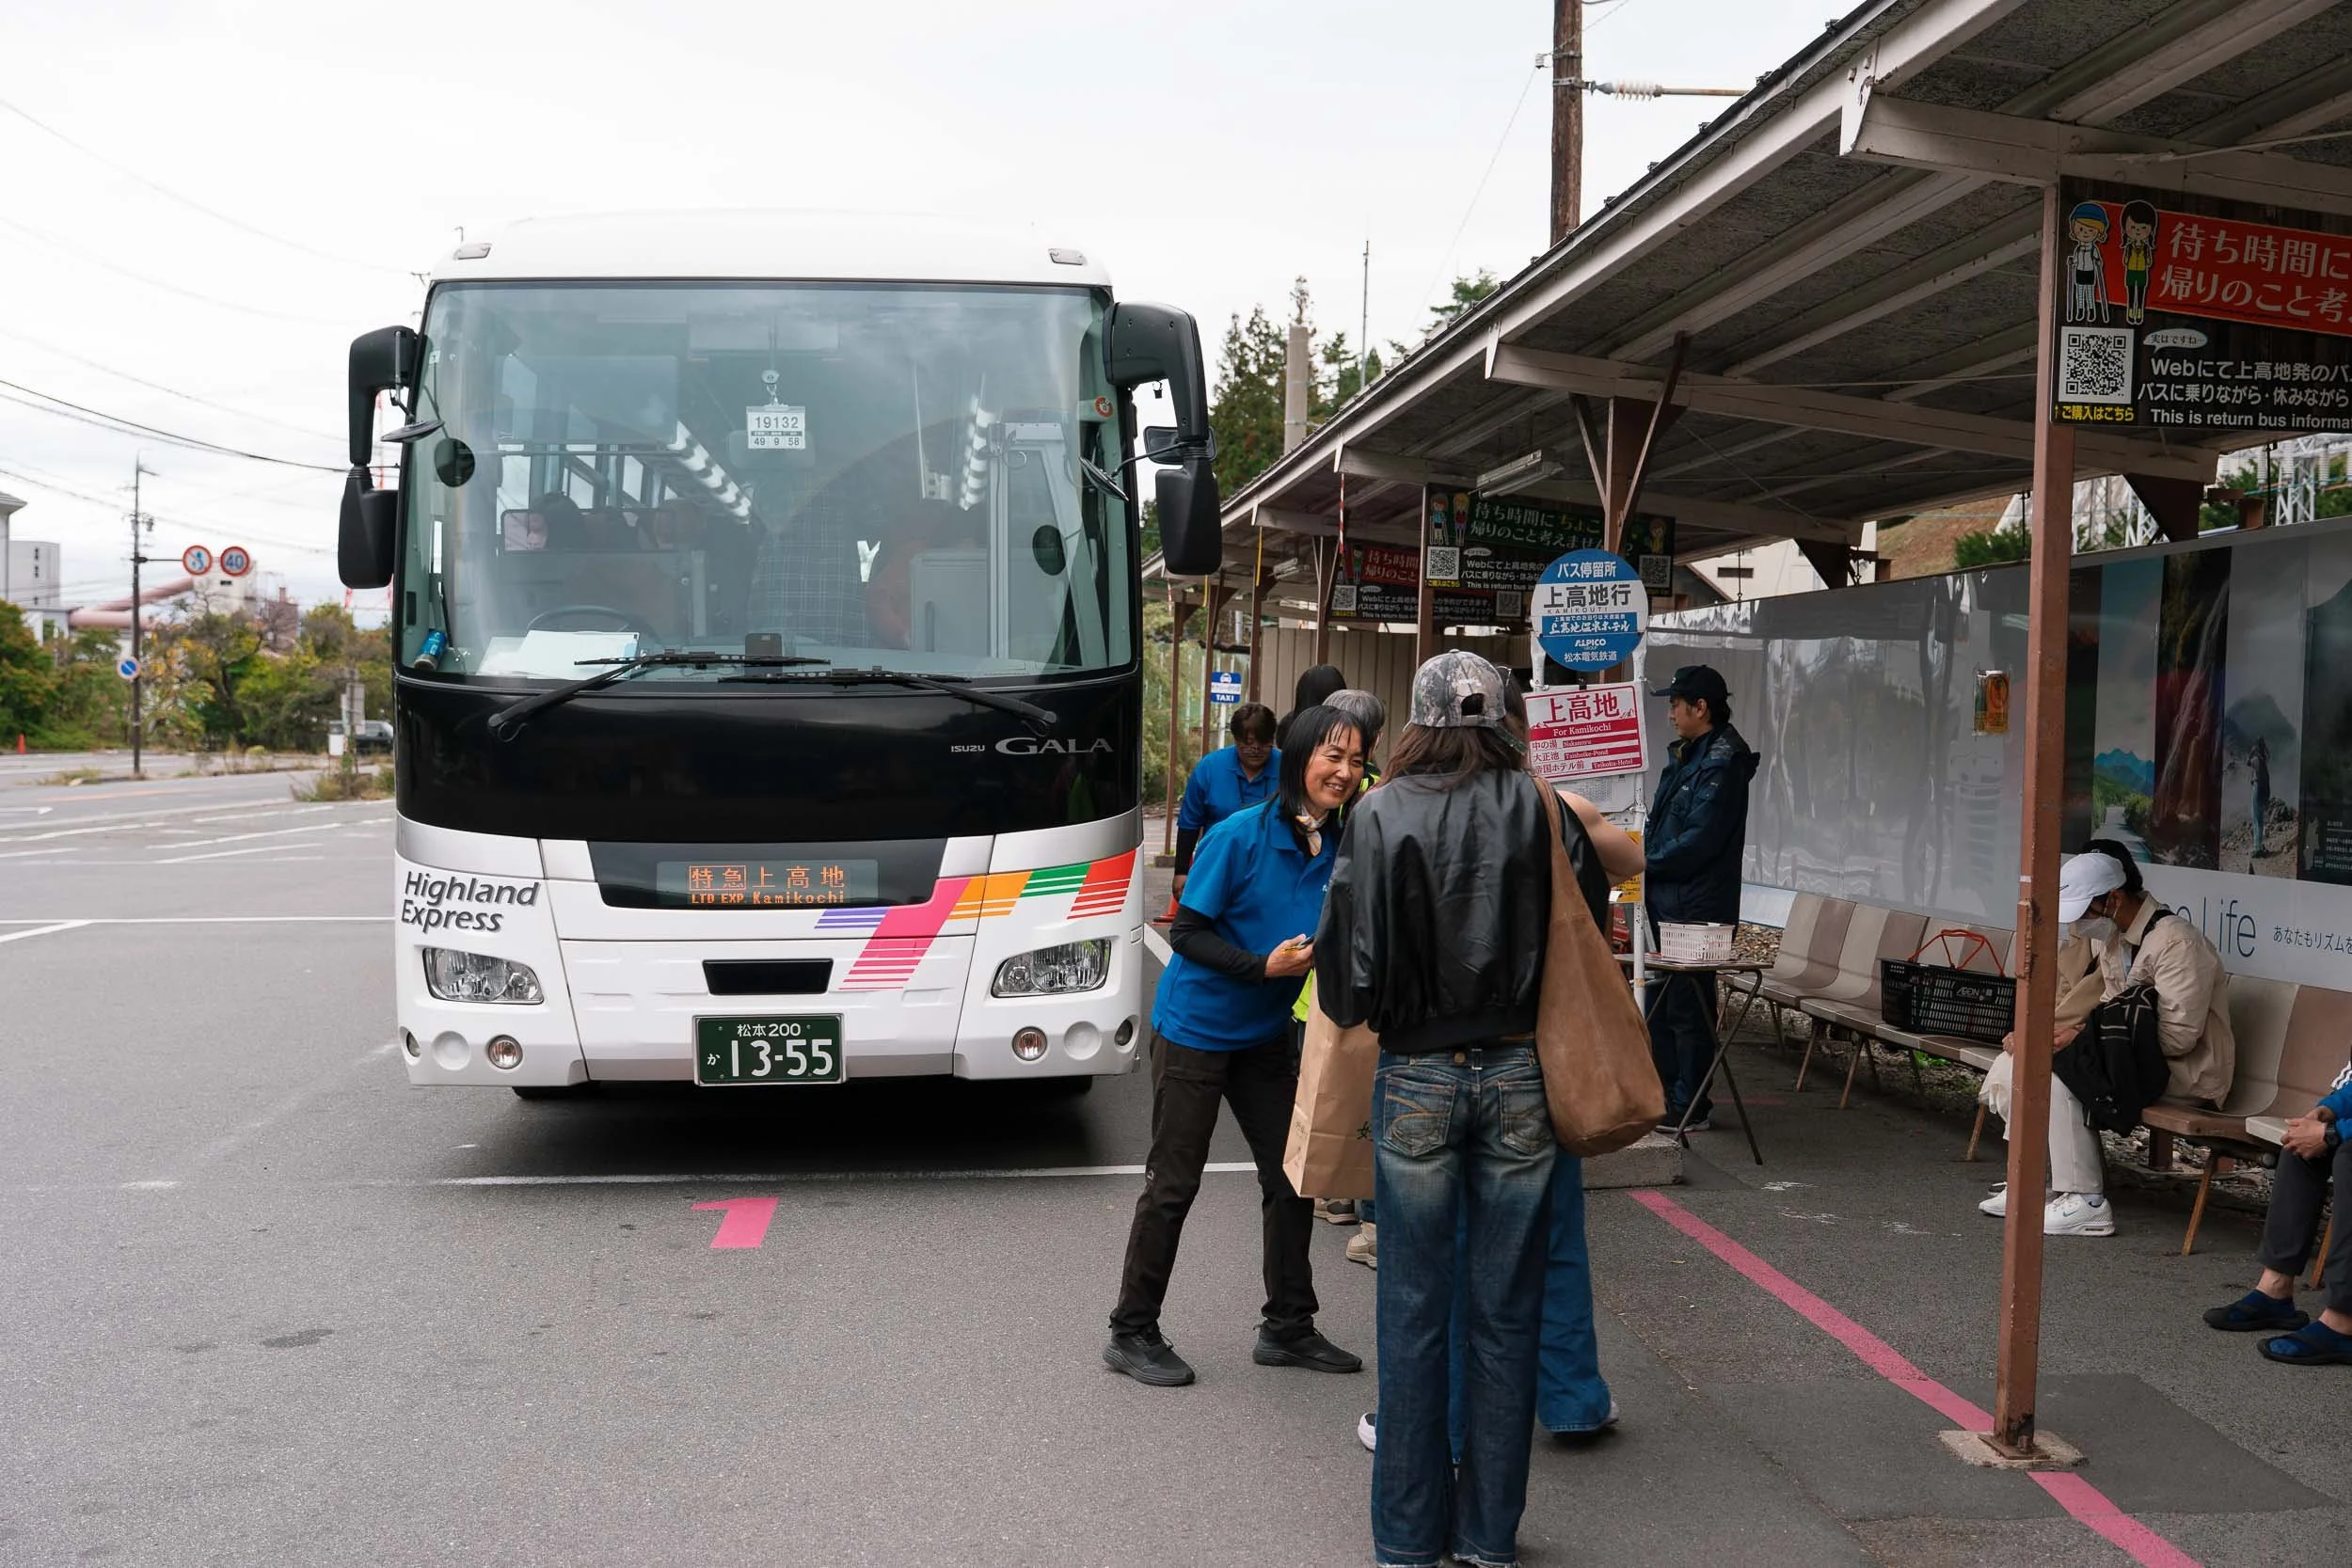
Direct Shuttle Bus: Grab the Alpico Sawayaka Shinshu highway bus directly from the Shinjuku Expressway Bus Terminal straight to Kamikochi. It takes about 5 to 6 hours, requires zero transfers, and drops you right at the visitor centre. There is an overnight bus if you want to maximise your time in Japan and save the cost of a night's accommodation. The full timetable schedule and booking link can be found below.
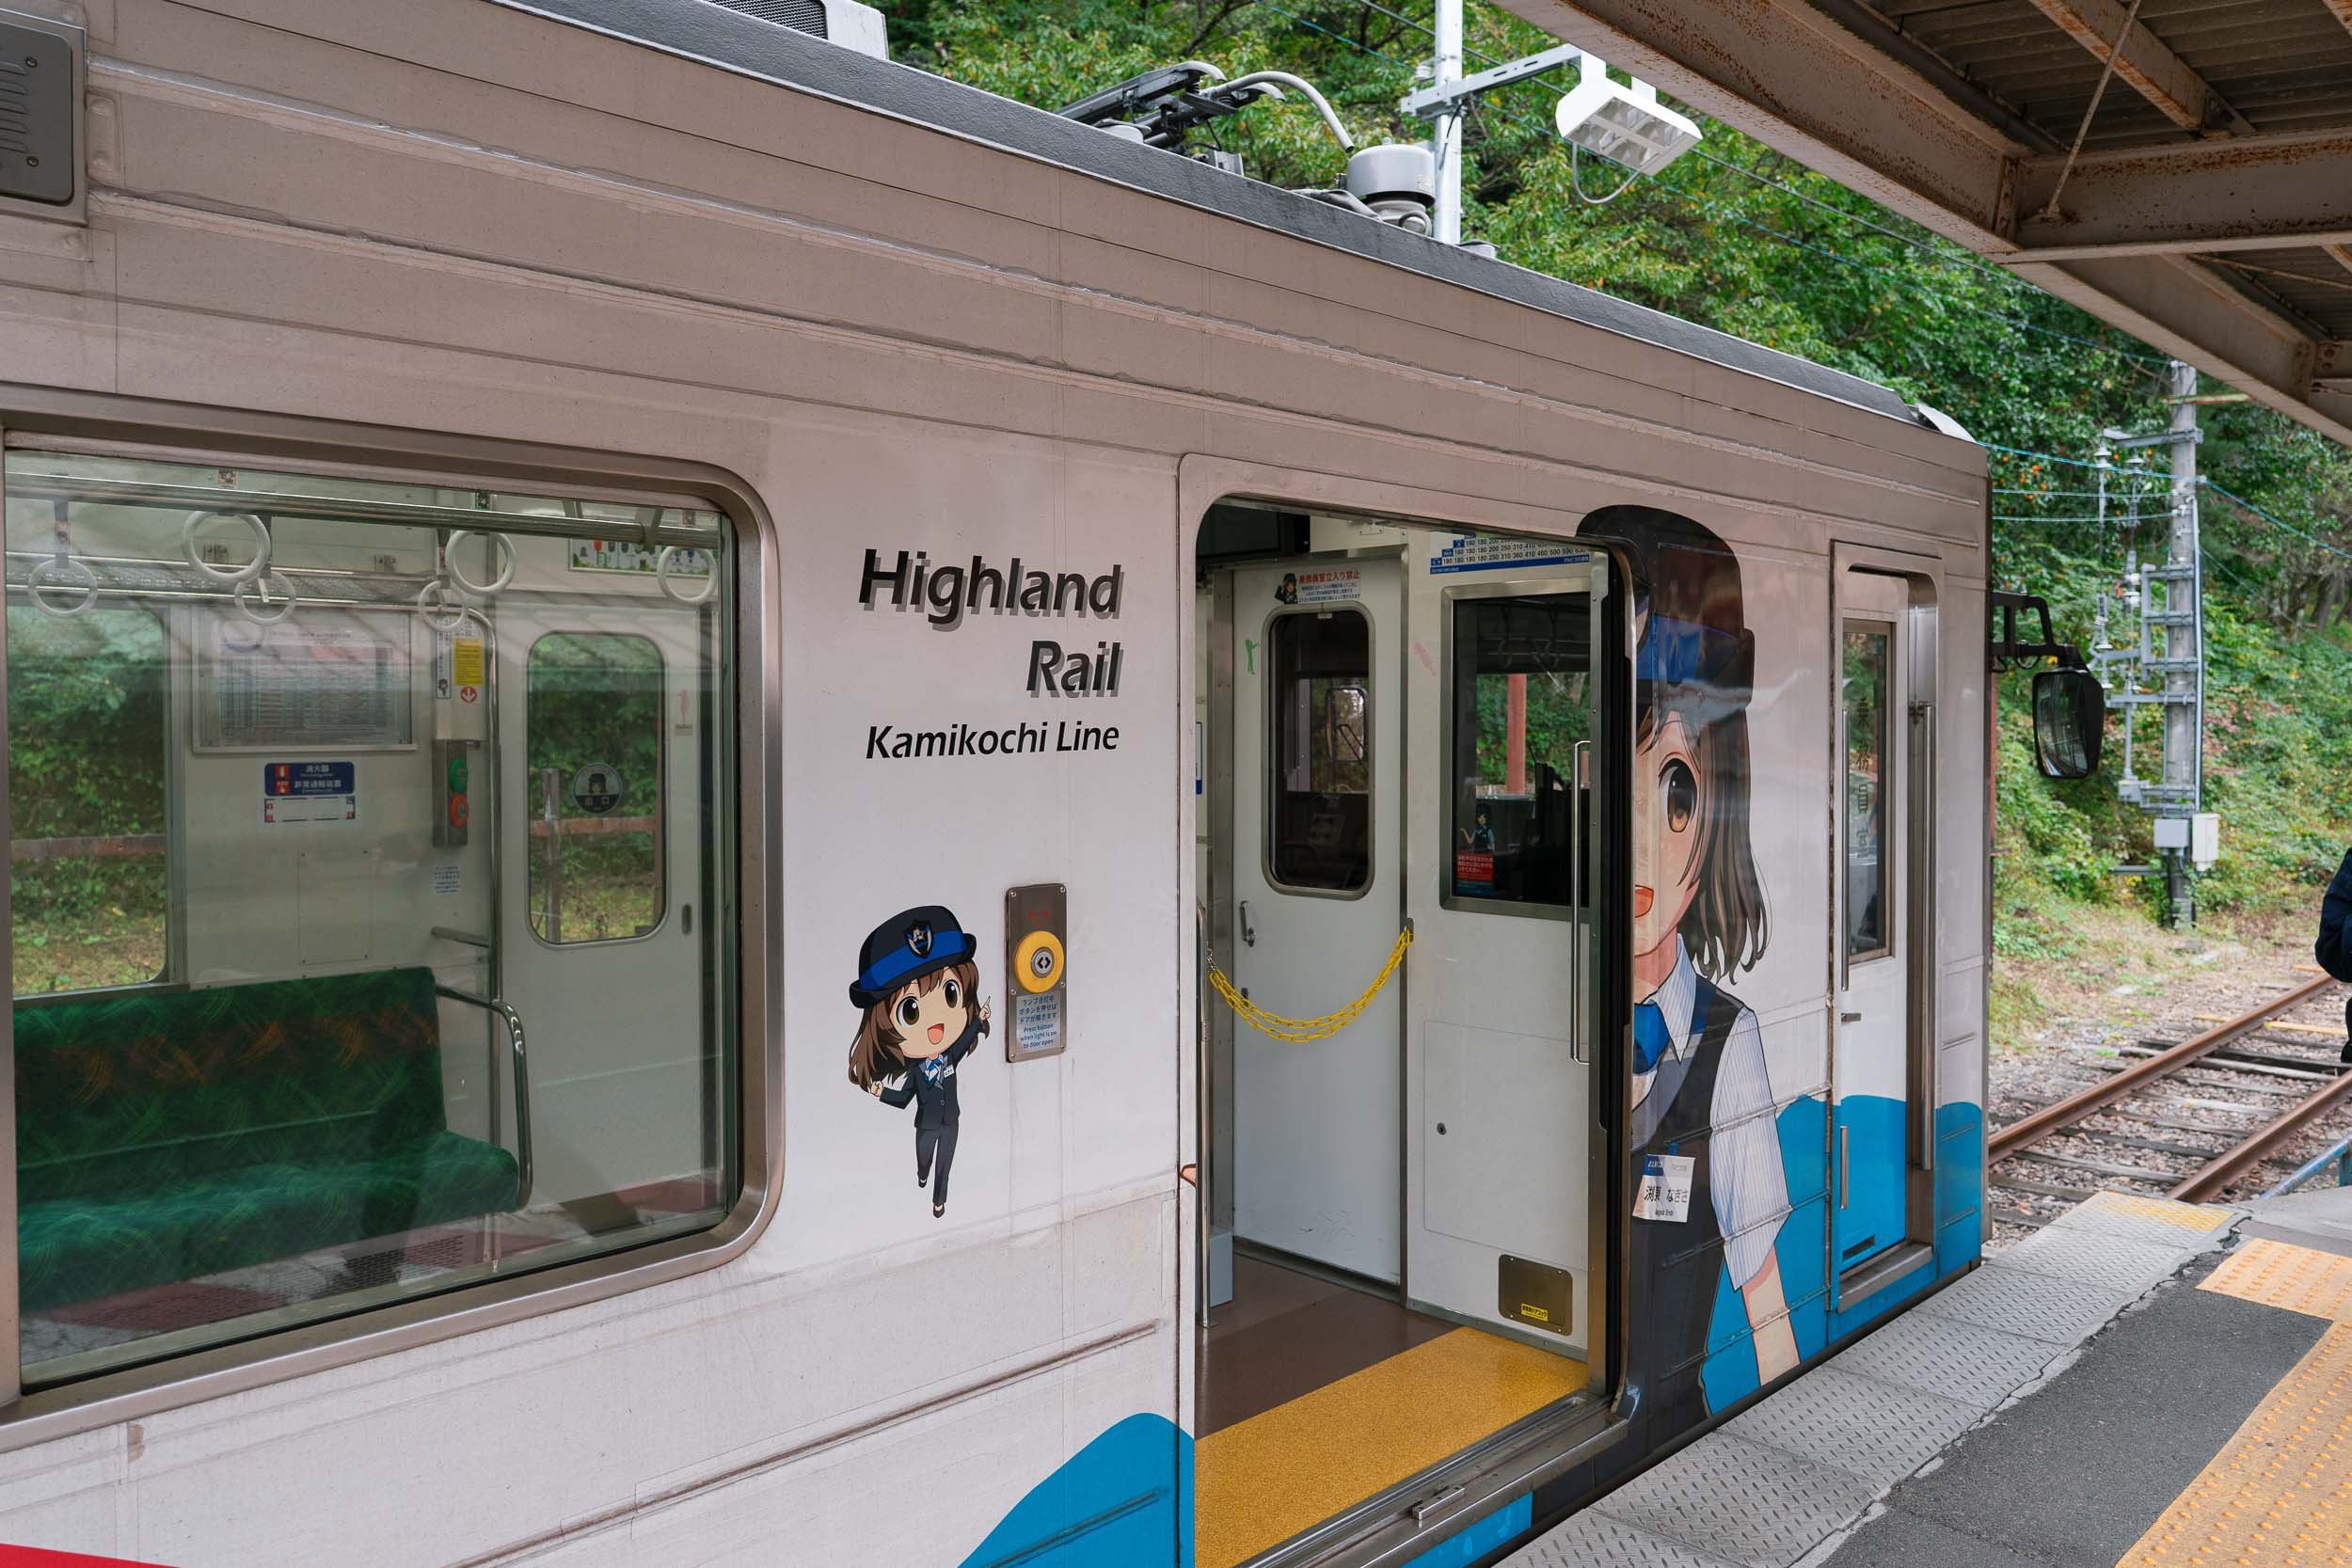
The Train + Bus Route: Take the JR Express Azusa from Shinjuku to Matsumoto Station. From there, transfer to the local Alpico Kamikochi Line train to Shin-Shimashima Station, then hop on the connecting bus that takes you to the Kamikochi visitor centre (bus station).
From Osaka to Kamikochi
Direct Shuttle Bus: You can take the overnight Alpico Sawayaka Shinshu bus from Osaka or Kyoto directly into Kamikochi, allowing you to sleep through the journey and arrive at the trailhead at dawn.
The Train + Bus Route: Take the Shinkansen (Bullet Train) from Shin-Osaka to Nagoya Station, then transfer to the JR Shinano Wide View Express straight to Matsumoto Station to connect with the local Kamikochi Line.
Tips for Hiking in Japan for the First Time
When to Go?
Aim to go in autumn during peak foliage (late September to mid-October). Be sure to check local autumn leaf reports (Koyo) online before locking in your dates! Note that it is extremely dangerous to hike outside of the season since there will be snow. When we went in October, the path was completely snow-free; however, conditions will vary depending on the exact time you go, so please be prepared.
Communication
When you touch down at the airport, getting your train tickets sorted can be a bit of a puzzle. On our first day, we actually had some trouble purchasing our JR tickets from the airport to Matsumoto while trying to figure out the automated ticket machines. If you find yourself stuck, most train station staff speak English and they were incredibly helpful in getting us sorted. On top of that, having Google Translate (make sure to pre-download Japanese for offline communication) on our phones completely made our lives easier for reading signs and translating menus throughout the trip.
Money
Before you leave Tokyo, you need to sort out your cash. Crucial Tip for Hiking in Japan: Prepare plenty of physical cash! Japan is still not yet a fully cashless society, and most mountain sanso (huts) only take cash, so remember to calculate your costs and bring enough Yen before you start ascending.
We used our Wise debit card for the entire trip. Wise gives you the best conversion rates with minimal fees when withdrawing cash from local ATMs or paying in Tokyo. It's incredibly convenient and avoids the stress of looking for the cheapest money changer in the airport.
Booking Your Stay at a Mountain Sanso (Hut)
Because this alpine region is hugely popular with local Japanese hikers, booking your mountain sanso (hut) in advance is highly recommended. Spots fill up quickly, and you do not want to be left stranded without a reservation. The booking process itself requires a bit of strategy:
Online Bookings: Some huts can be booked directly through their website, though the forms are entirely in Japanese. We used AI translation tools to help us read and successfully fill out the web forms.
Phone Bookings: Other huts require a direct phone call to reserve. This can be significantly more difficult to secure since most hut managers do not speak fluent English.
Book One Month in Advance: The specific huts we stayed in opened up their booking slots exactly one month in advance at 8:00 AM Japanese Standard Time. Make sure you set a reminder in your calendar so you can log on the moment they open to avoid disappointment!

How We Planned Our Trip
Planning a multi-day trek through the Northern Japanese Alps requires juggling quite a few moving parts. To piece together our exact route, we relied heavily on official alpine hiking maps to study the elevation gains, technical sections, and walking times between the peaks.
Here is a useful Northern Alps detailed trekking map
Once our route was locked in, the logistical puzzle began. We had to weave through multiple different Japanese websites to cross-reference timetables and book our highway shuttles, local valley buses, valley hotels, and individual mountain huts. It takes a bit of digital legwork since you aren't booking everything on a single platform, but as long as you watch the calendar openings, it all comes together smoothly!
Useful Links:
To save you the headache of hunting down the correct reservation portals, here are the official links we used to plan and book this entire trip:
Transport & Shuttles:
Alpico Group Official Website — Essential for checking Kamikochi bus routes, local timetables, and regional travel updates.
Highwaybuses.jp or Japan Bus Online — The official third-party booking systems to secure your direct Sawayaka Shinshu expressway bus seats from Tokyo or Osaka.
Mountain Huts (Sanso):
Yarigatake Sanso Group Website — The official portal to secure your booking for Yarigatake Sanso.
Karasawa Hutte Official Site — Use this link to access their online booking forms for your night in the magnificent cirque.
Hotel Bookings:
Trip.com — Our absolute go-to platform for booking our city hotel in Matsumoto and traditional onsen ryokans in Hirayu.
Where to Stay and Base Yourself Before and After the Trek
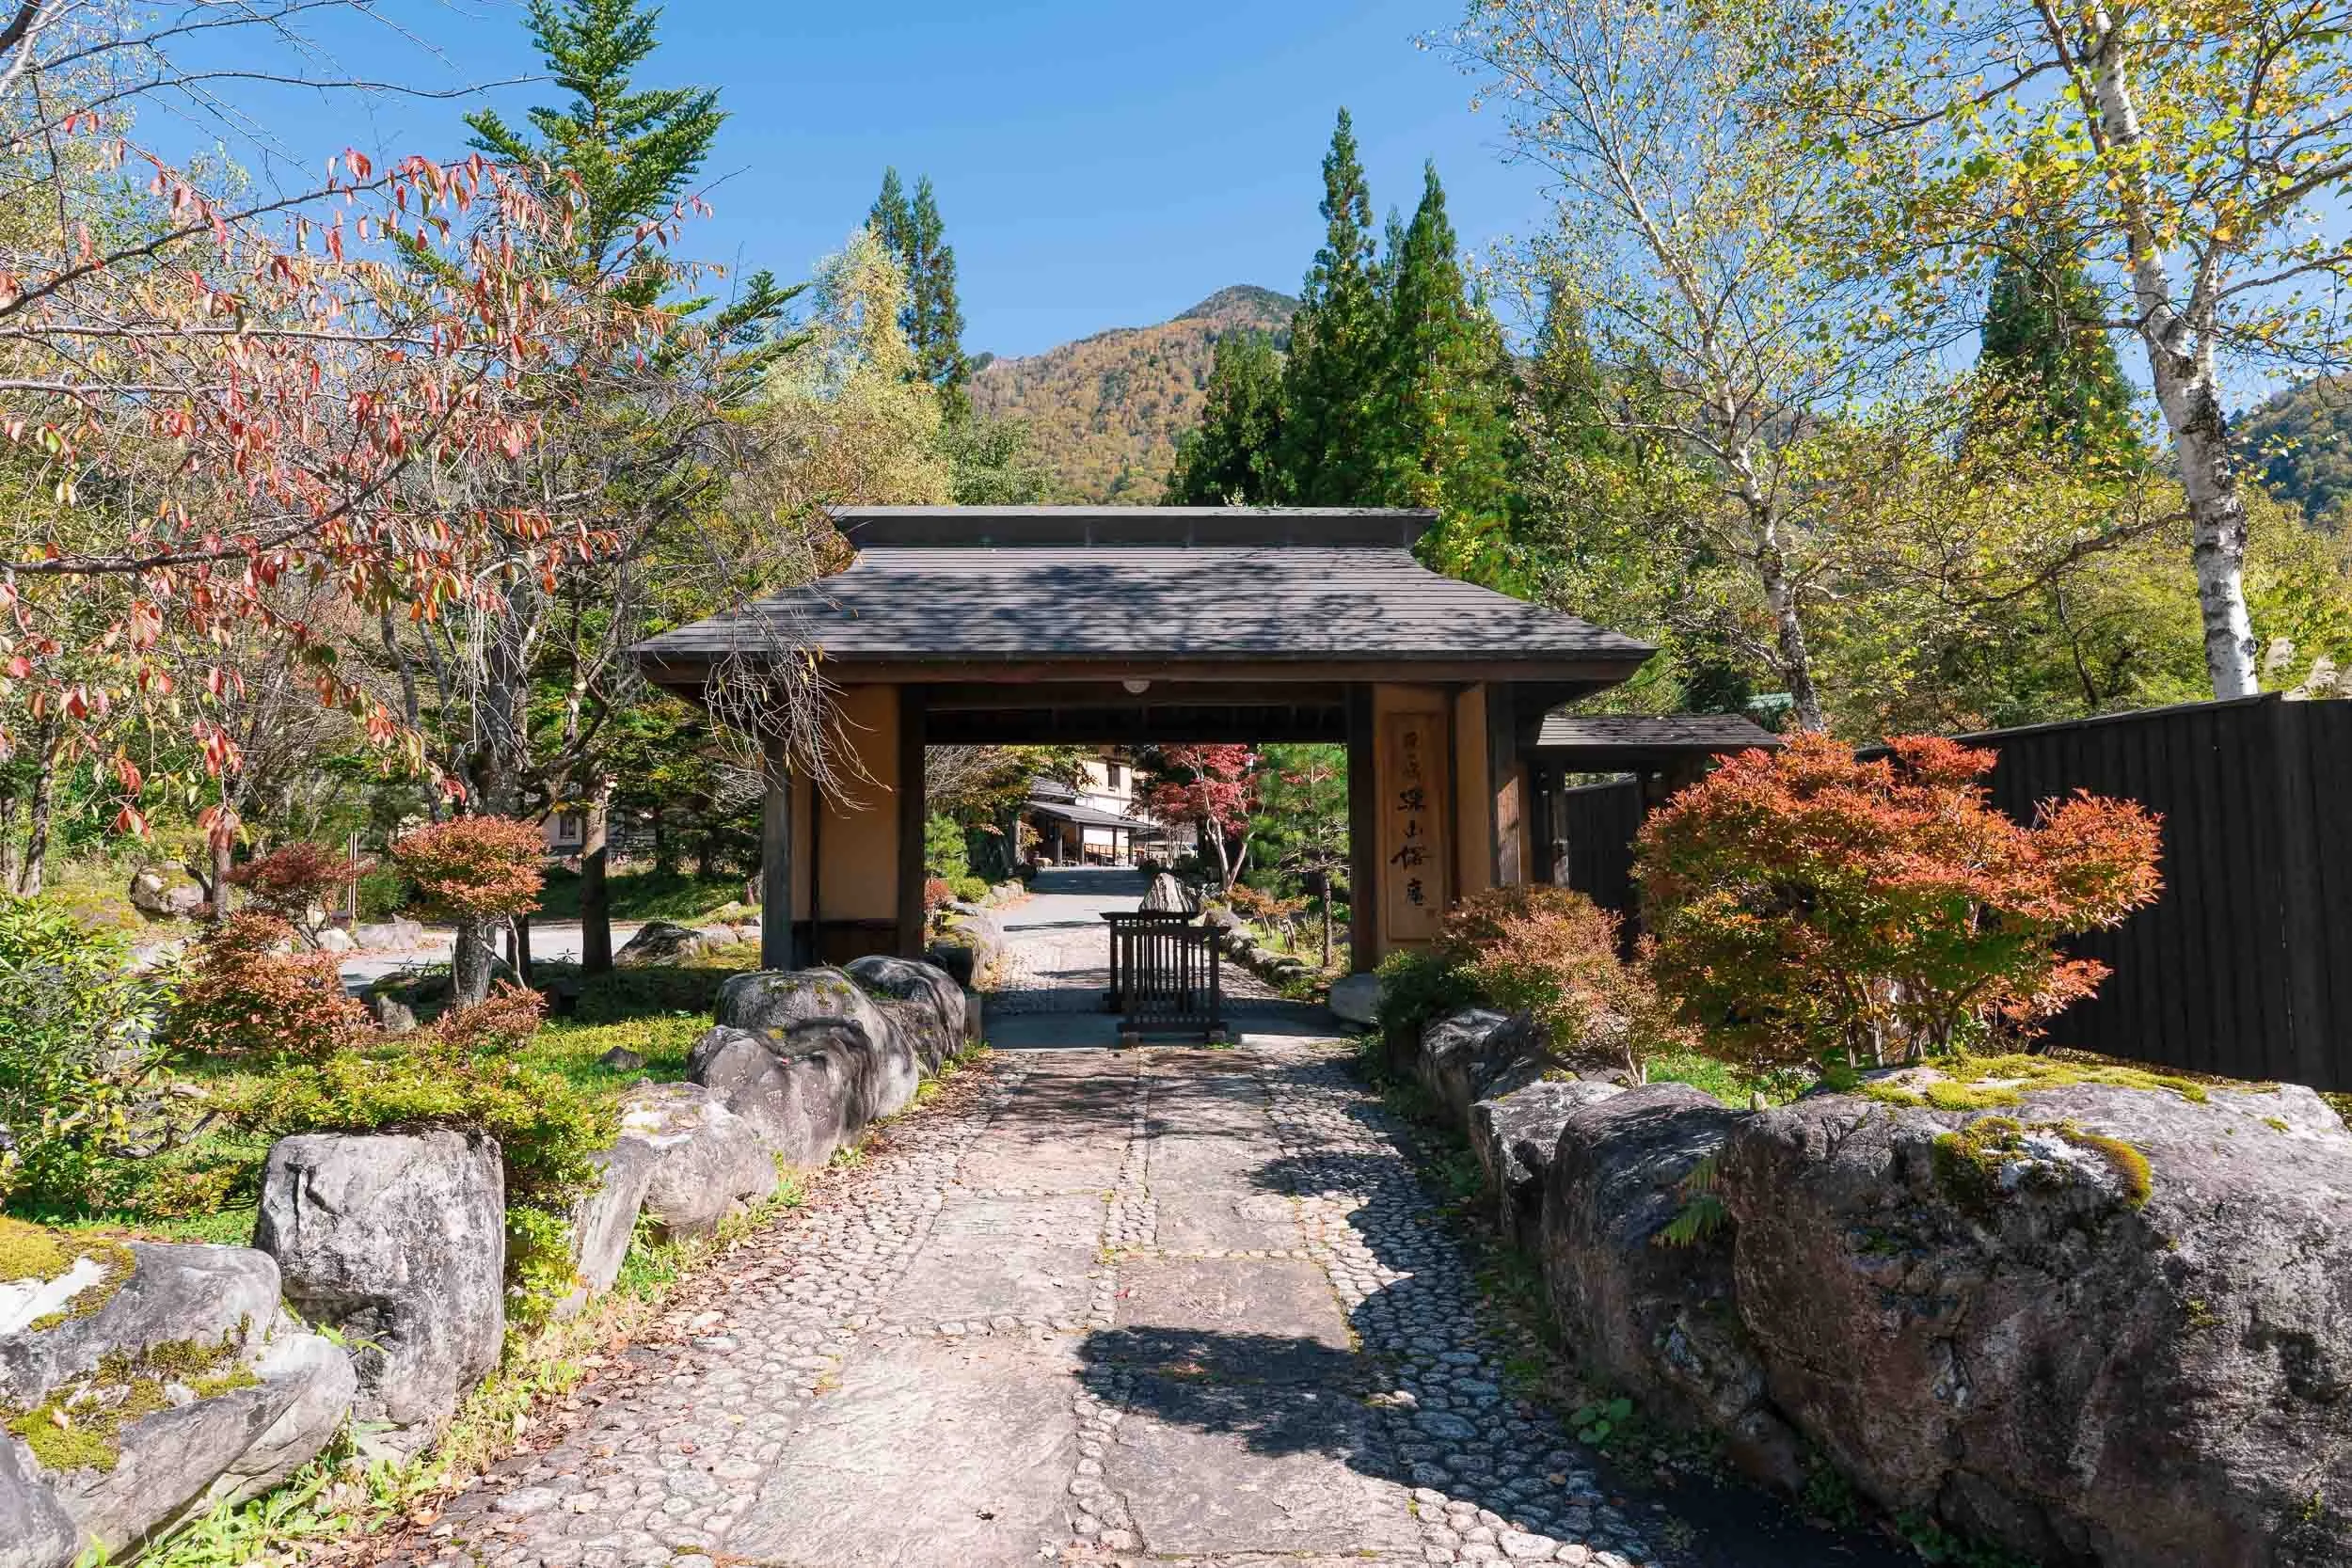
Hirayu Onsen (Our Top Recommendation)
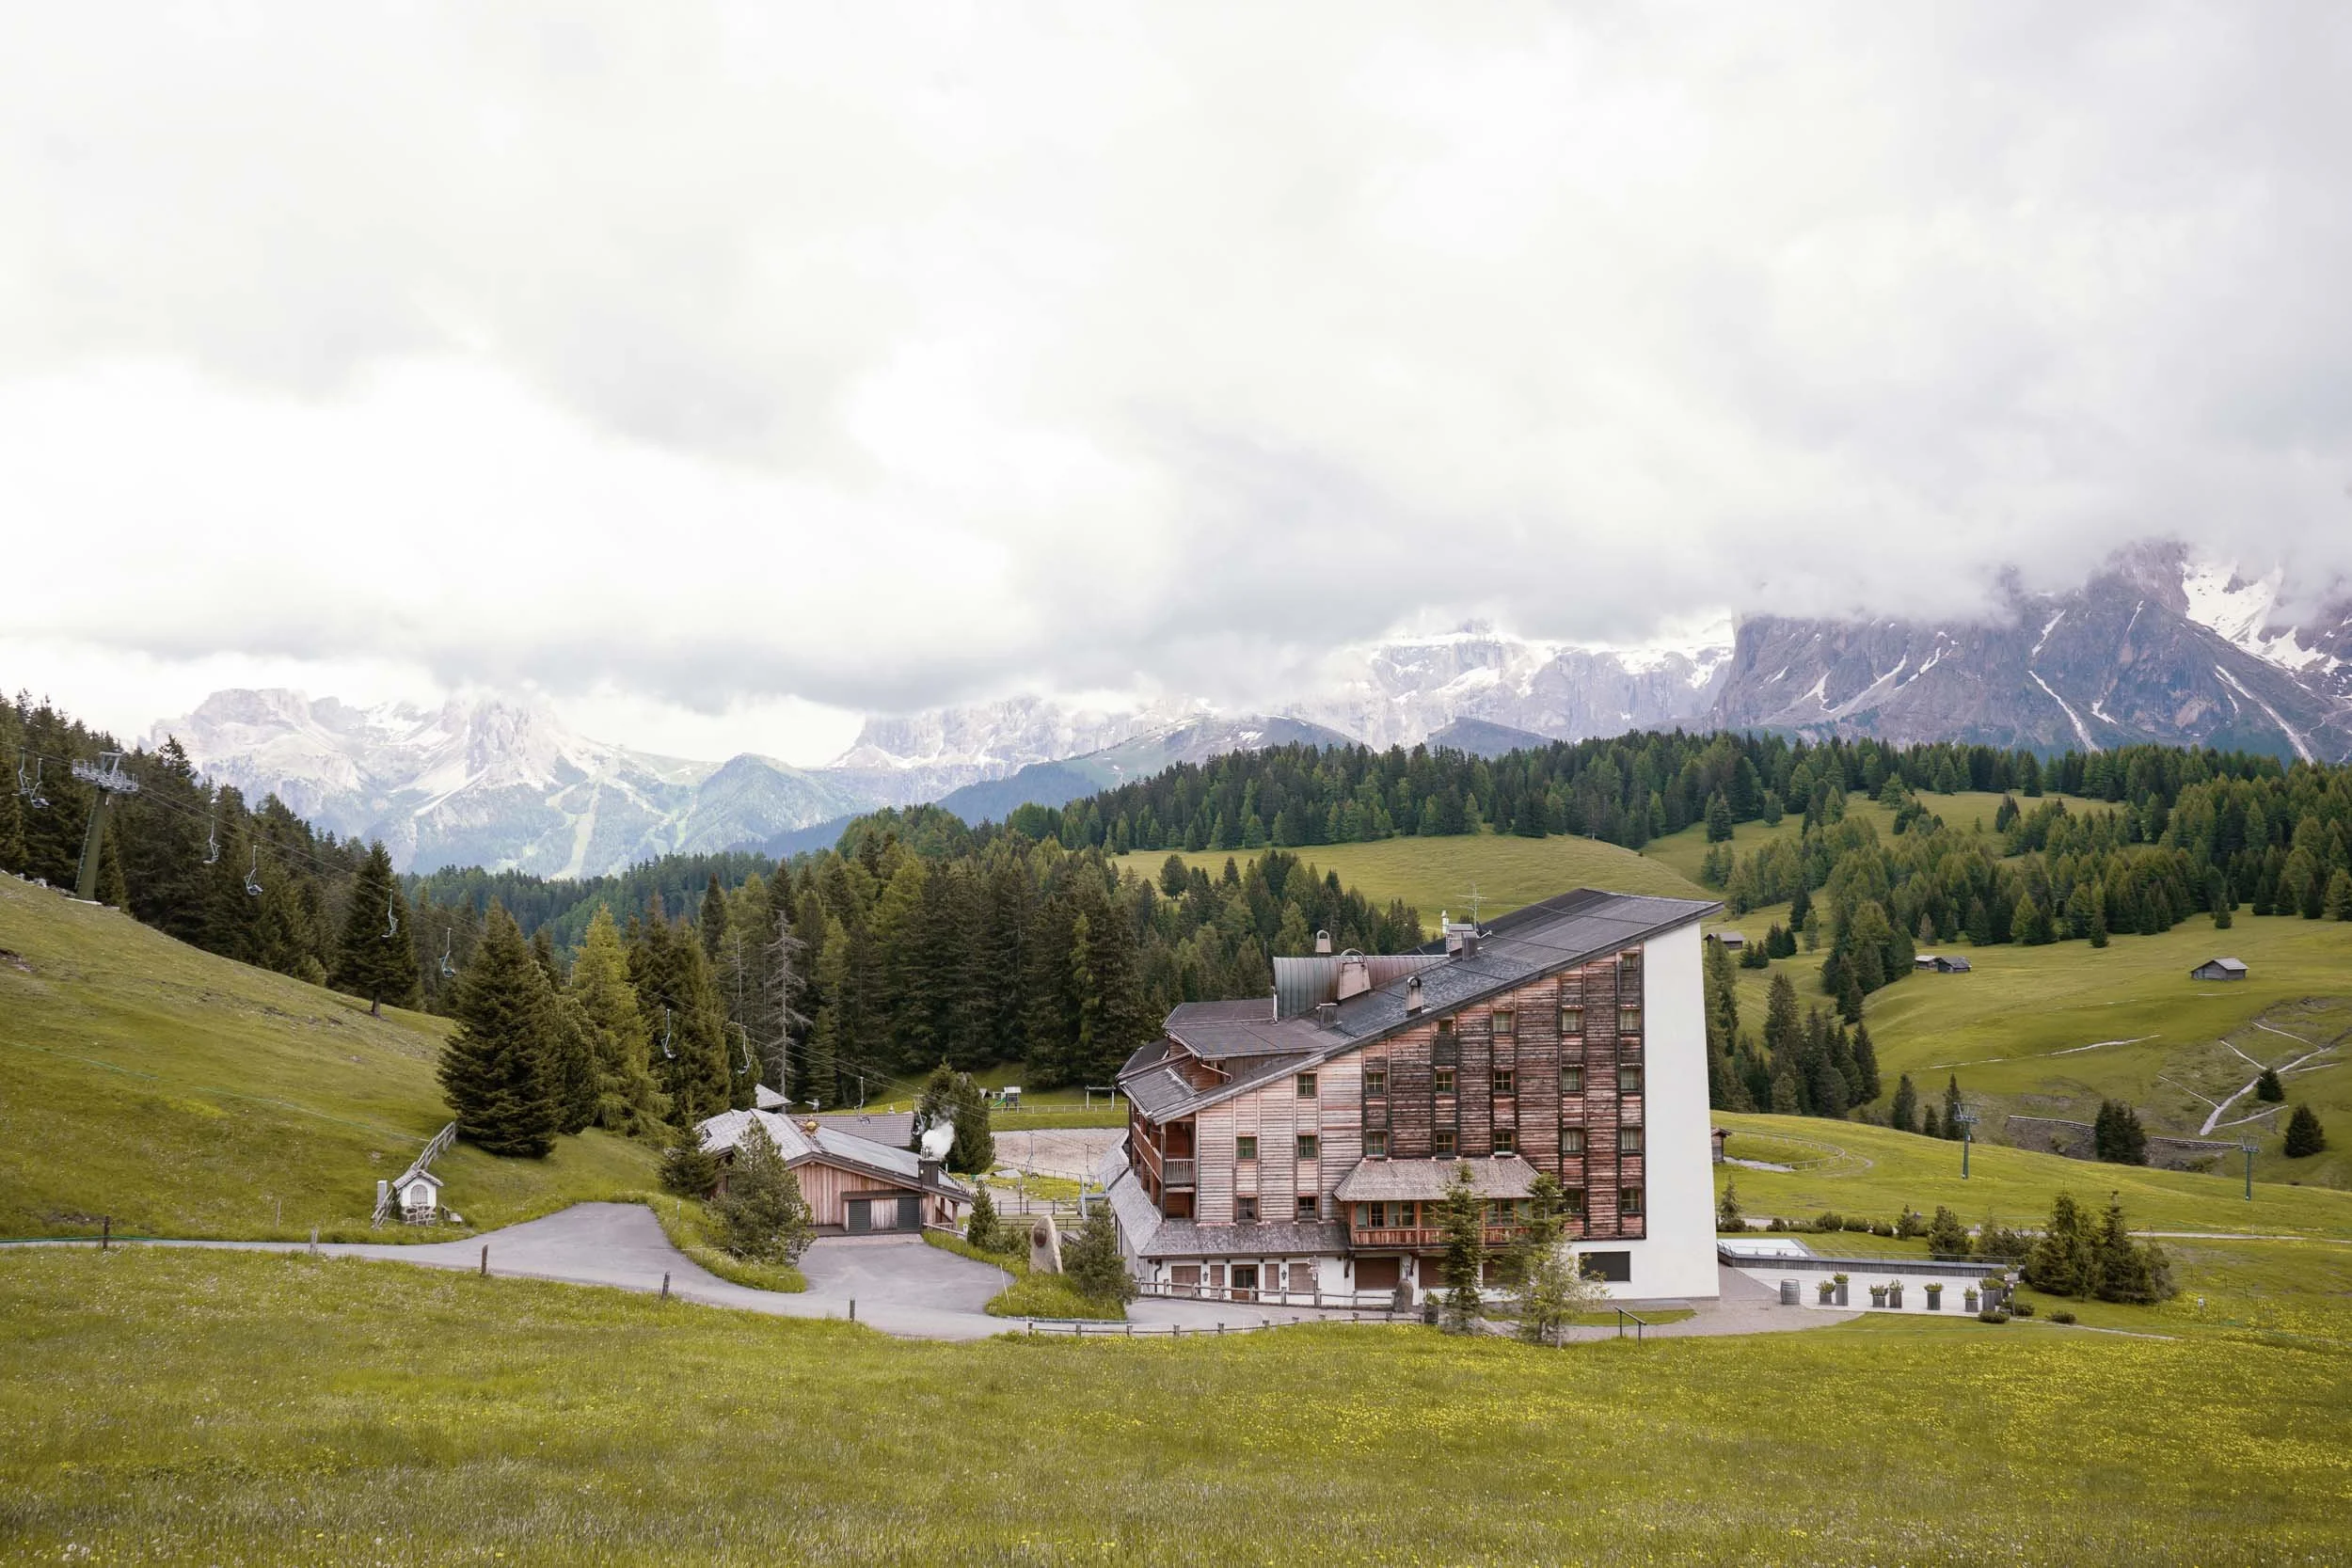
Instead of booking the highly expensive, limited accommodations in Kamikochi, we recommend staying in the Hirayu Onsen region. Located just a short, 20-minute shuttle bus ride from Kamikochi, Hirayu is the oldest and largest hot spring village in the region. The traditional ryokans here are incredibly authentic, far more affordable, and offer significantly more vacancy options than the valley properties.
We stayed in two different ryokans here - Miyamaouanbekkan Yumegurinoyado Hirayukan and Miyama Ouan Kyoritsu Resort. We loved both stays, each offering different styles, and we highly recommend them.
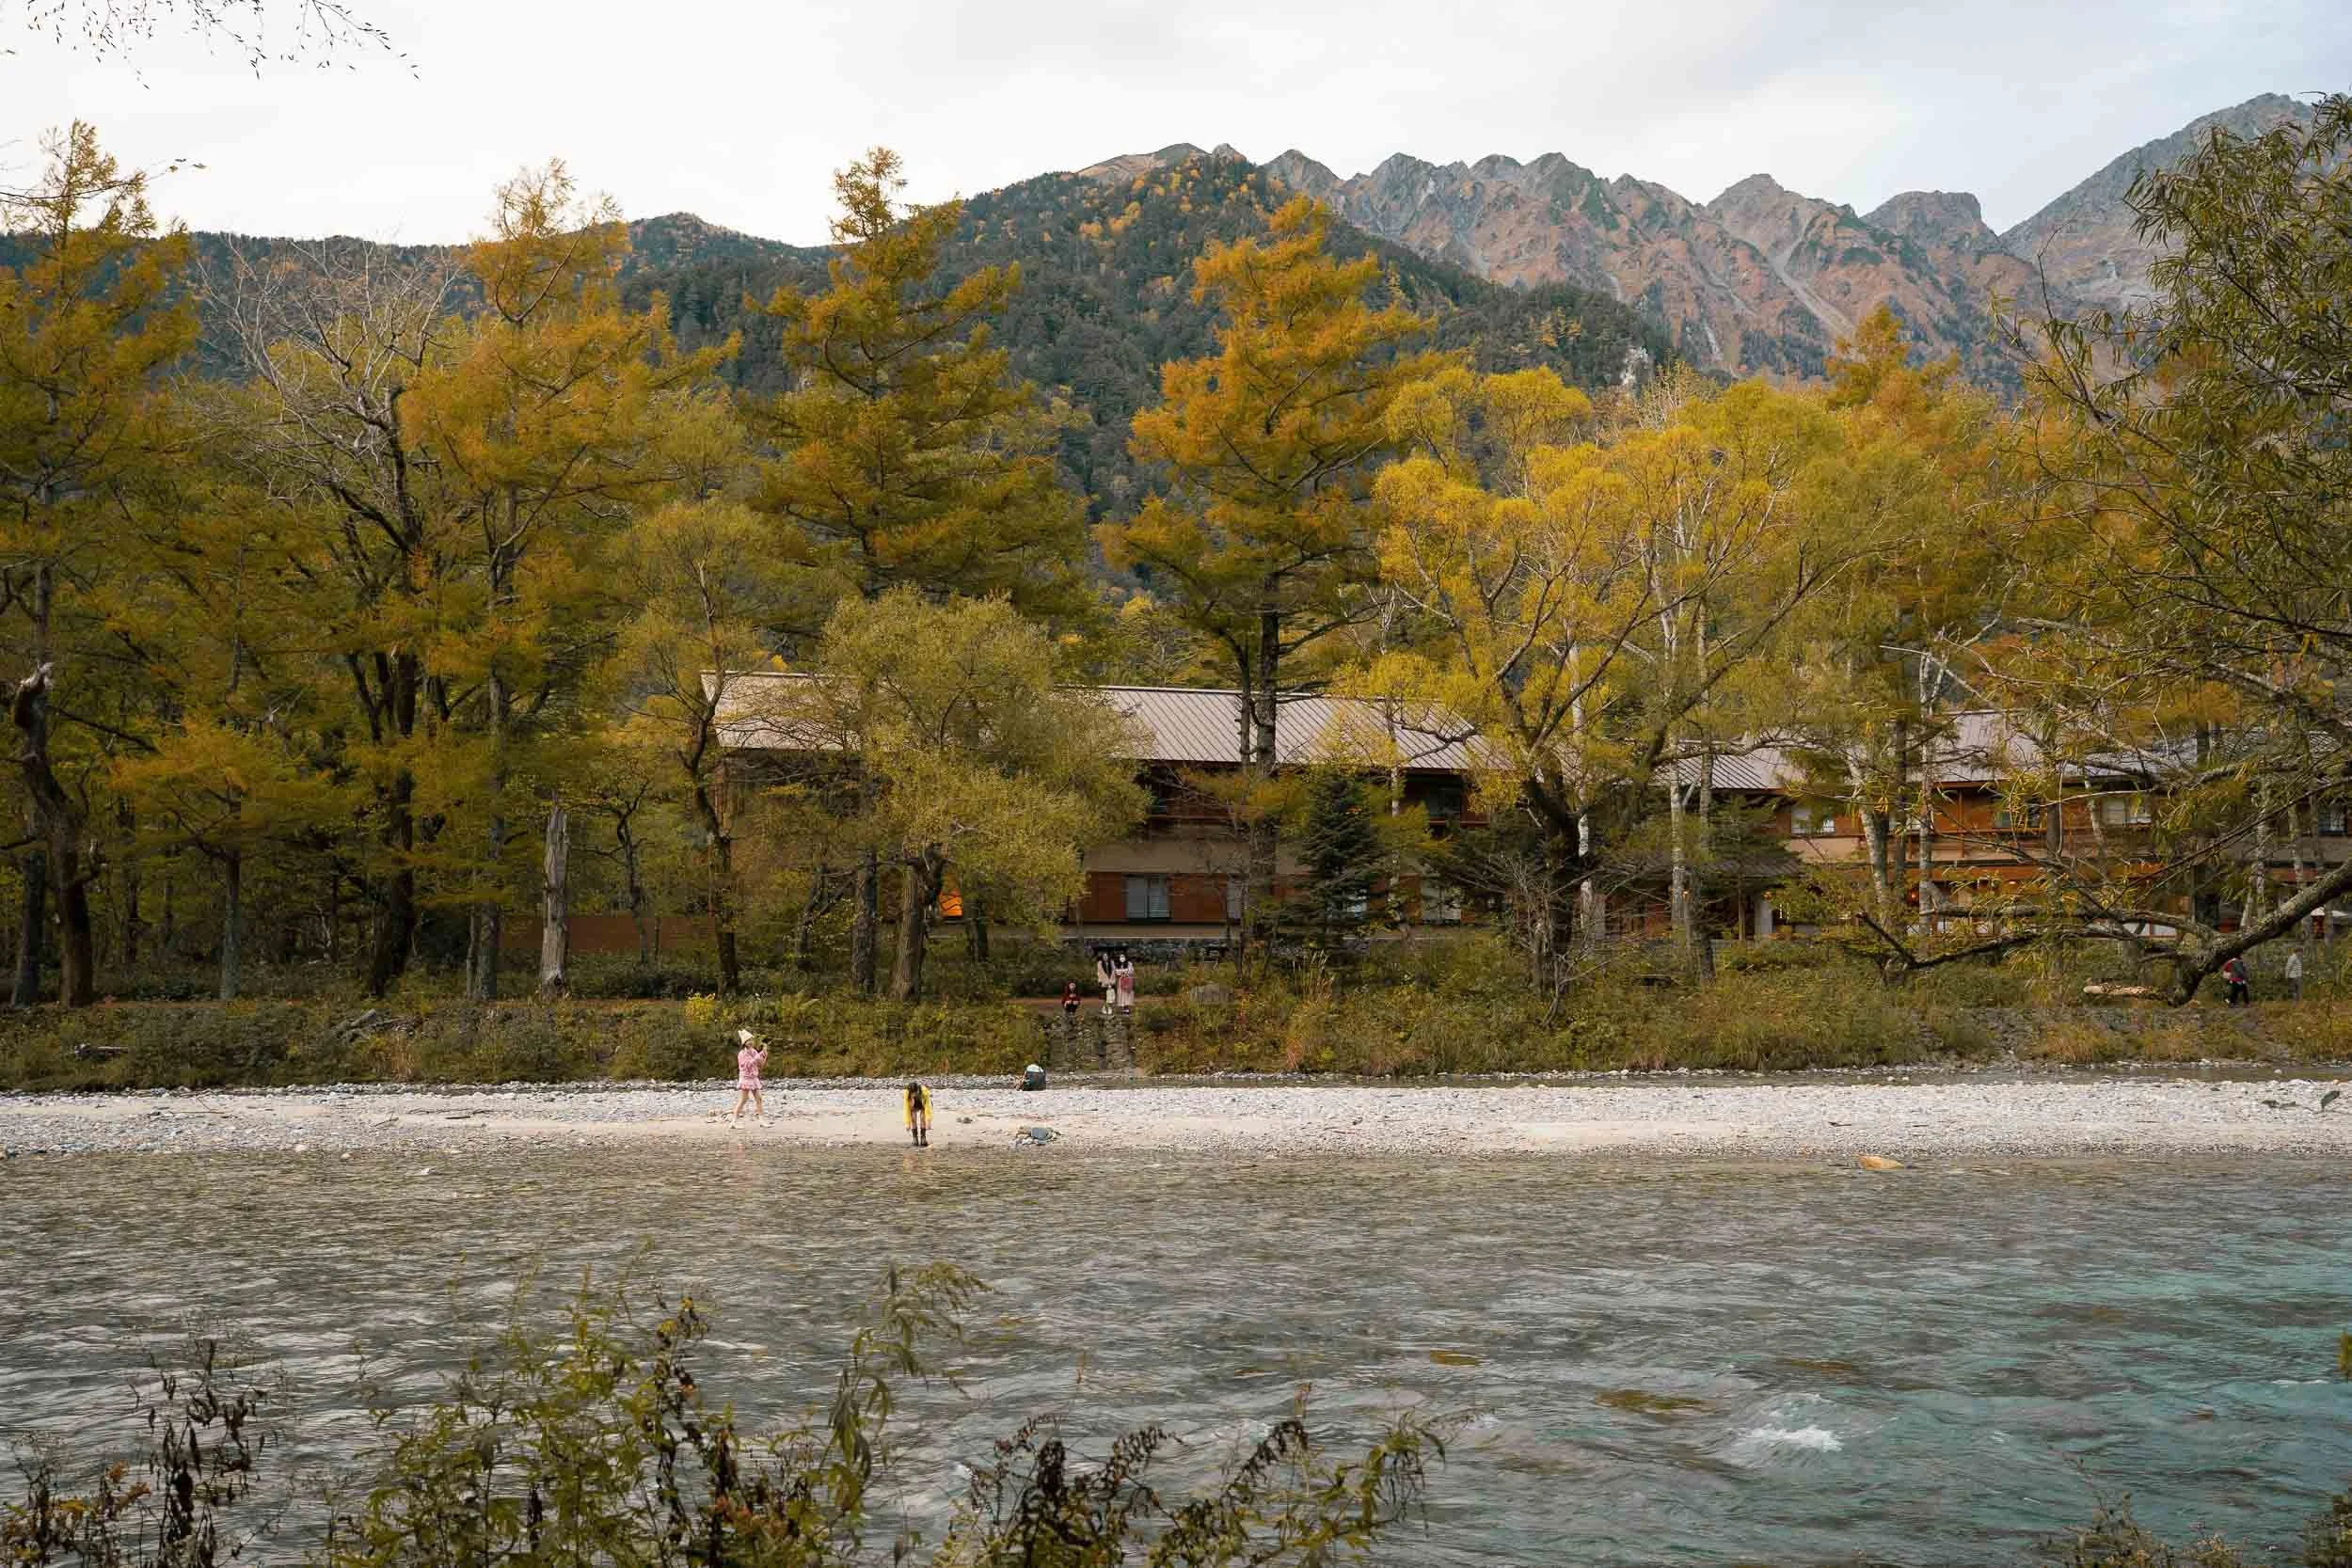
Kamikochi Valley
Here you will find the luxury stays. It is highly convenient and provides an excellent environment near the Azusa River. However, staying here comes at a high cost. If you prefer to have an early start right at the trailhead and don't mind spending more, staying in the valley floor is a great option.
Our Day-by-Day Itinerary
Day 1: Tokyo to Matsumoto
We caught a train from the airport (NRT) to Matsumoto, changing at Shinjuku station, Tokyo. We stayed in Matsumoto for a night to settle down after a long flight and to get our supplies before heading into the mountains.
Where we stayed: Iroha Grand Hotel Matsumoto Eki-Mae. It’s an exceptionally clean, modern hotel located around a 5-minute walk from Matsumoto Station. It is affordable and a perfect location for the night if you need to catch an early-morning connection into the mountains.
Day 2: Hirayu Onsen & Mt. Yakedake
Our original plan was to catch the 6:30 AM bus from Matsumoto straight into Kamikochi for a stunning day hike up Mount Yakedake - an active volcano day-trip with incredible crater views. Unfortunately, our luggage was lost by the airline (along with all our hiking gear), so we had to skip the hike to purchase replacements in Matsumoto. We bought everything in a shop opposite the train station called Kojitsusanso. Afterwards, we took the Kamikochi Line from Matsumoto JR station and decided to spend the rest of our day in Kamikochi Valley and relaxing at our accommodation.
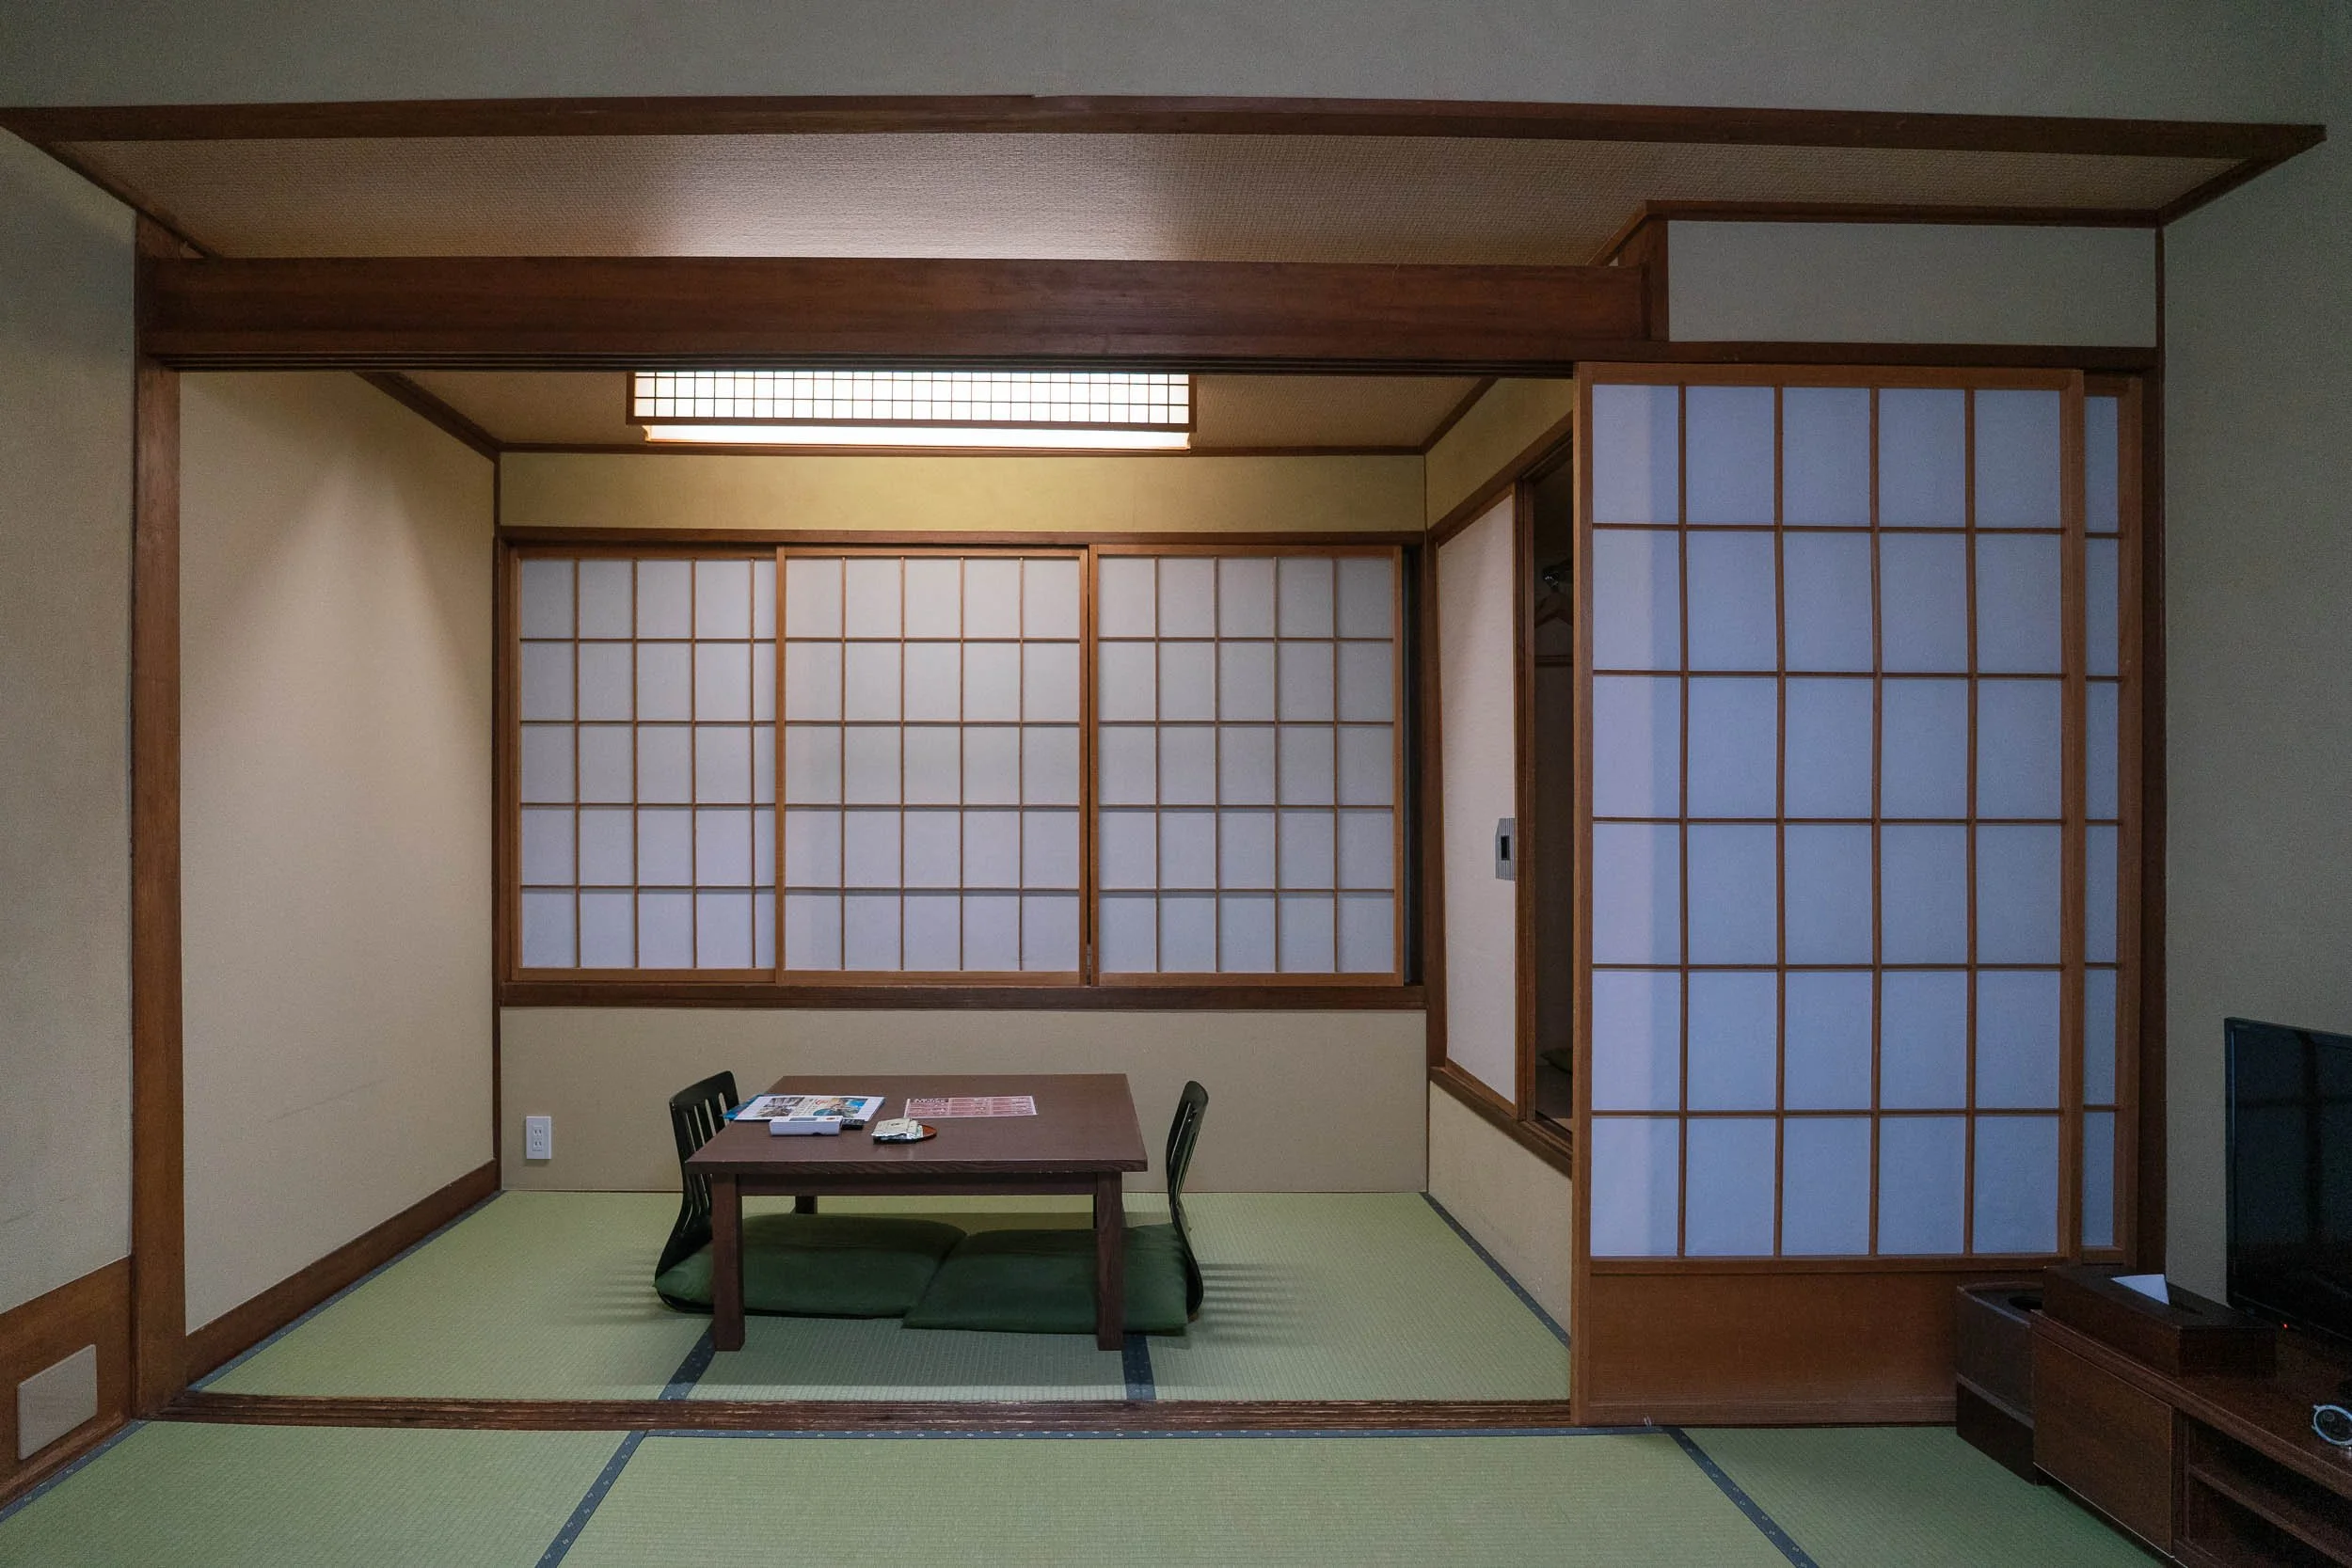
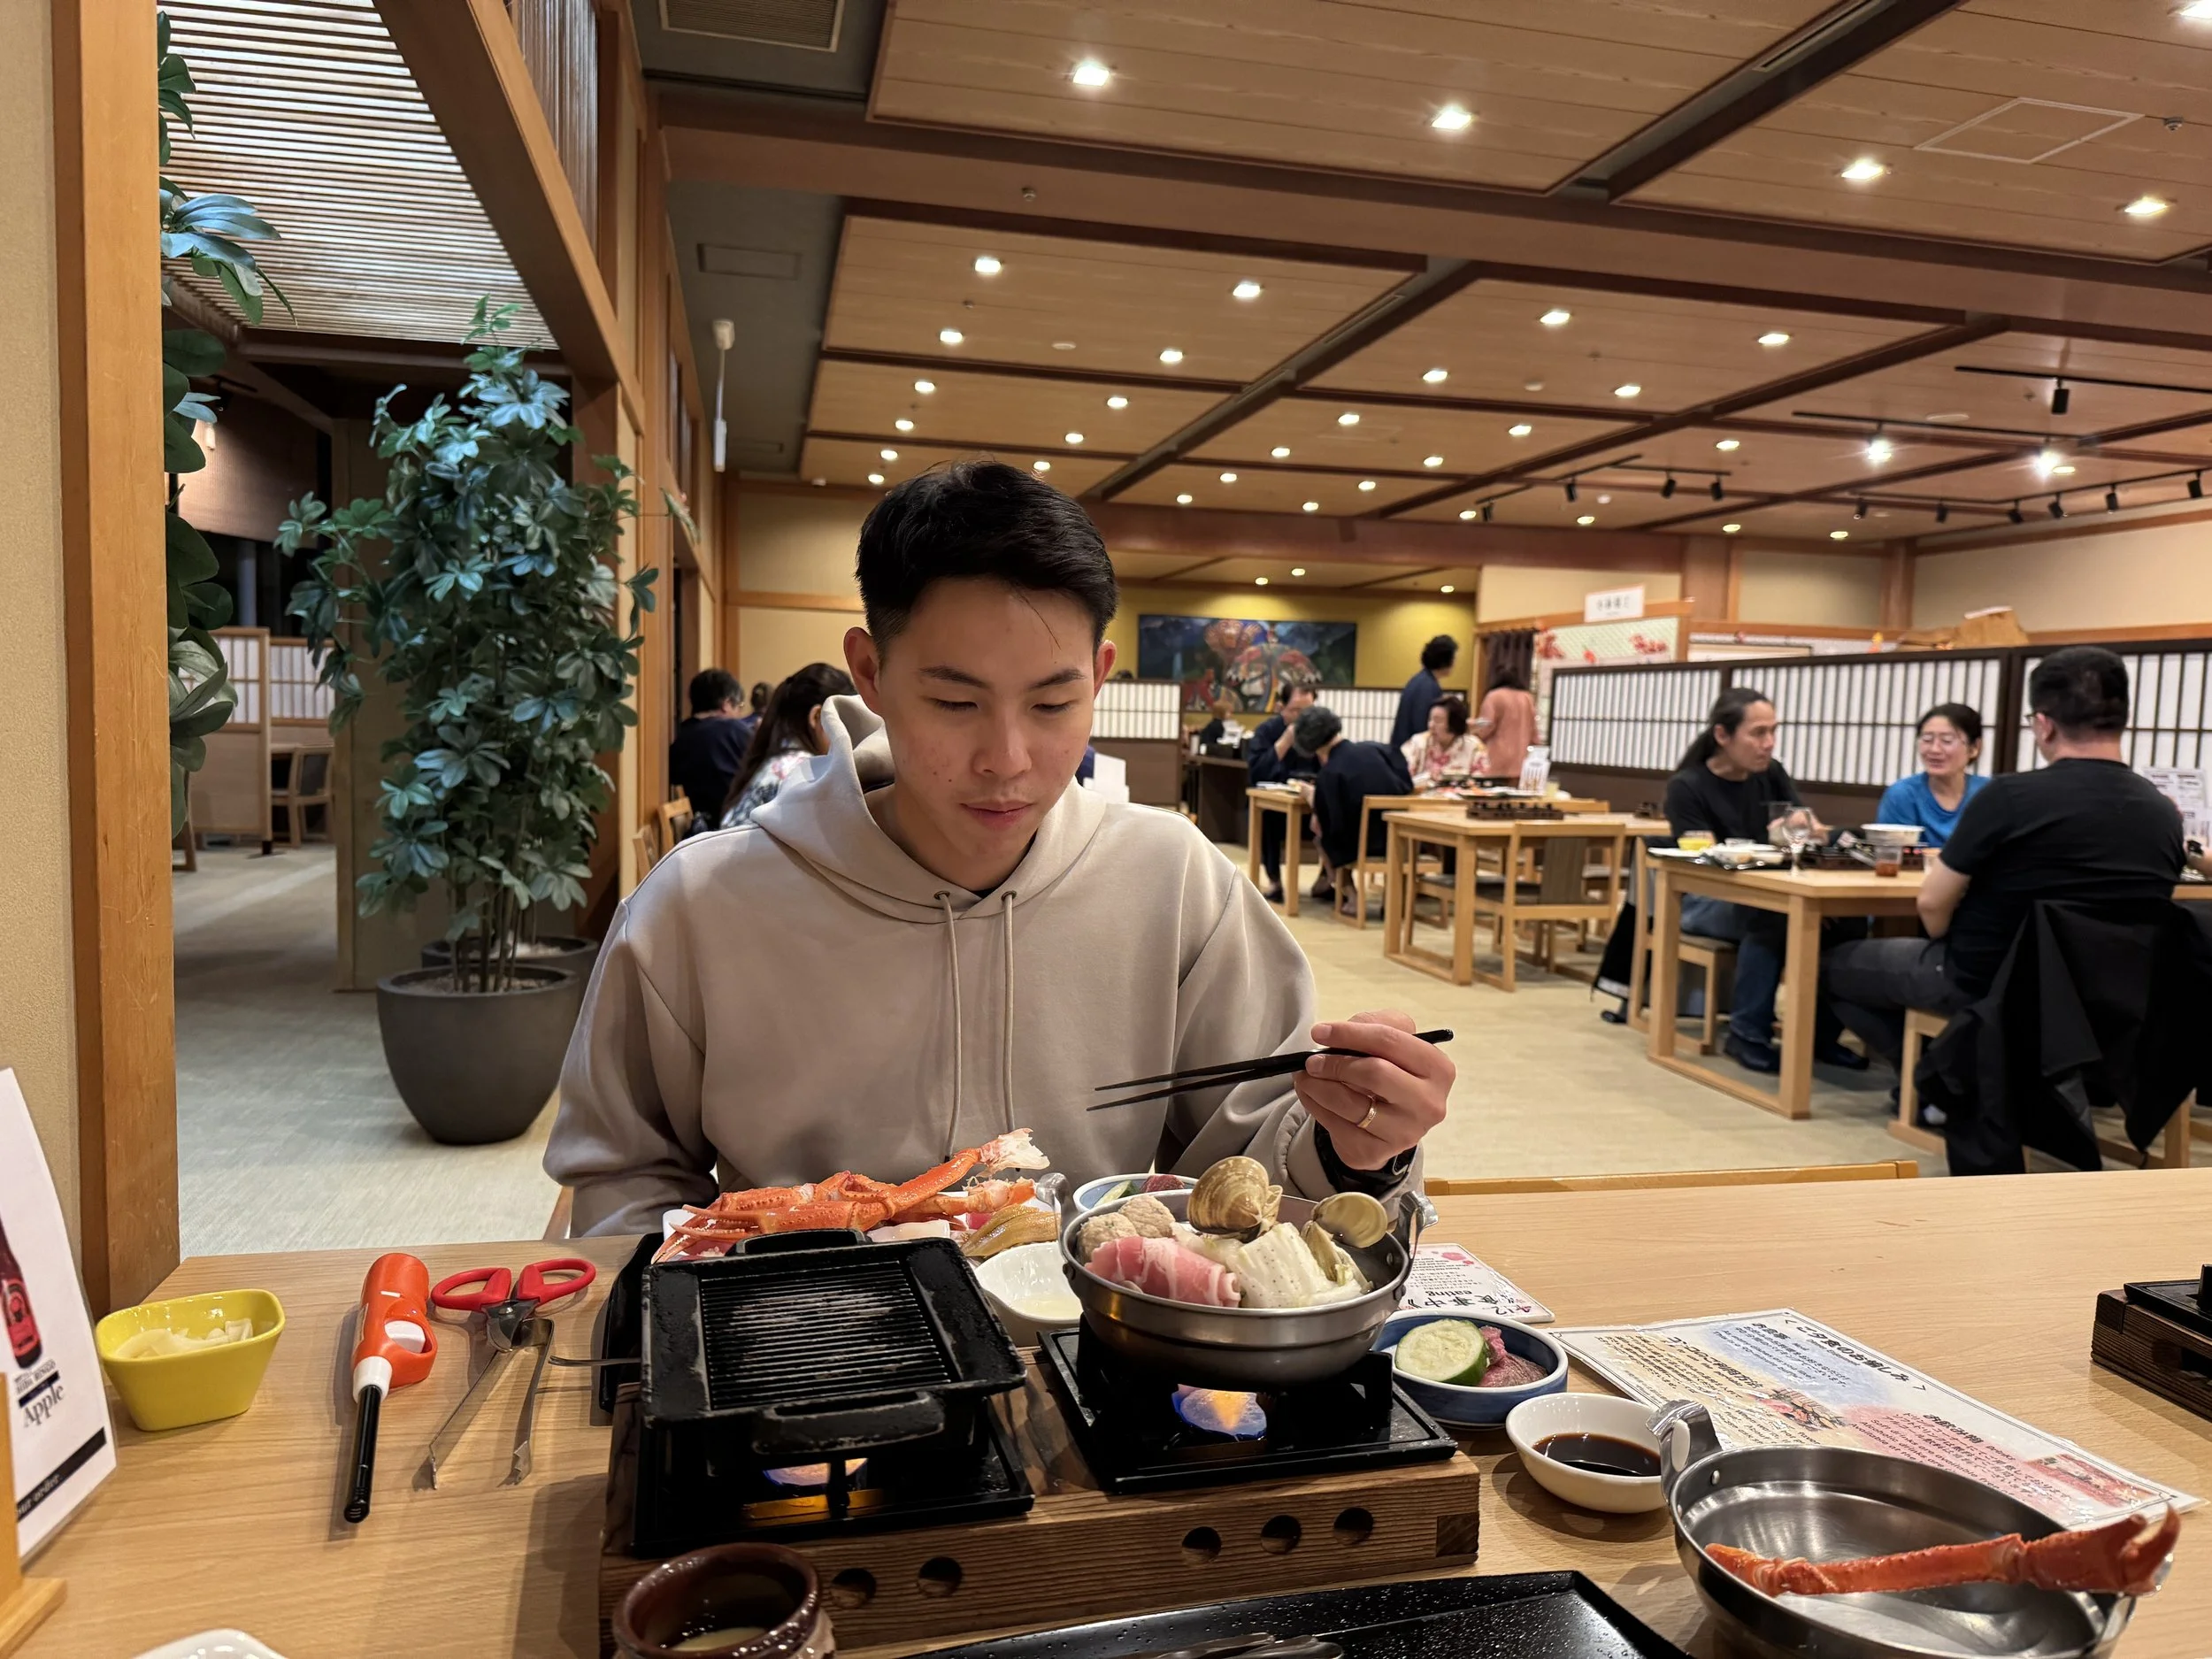
Where we stayed: Miyamaouanbekkan Yumegurinoyado Hirayukan. This is a stunning, traditional Japanese onsen inn (ryokan) where we stayed in a tatami-mat room and slept on a futon. It offers great value for money, with an all-you-can-eat buffet dinner (unlimited sushi, crab, sukiyaki, and Japanese barbecue) and breakfast included in the price.
Day 3: Kamikochi to Yarigatake Sanso
Stats: 21km | 9.5 Hours | 1,689m Elevation Gain
AllTrails: Map Link
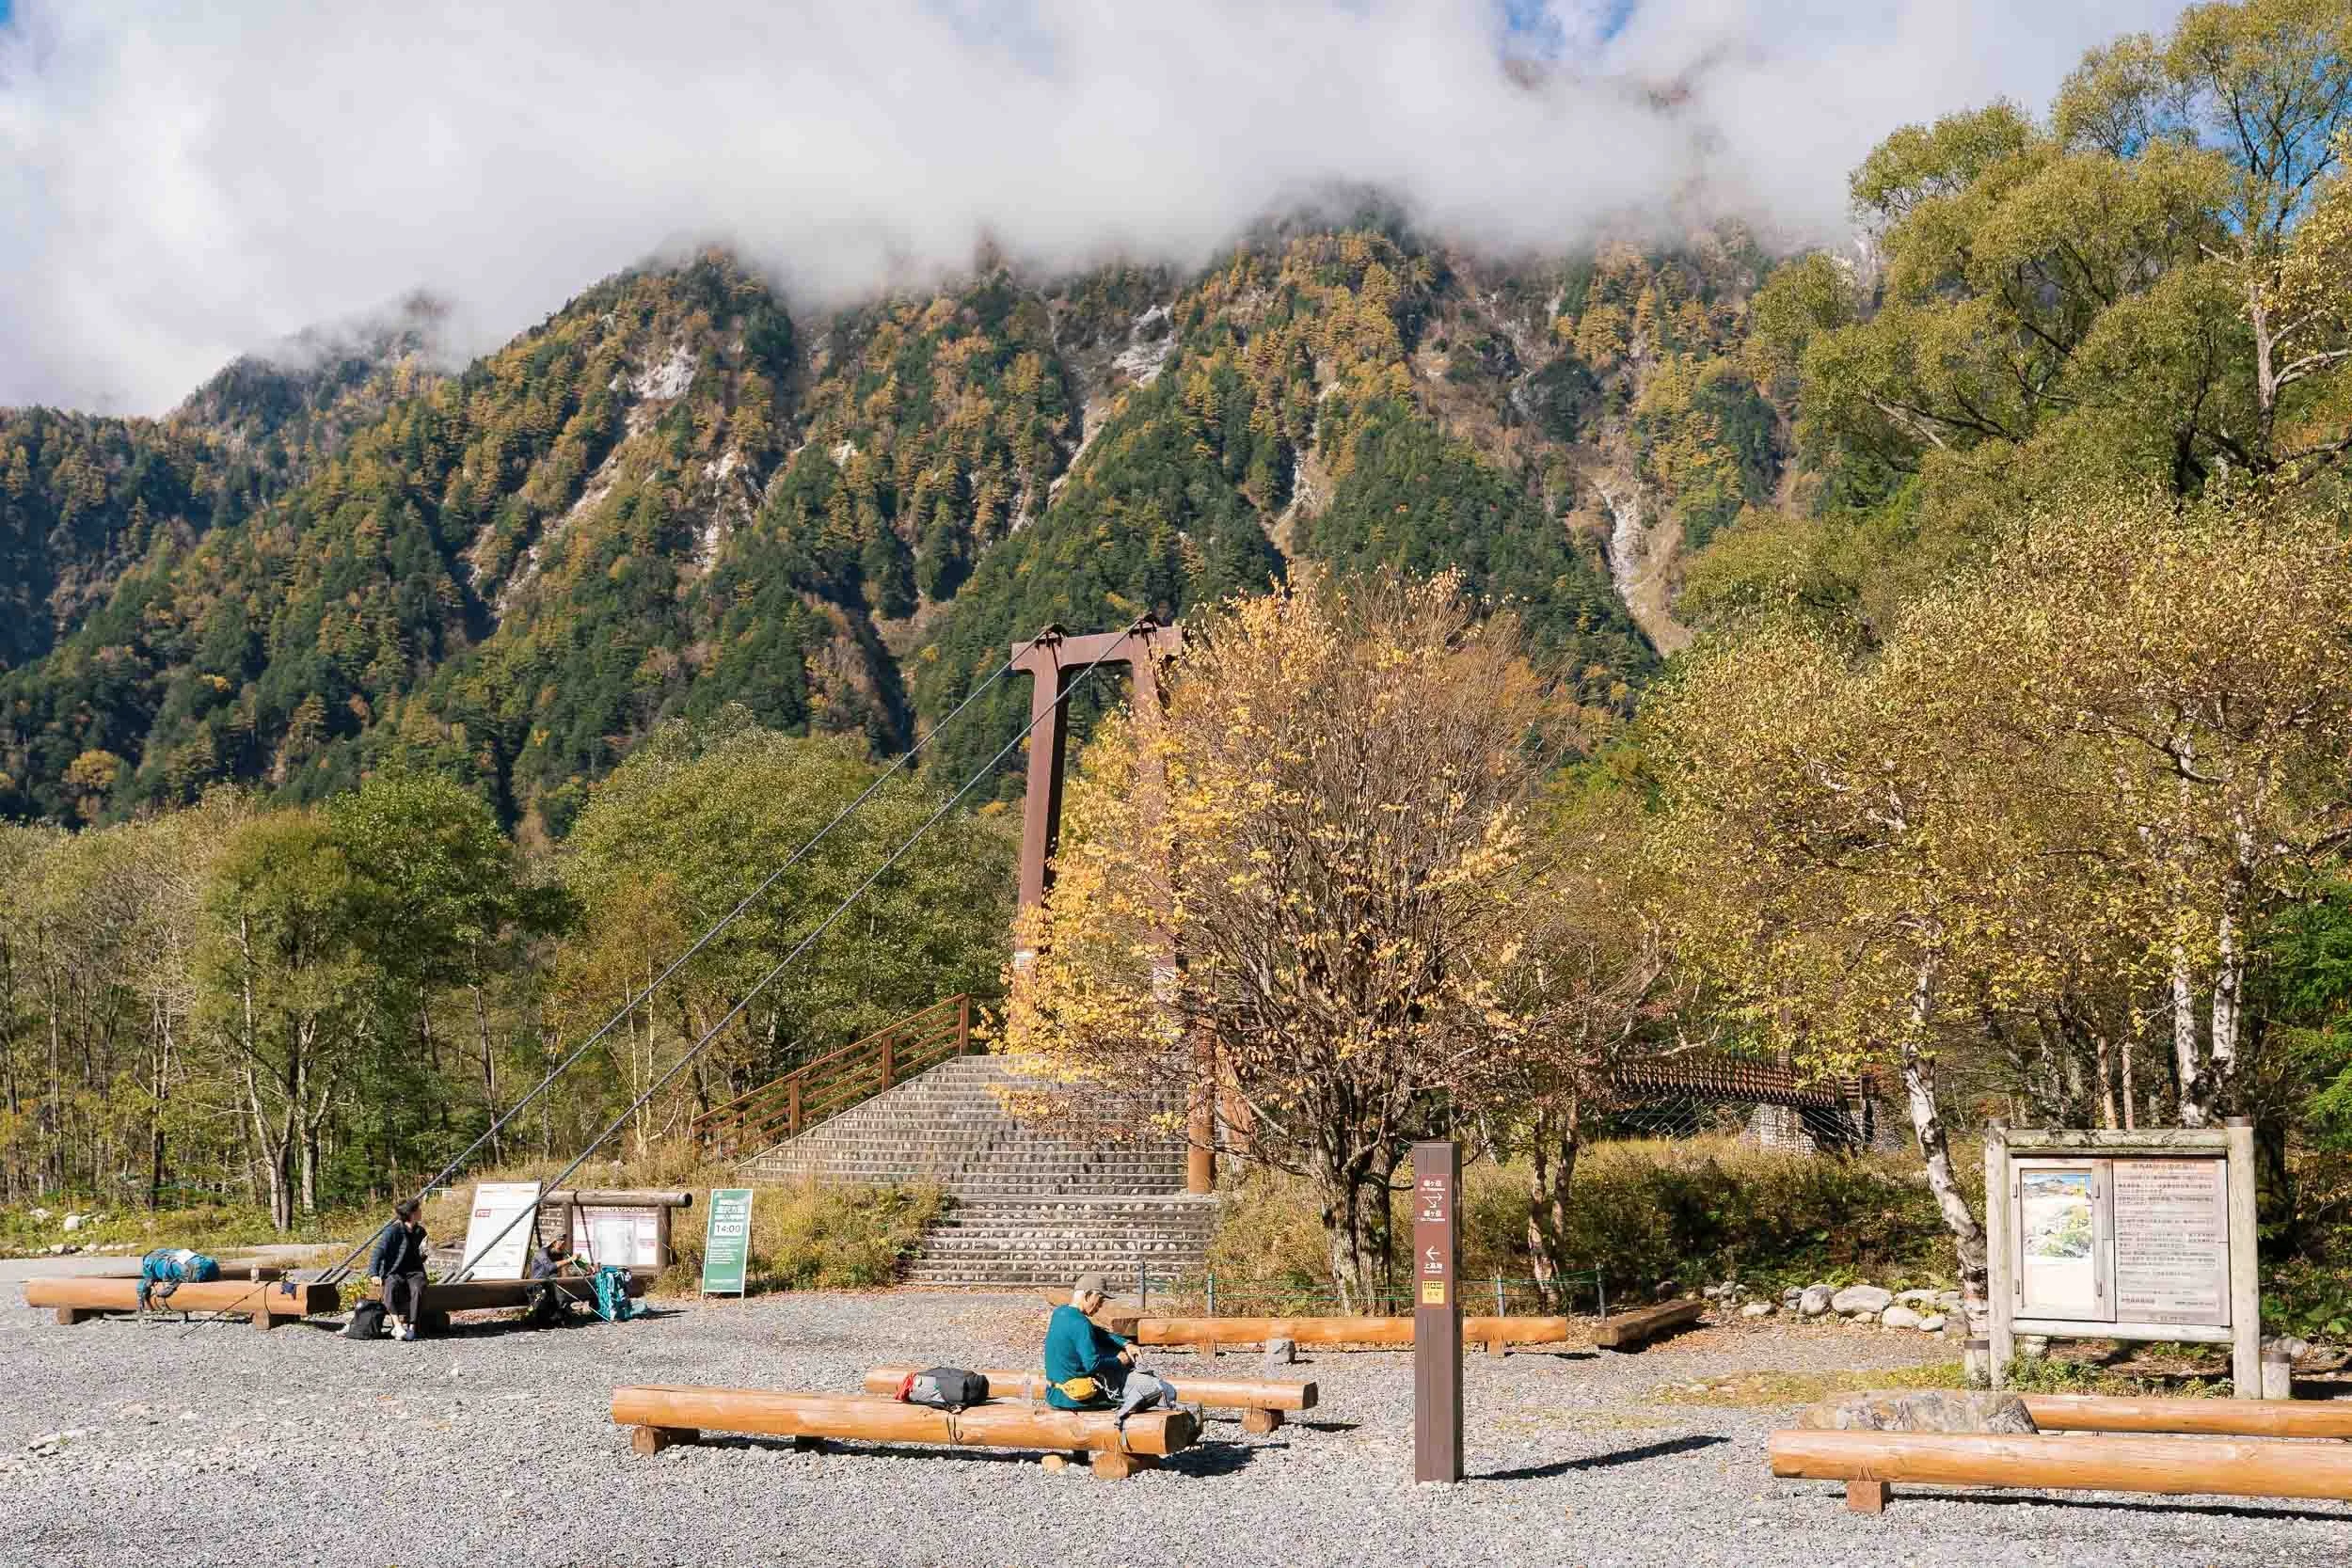
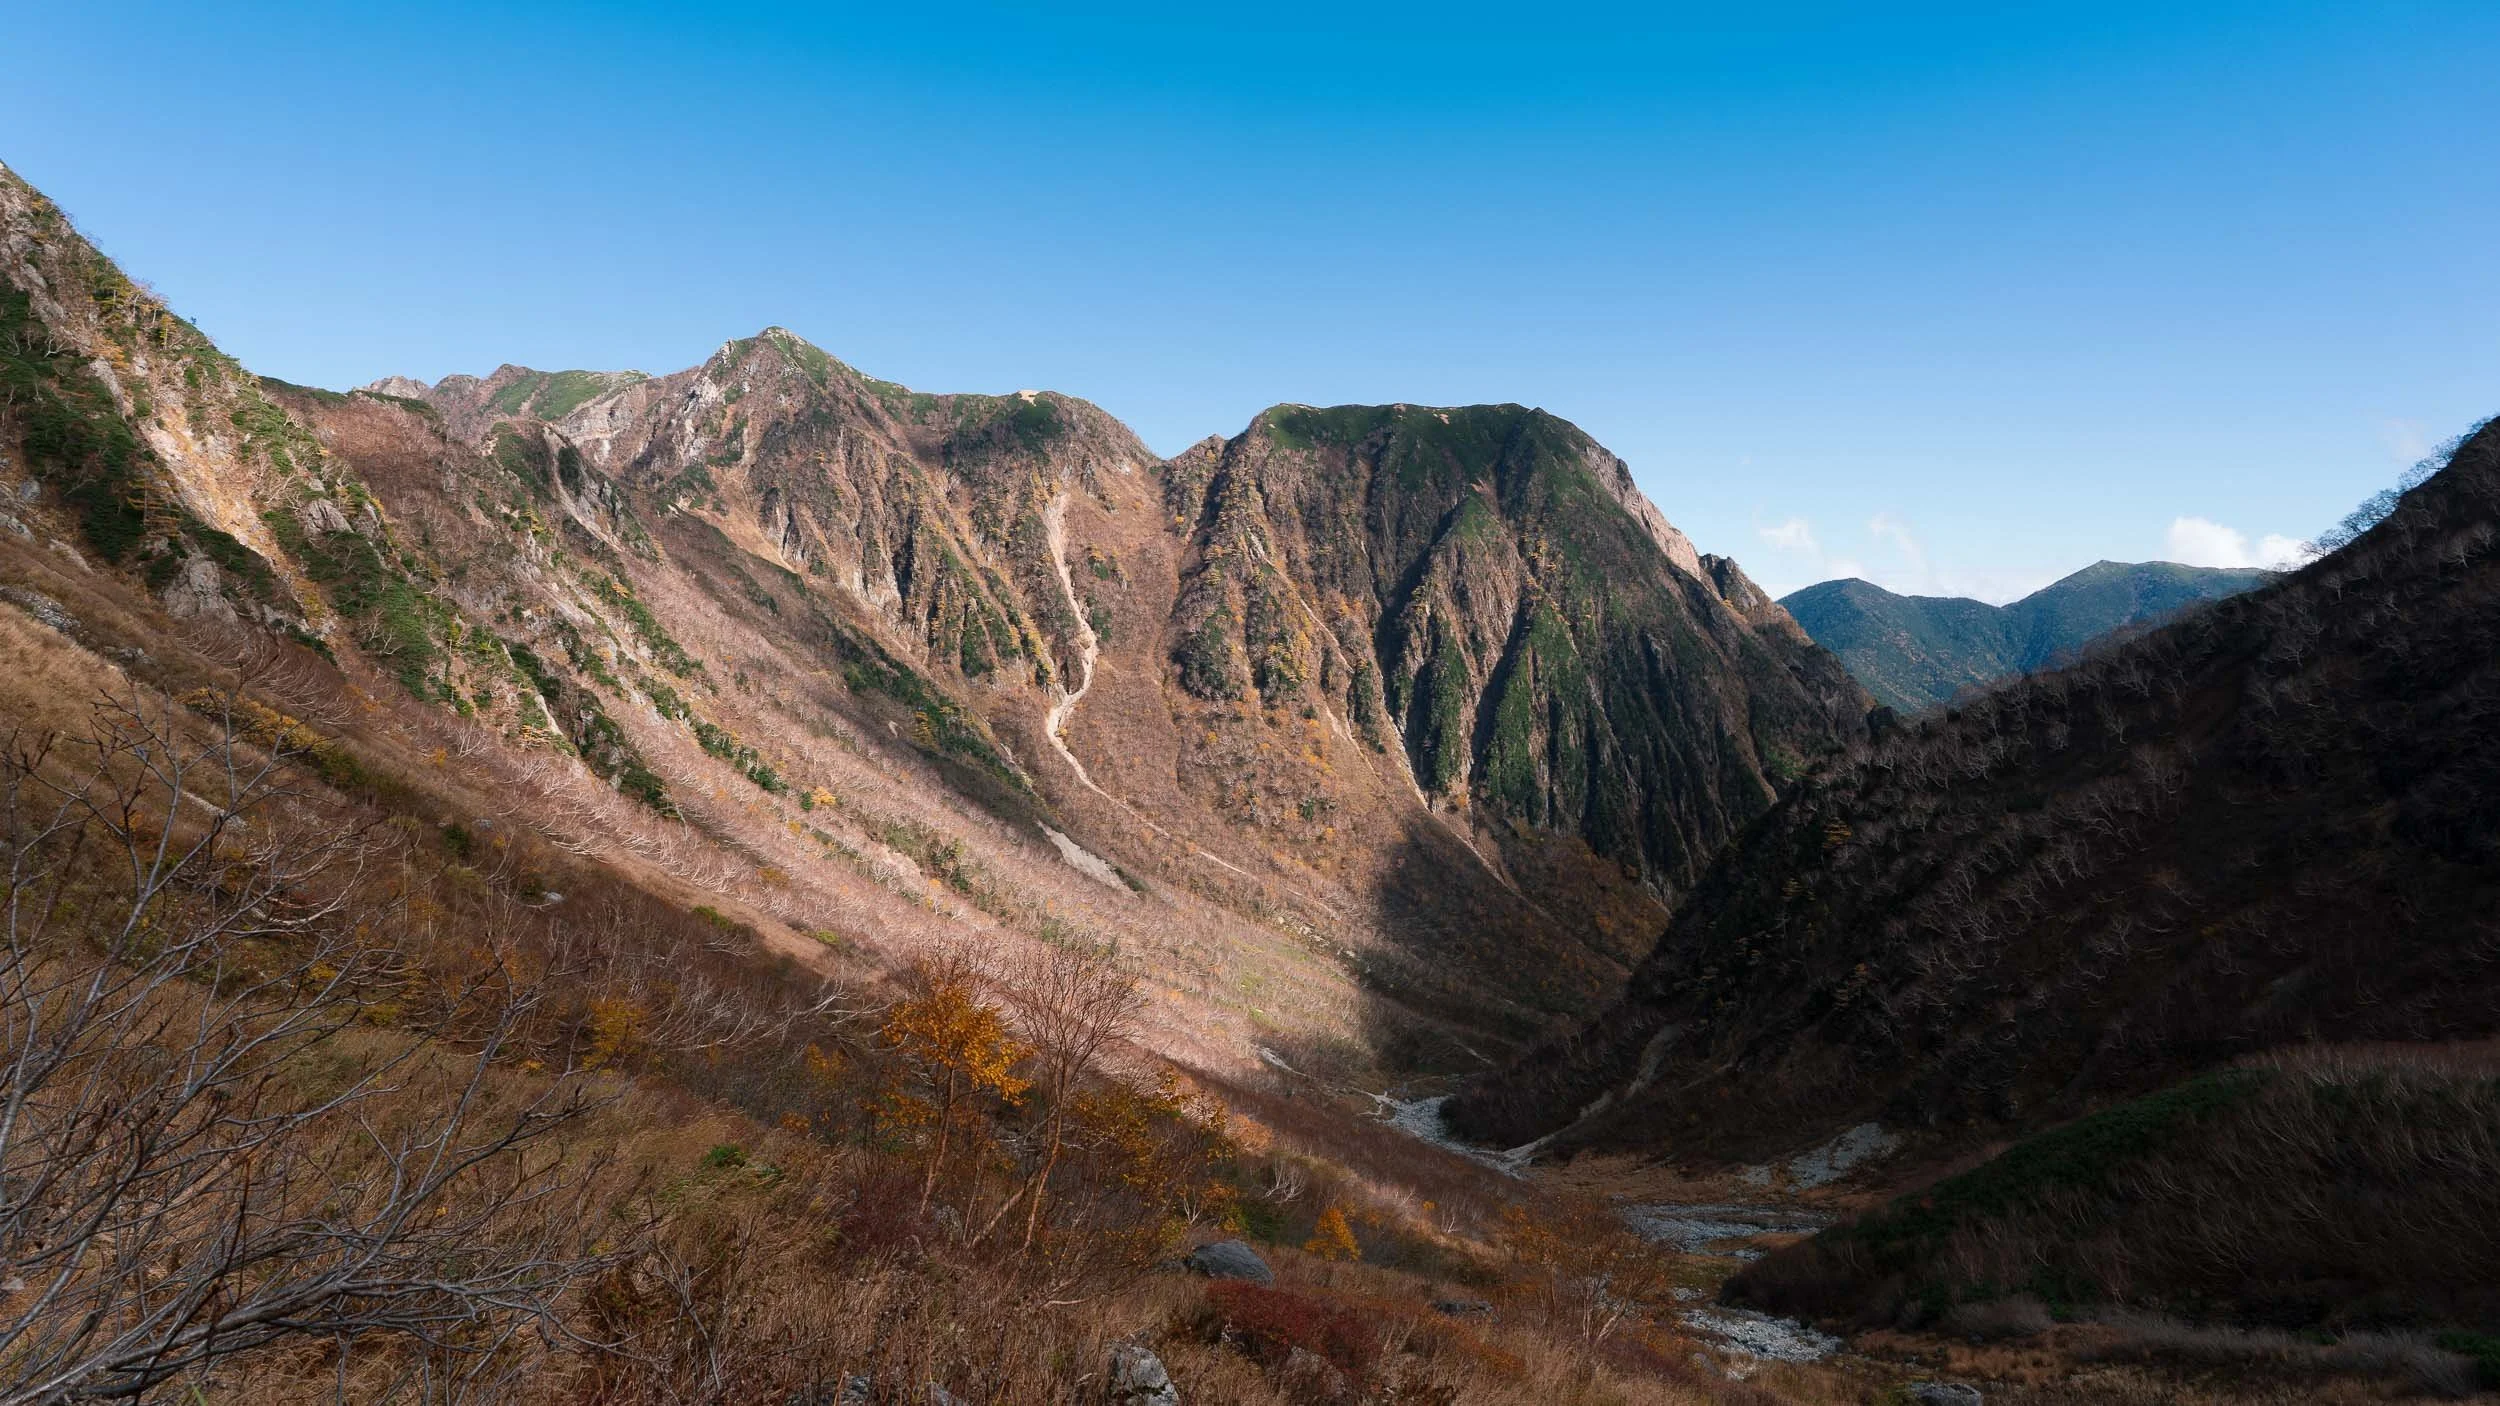
We caught the very first shuttle bus from Hirayu Onsen back into the Kamikochi valley. The trek begins gently. You’ll spend the first few hours walking along the flat trail beside the Azusa River, looking up at the massive peaks. You will pass through Tokusawa Lodge, where you will encounter a lot of campers. Enjoy this flat stretch while it lasts because once you reach the Yokoo bridge, you will enter the alpine zone.
You will meet a other hikers at Yokoo bridge and most are taking the route to Karasawa Cirque (a hugely popular hiking trail in Japan famous for its “tent city”). Most hikers will cross the bridge, but if you are heading to Yarigatake-sanso, continue straight ahead and do not cross it.
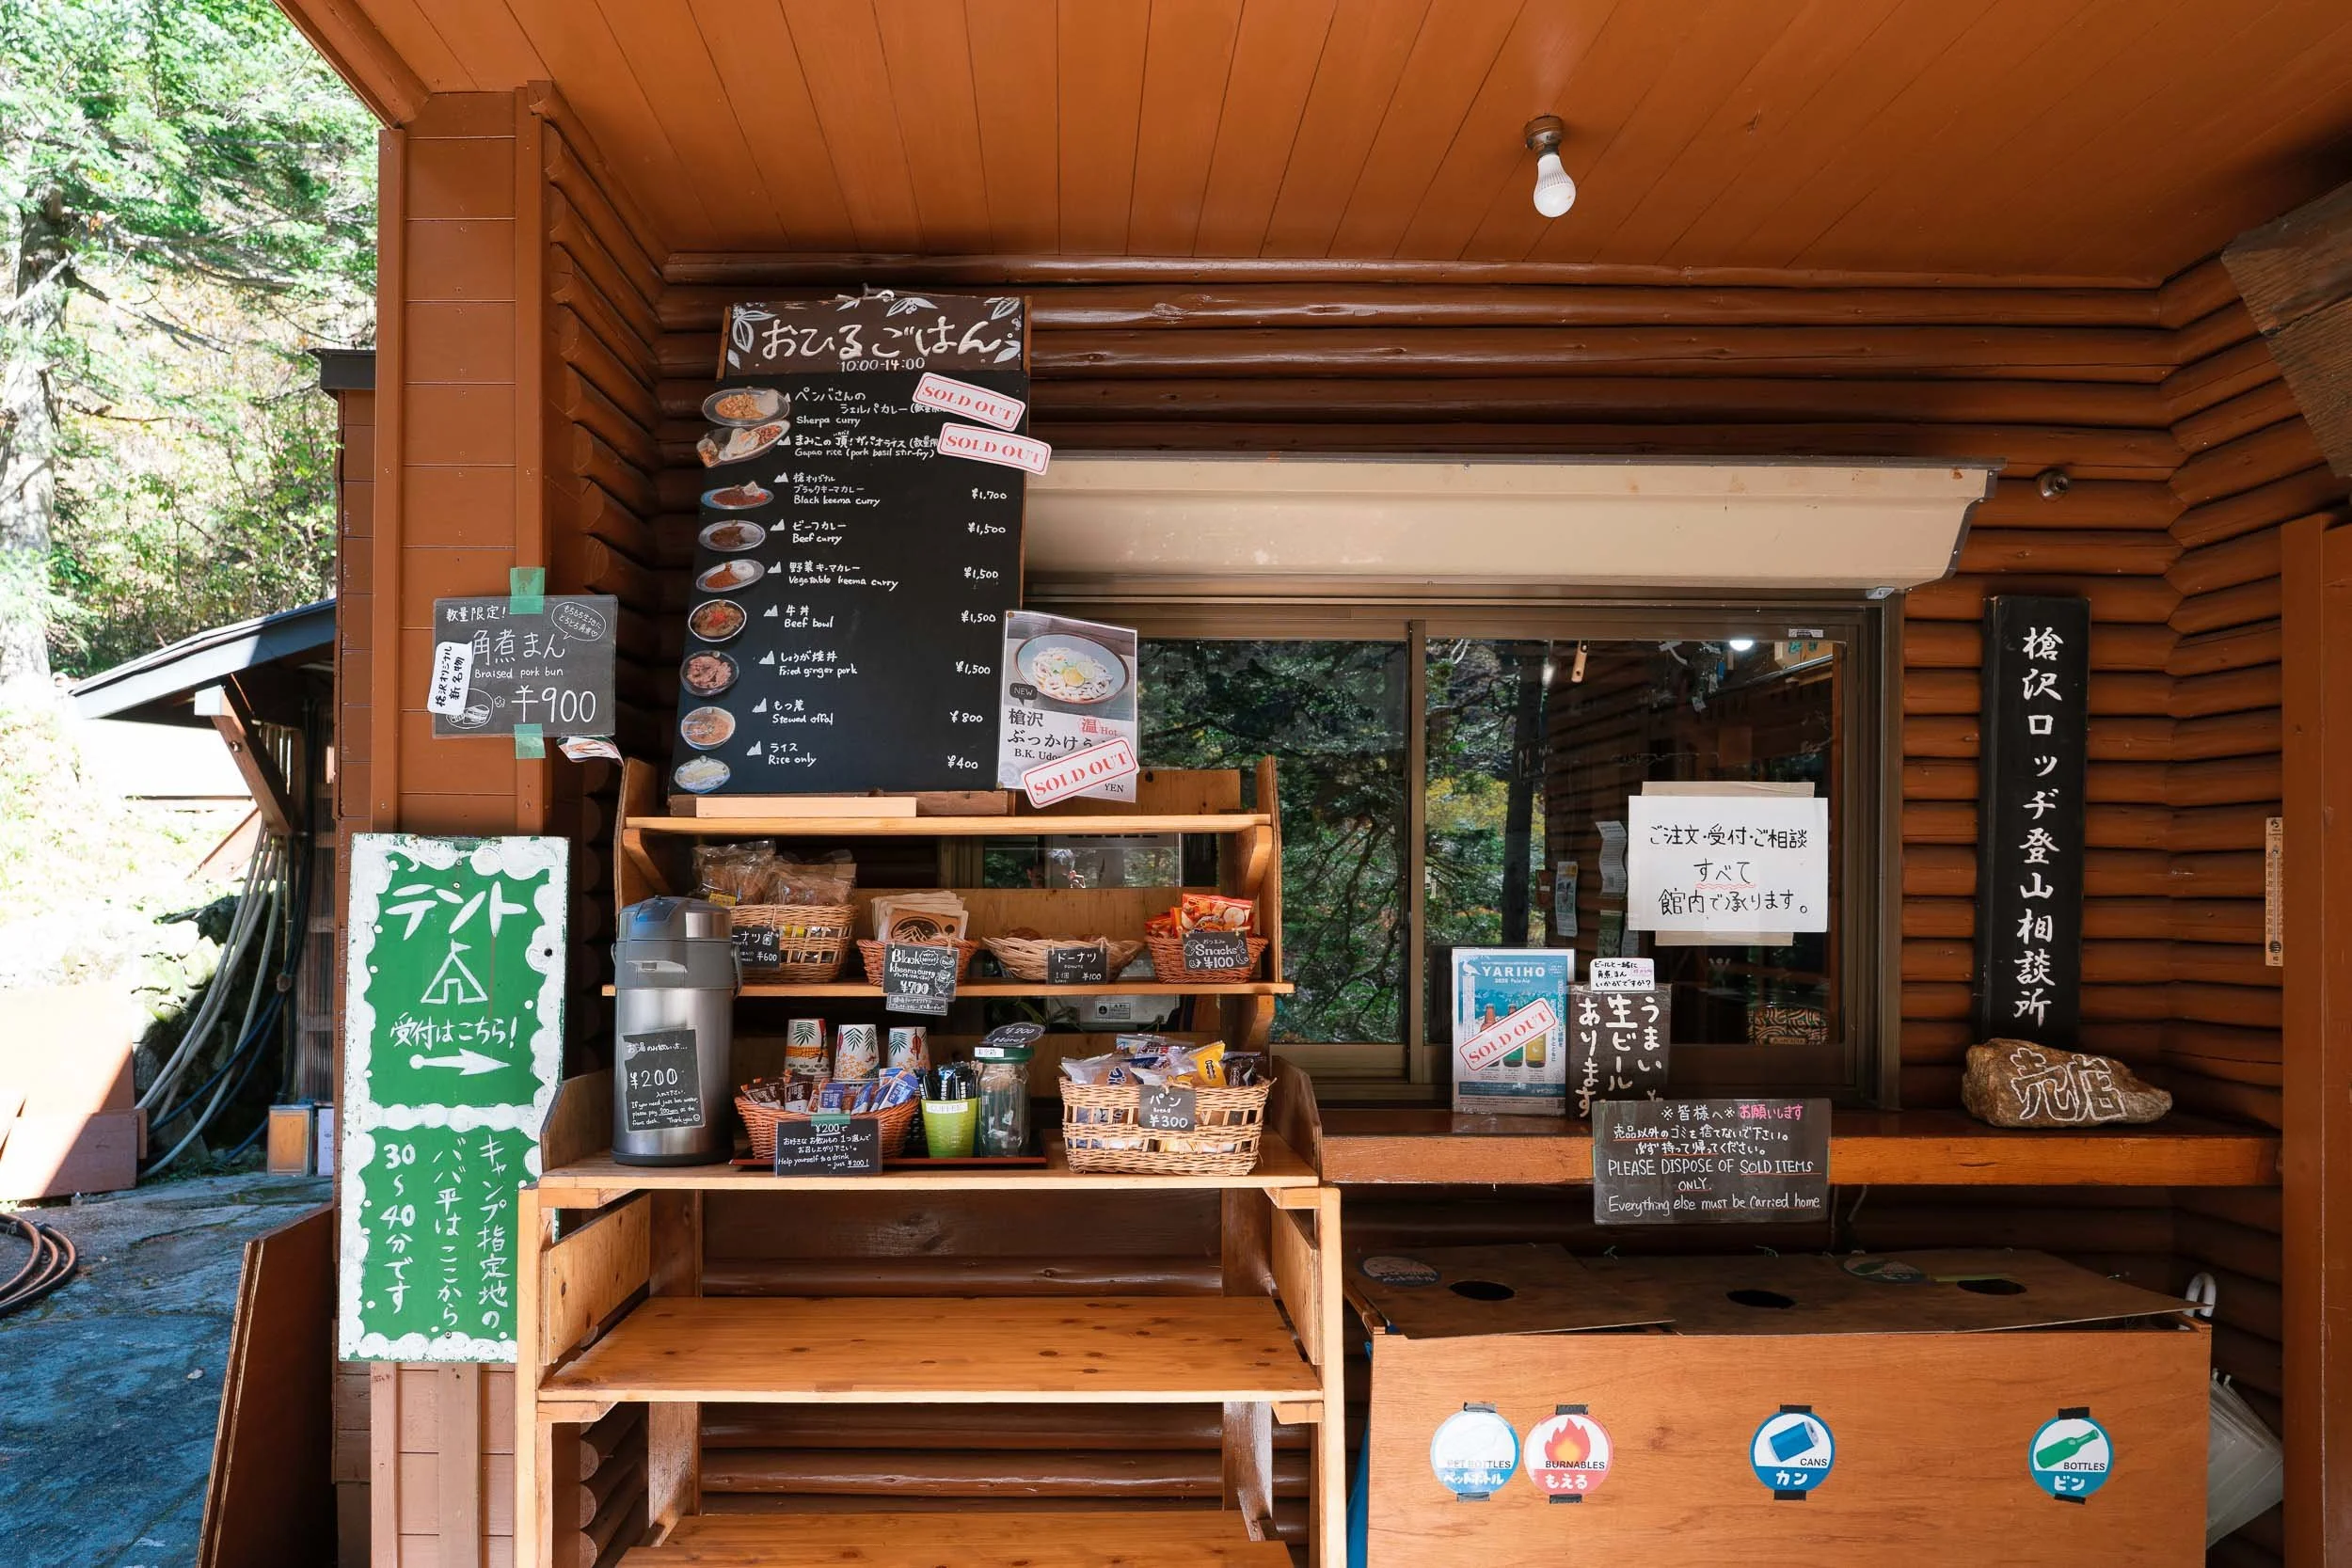
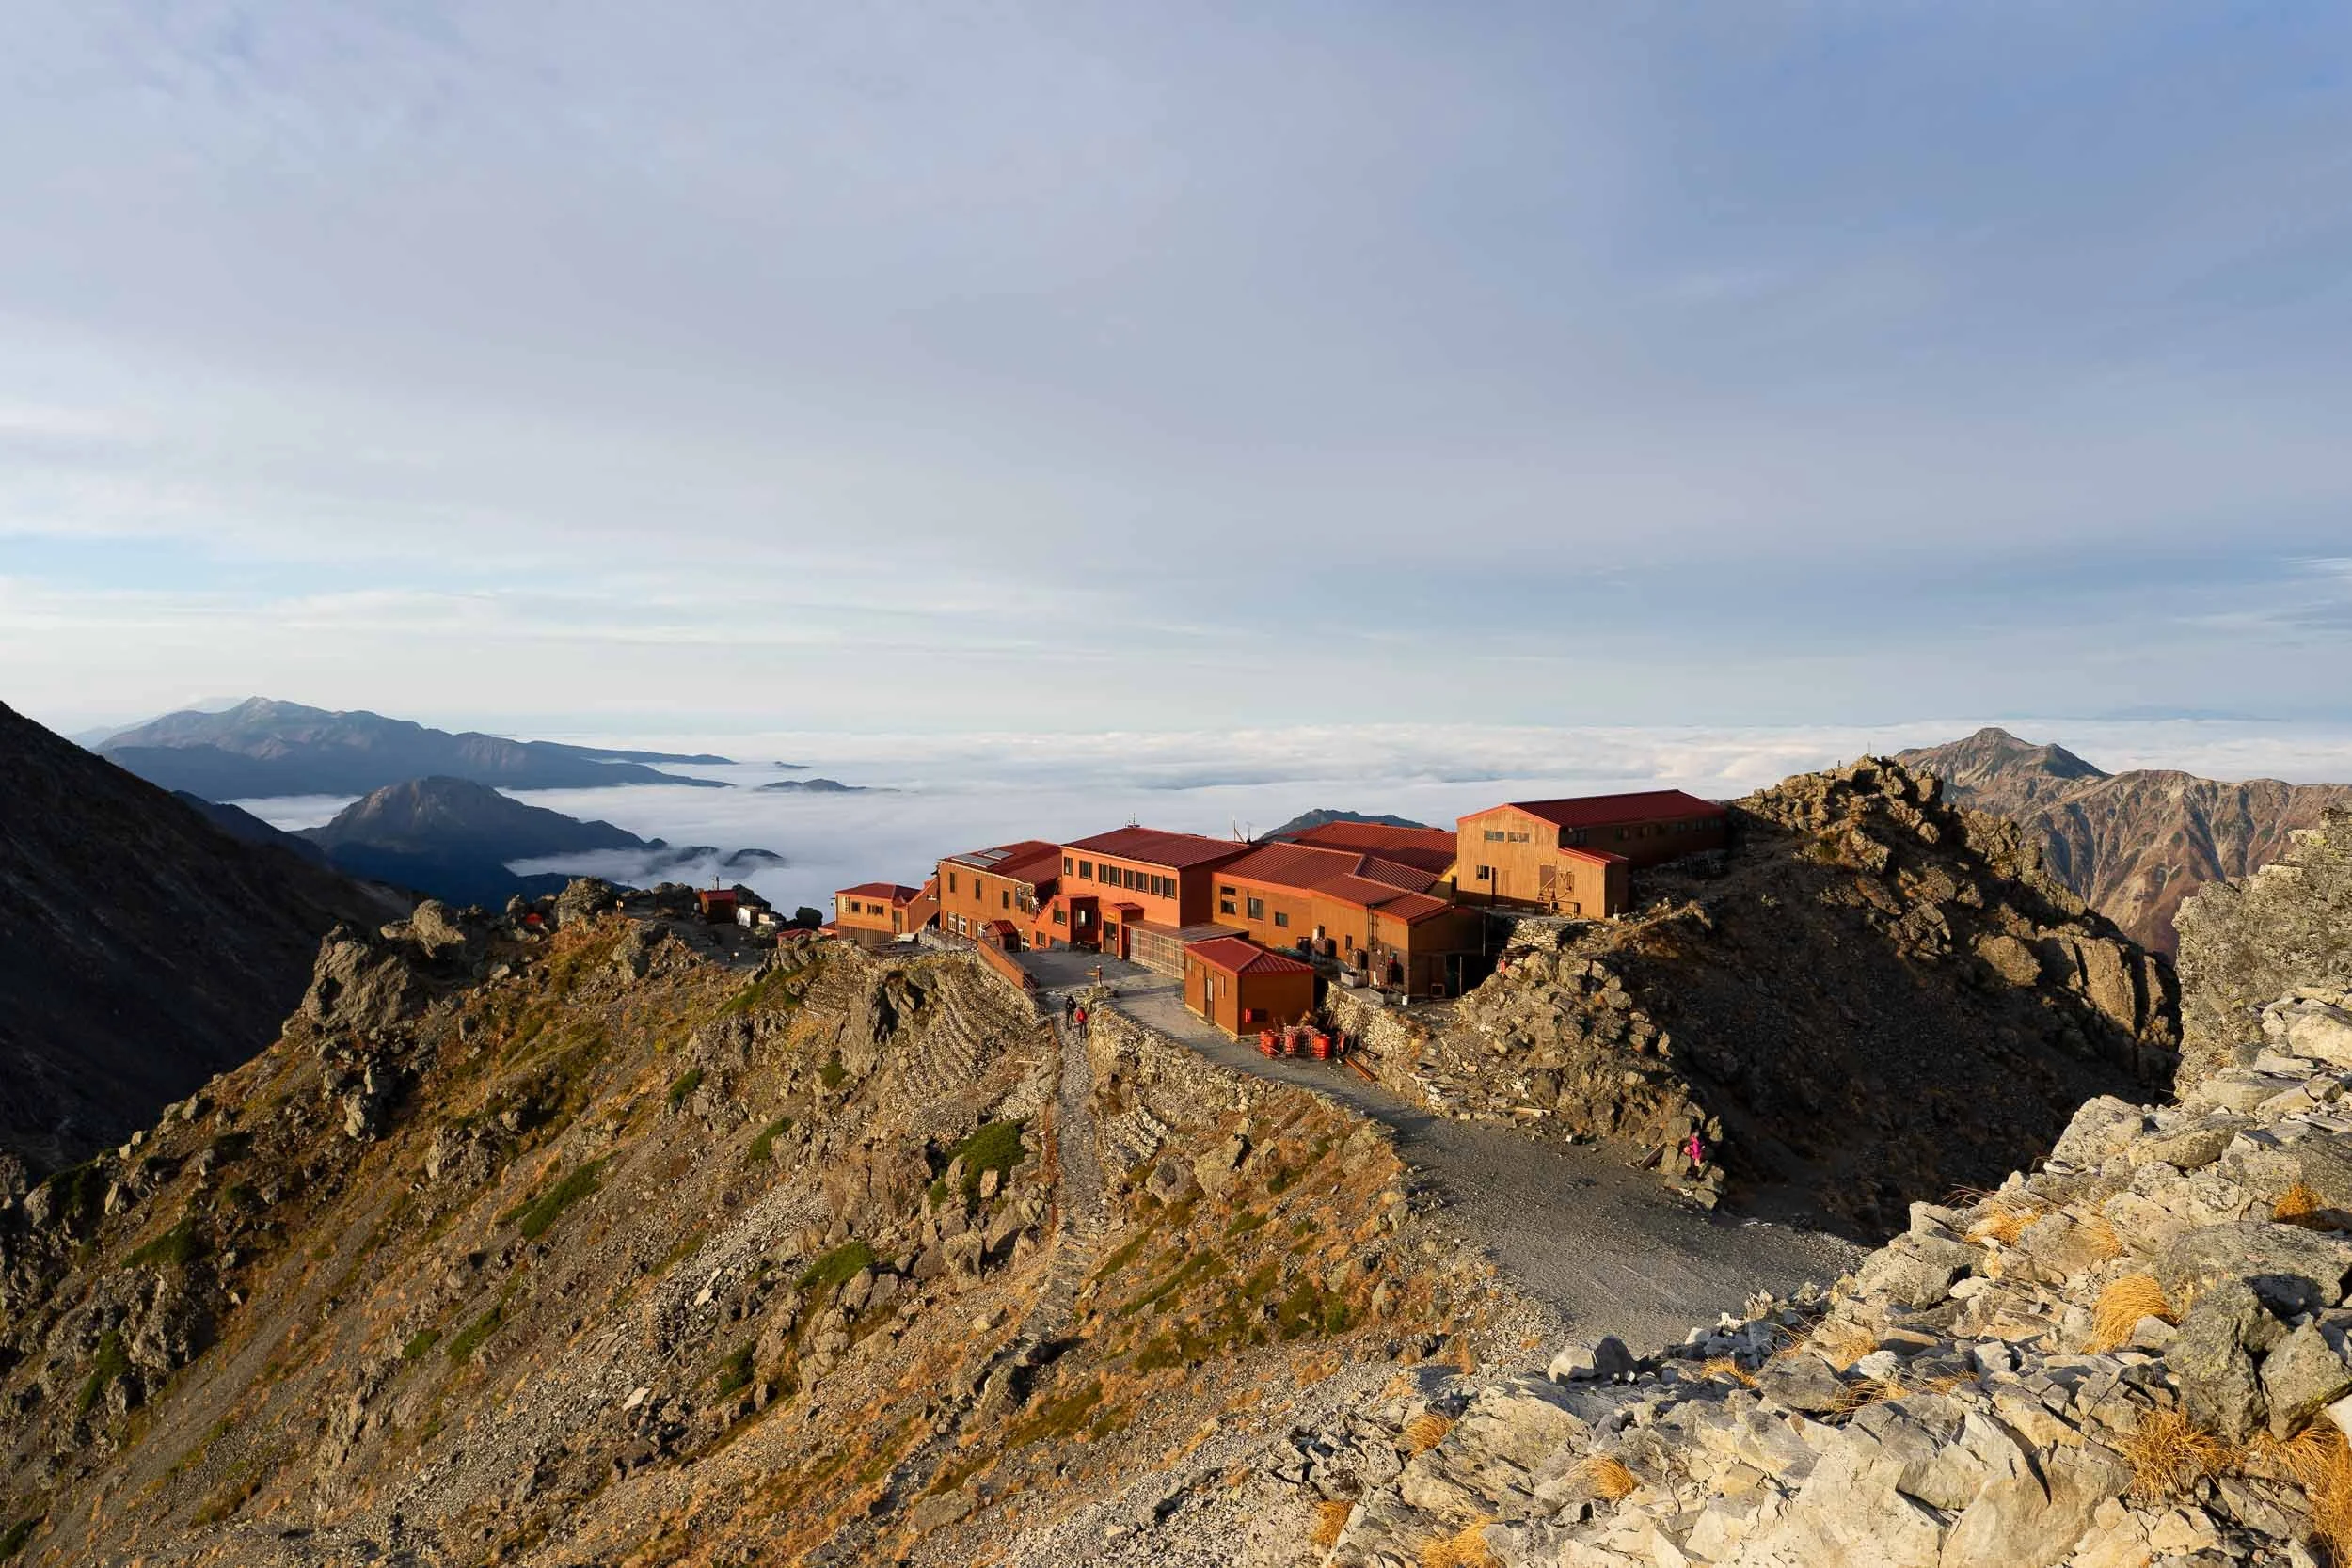
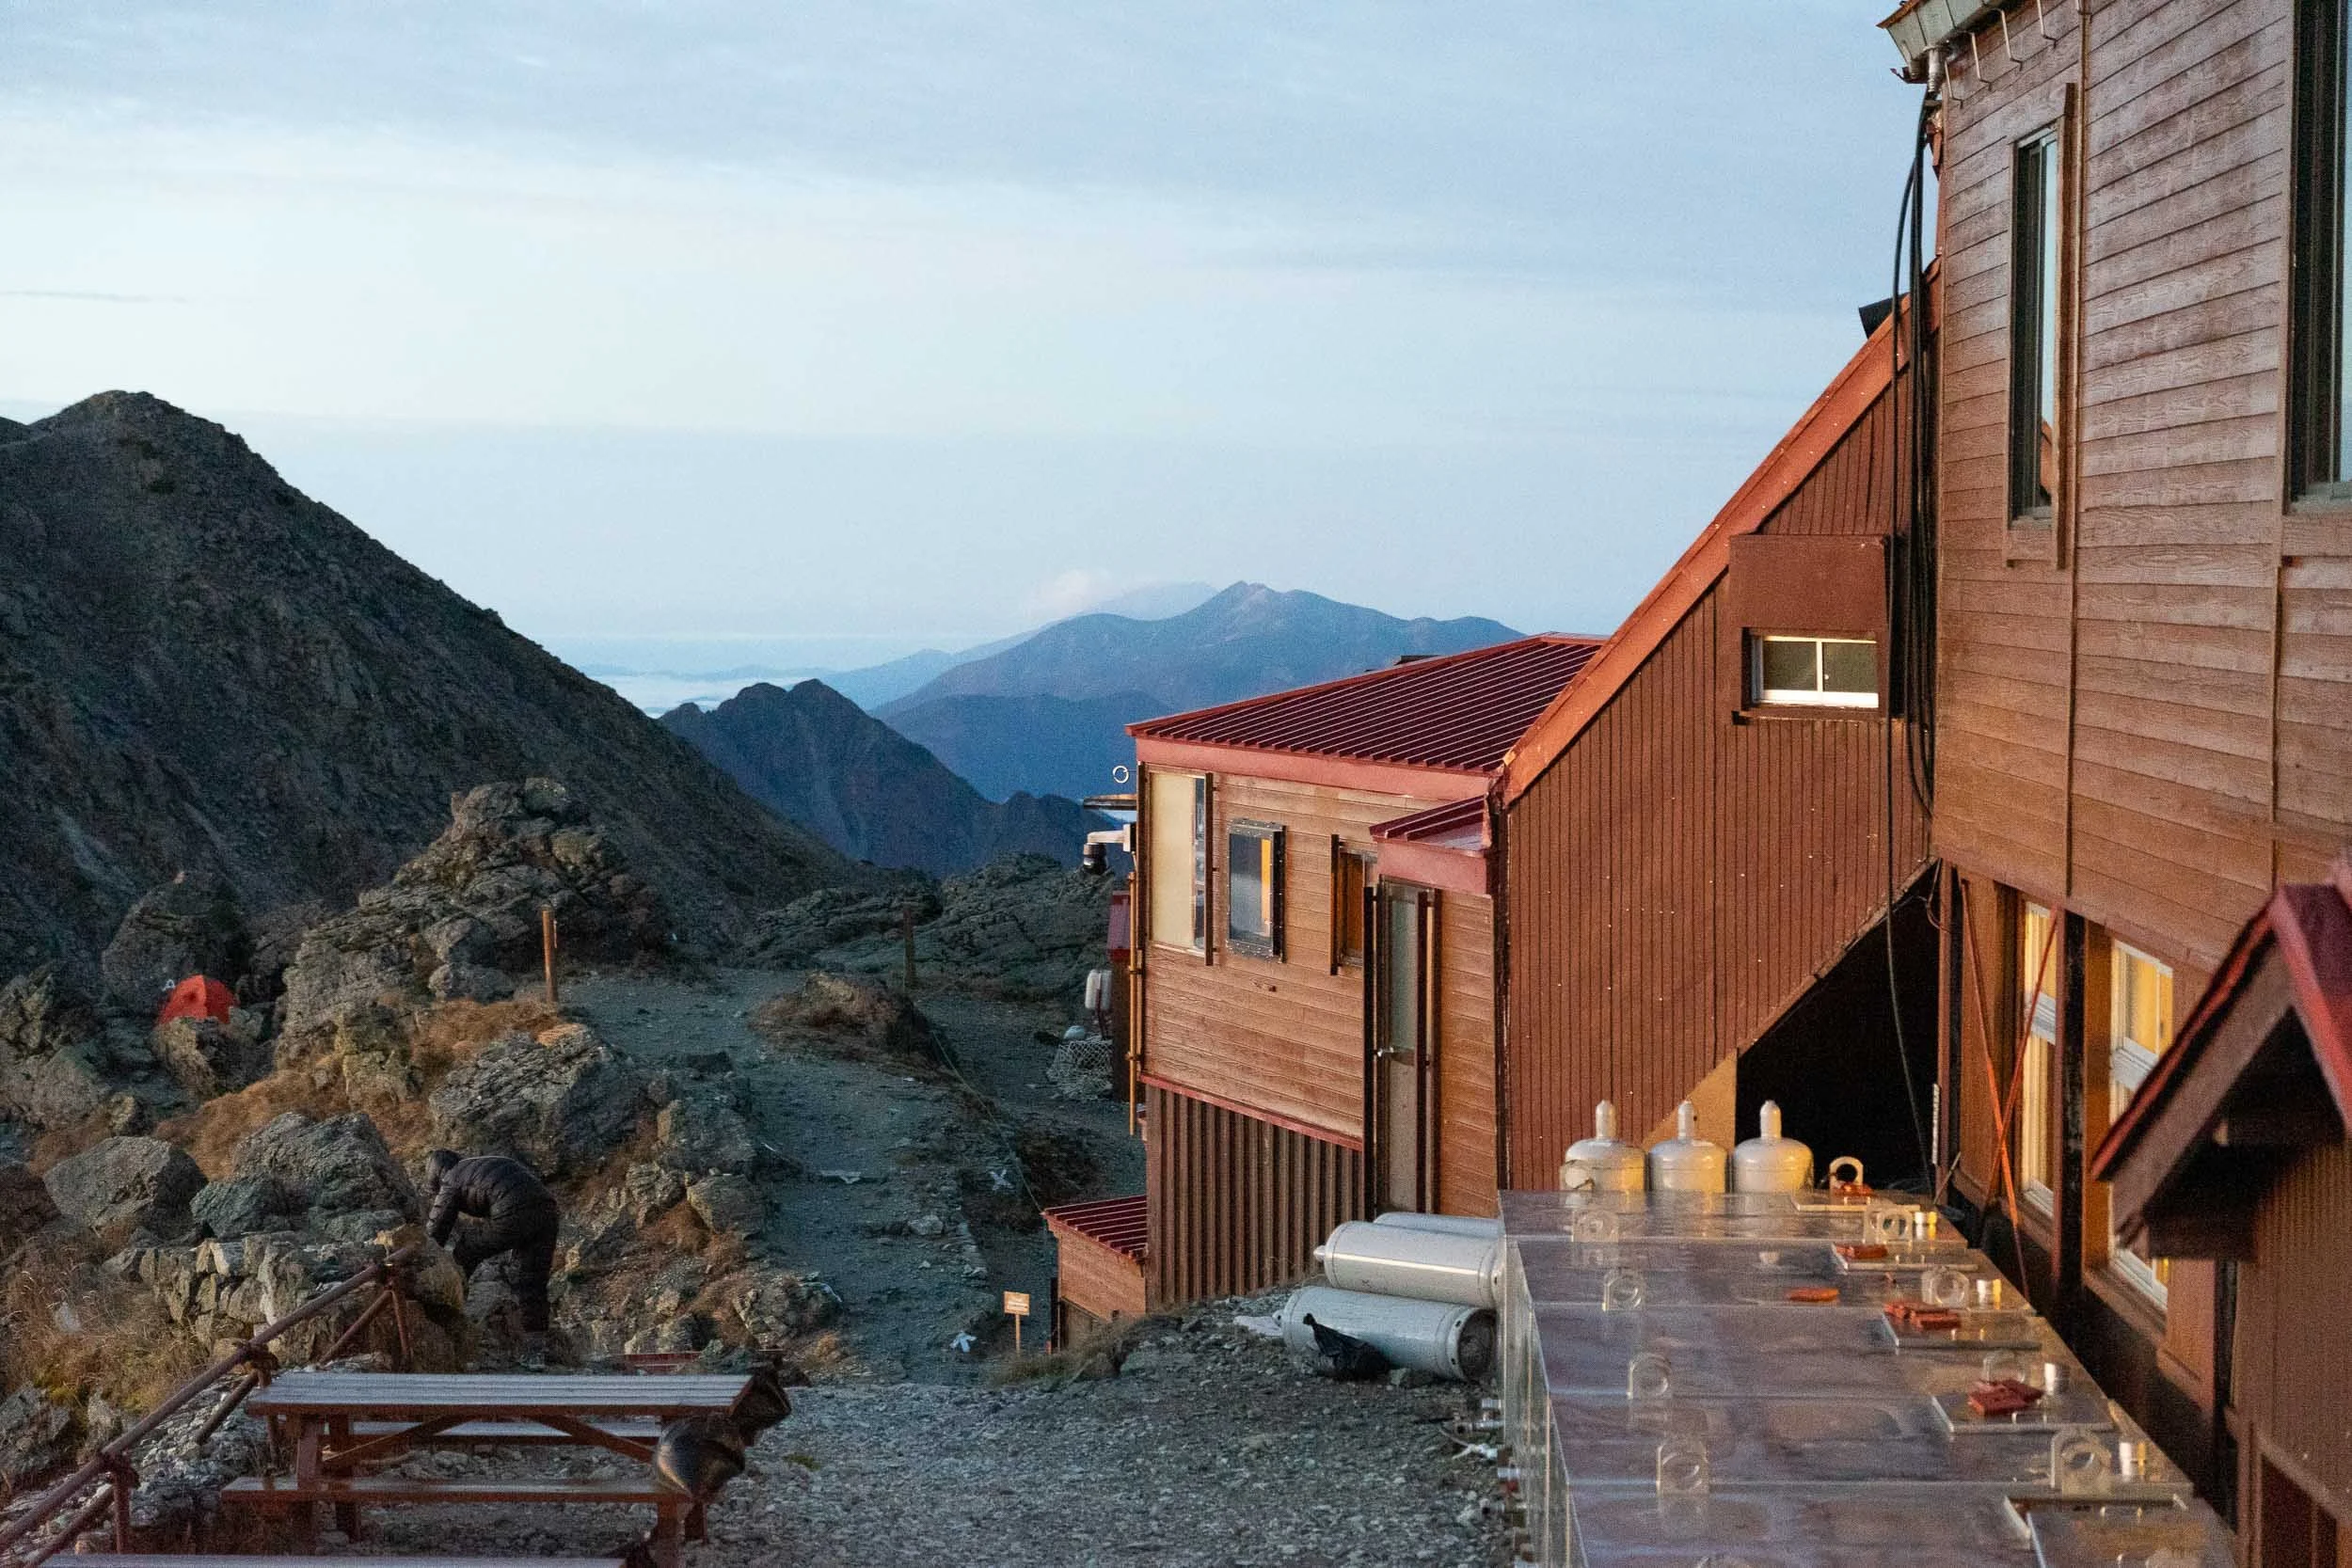
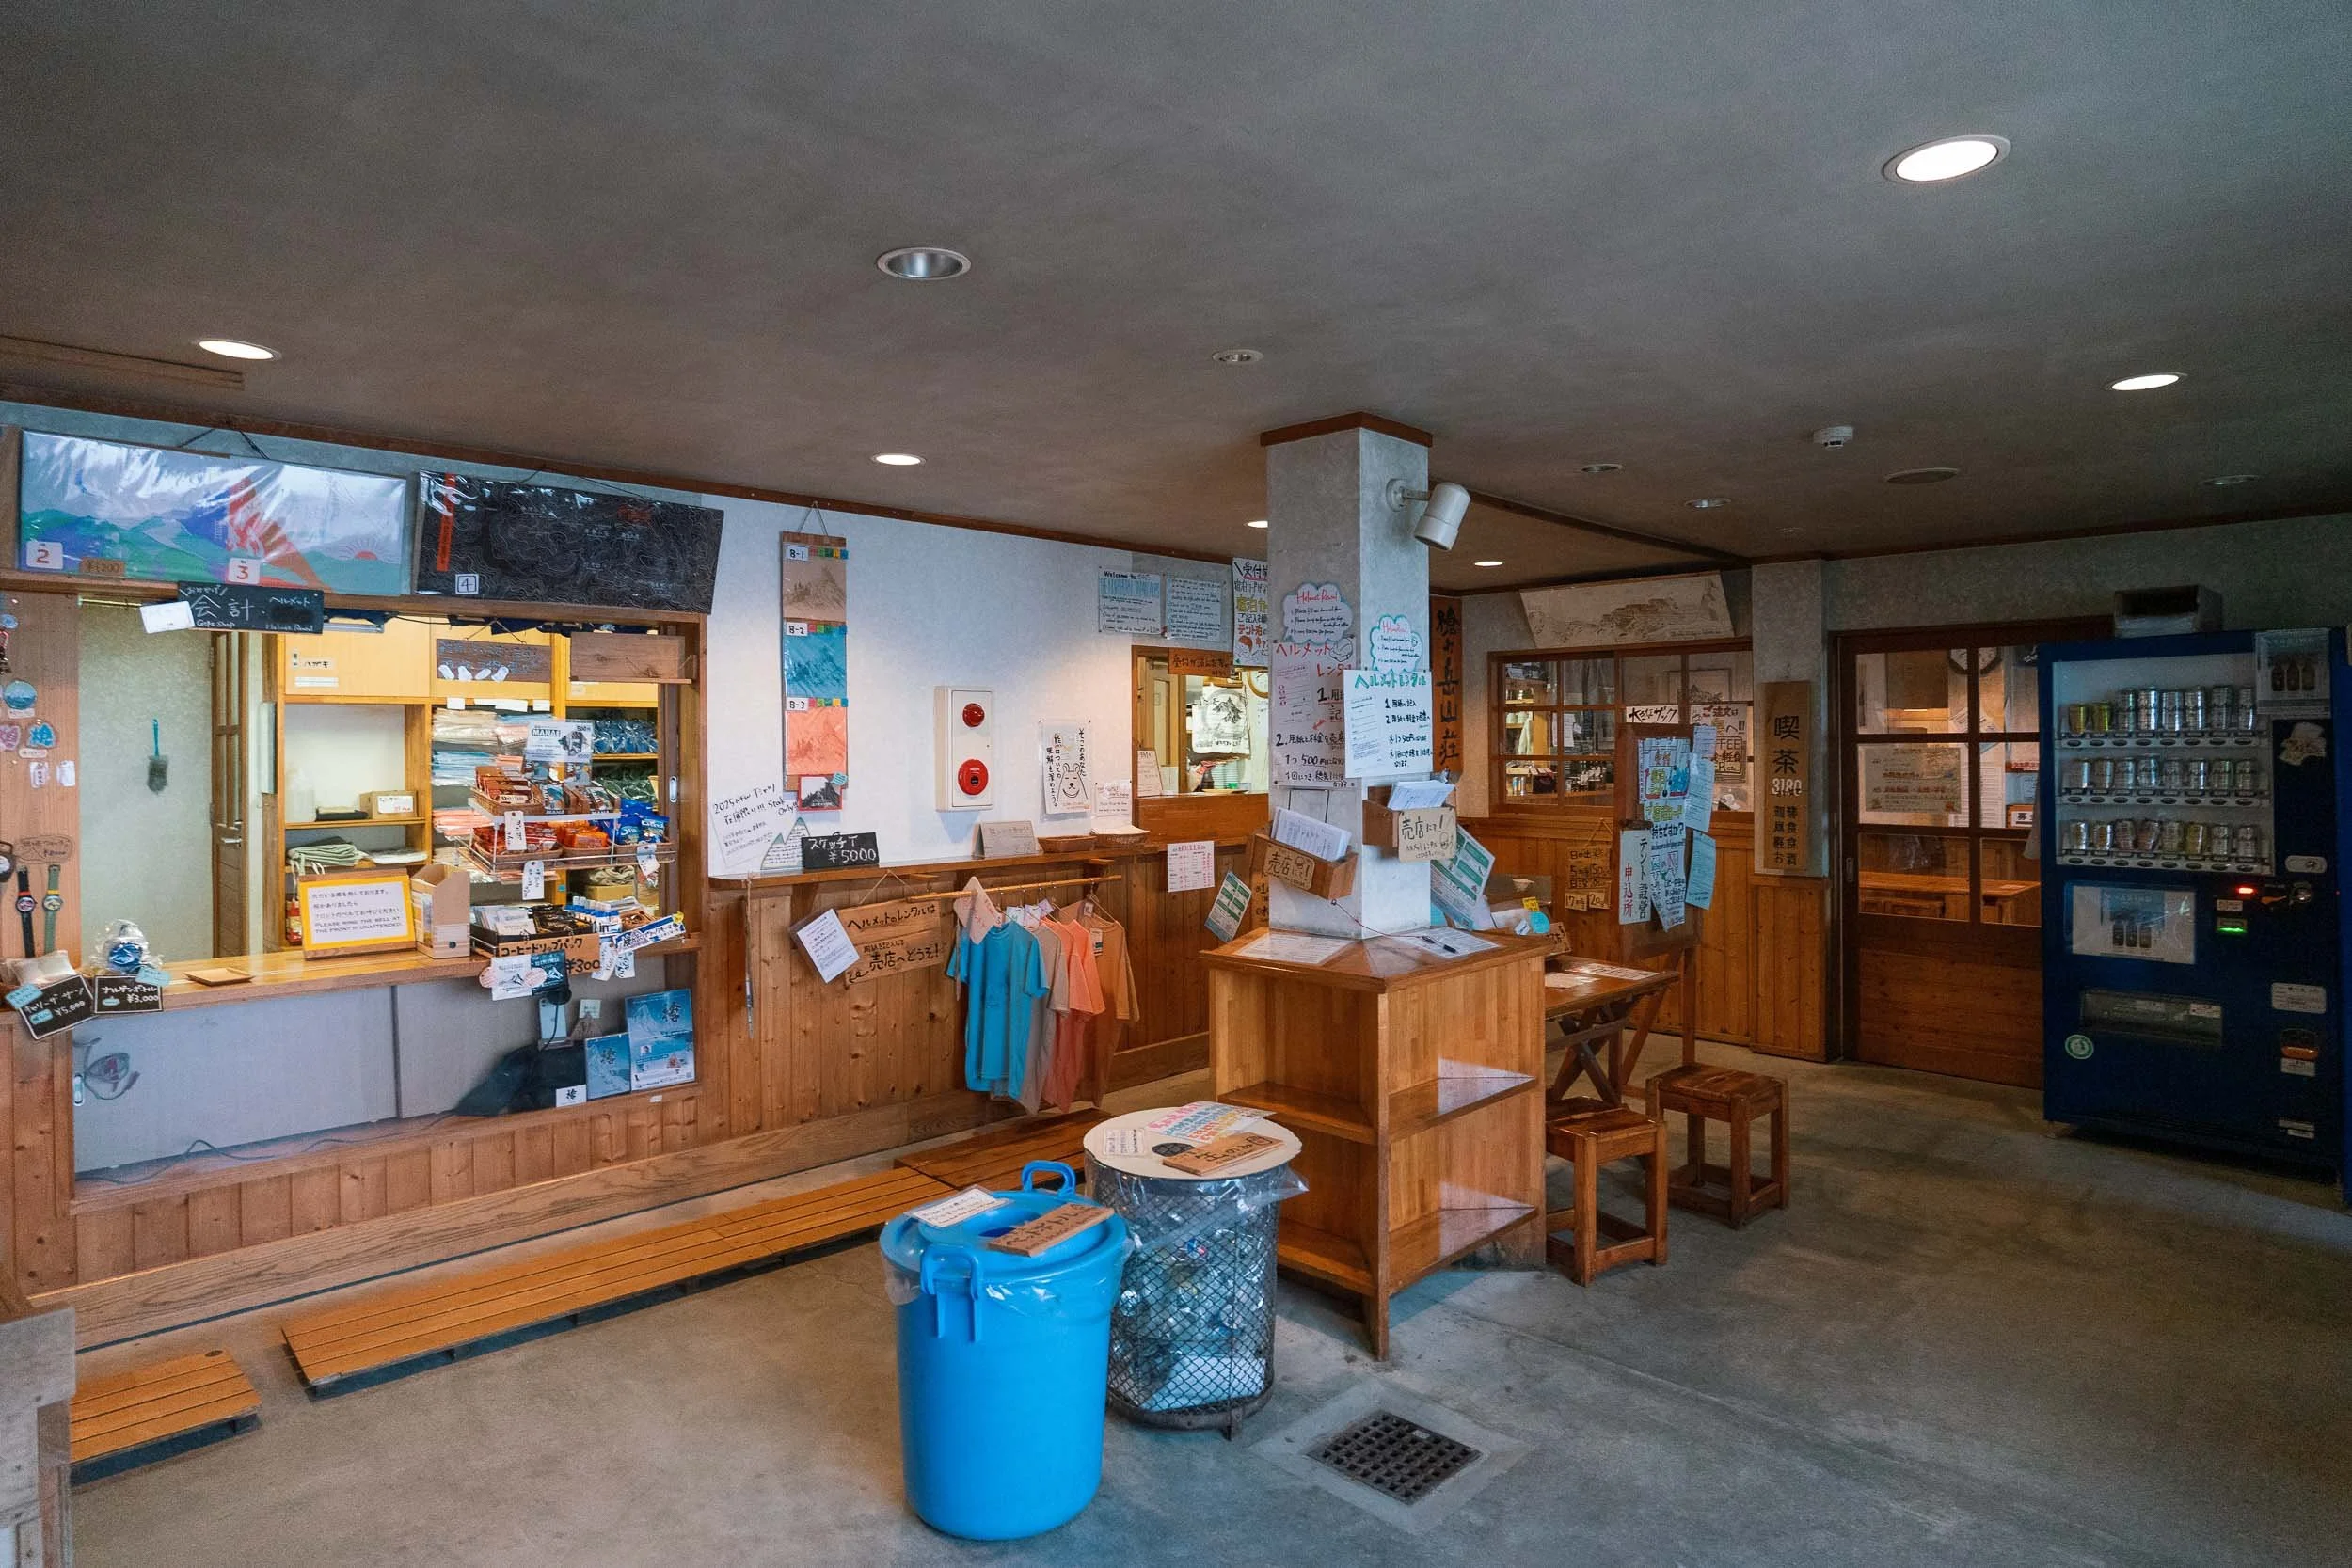
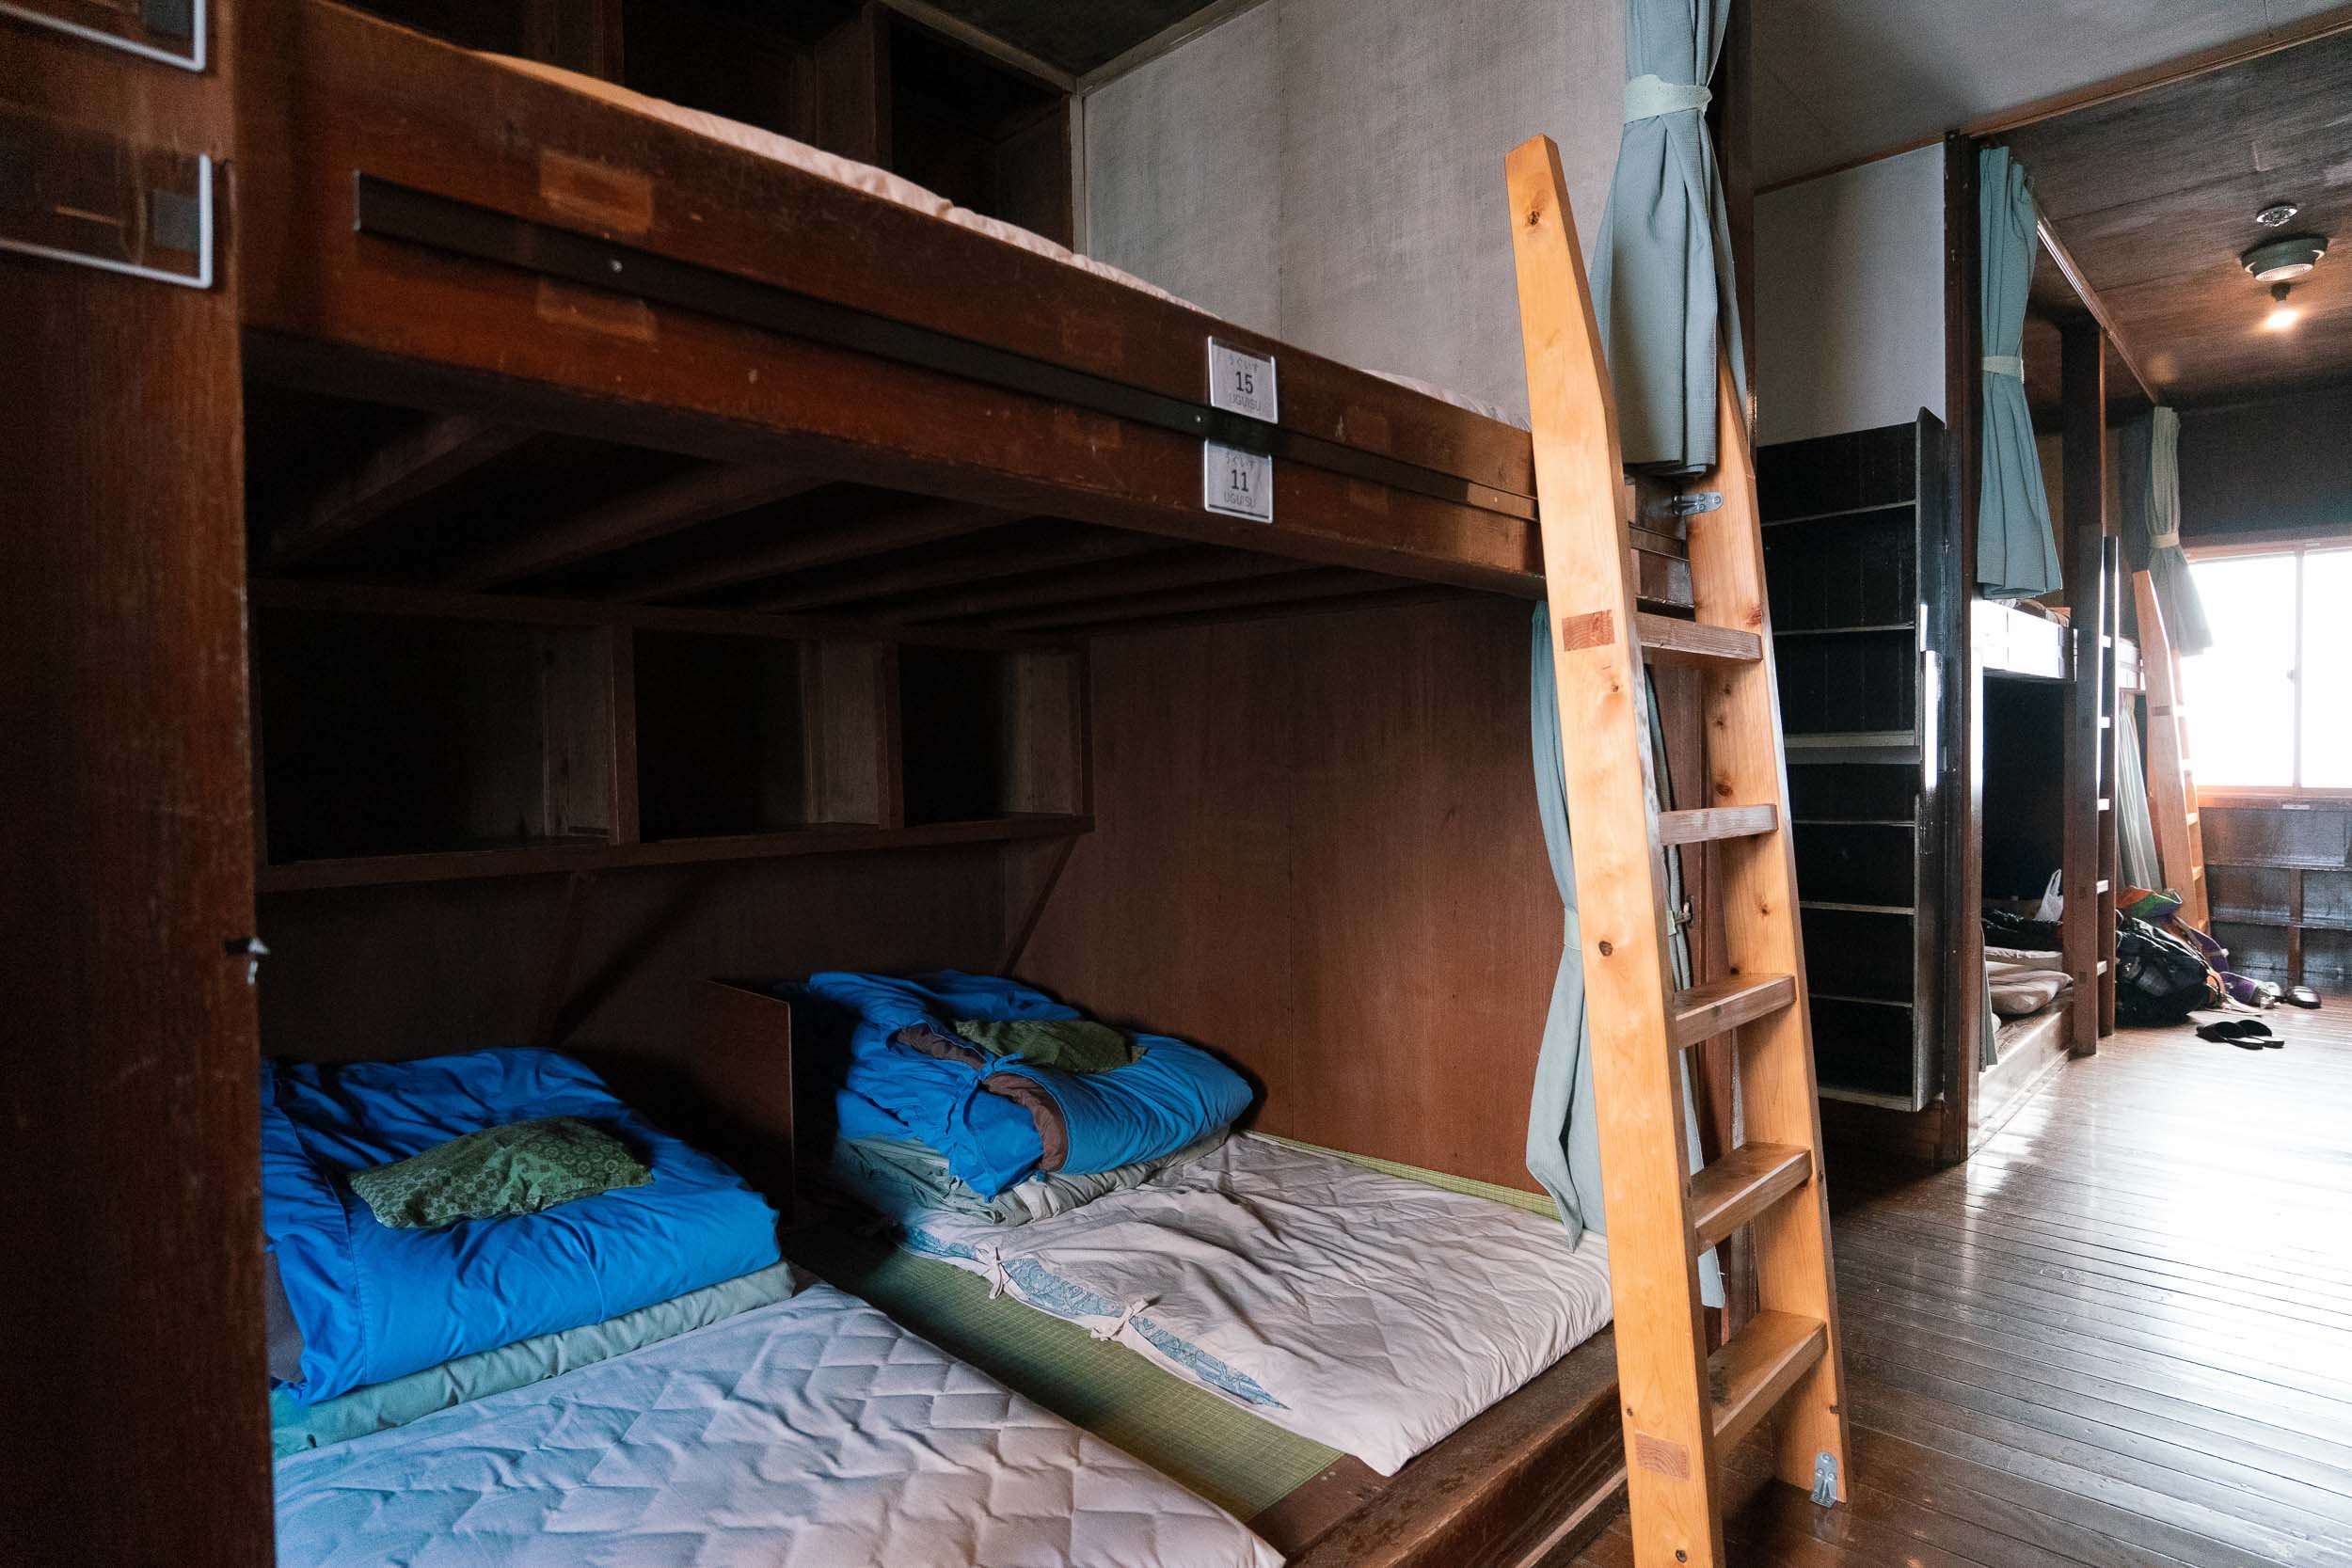
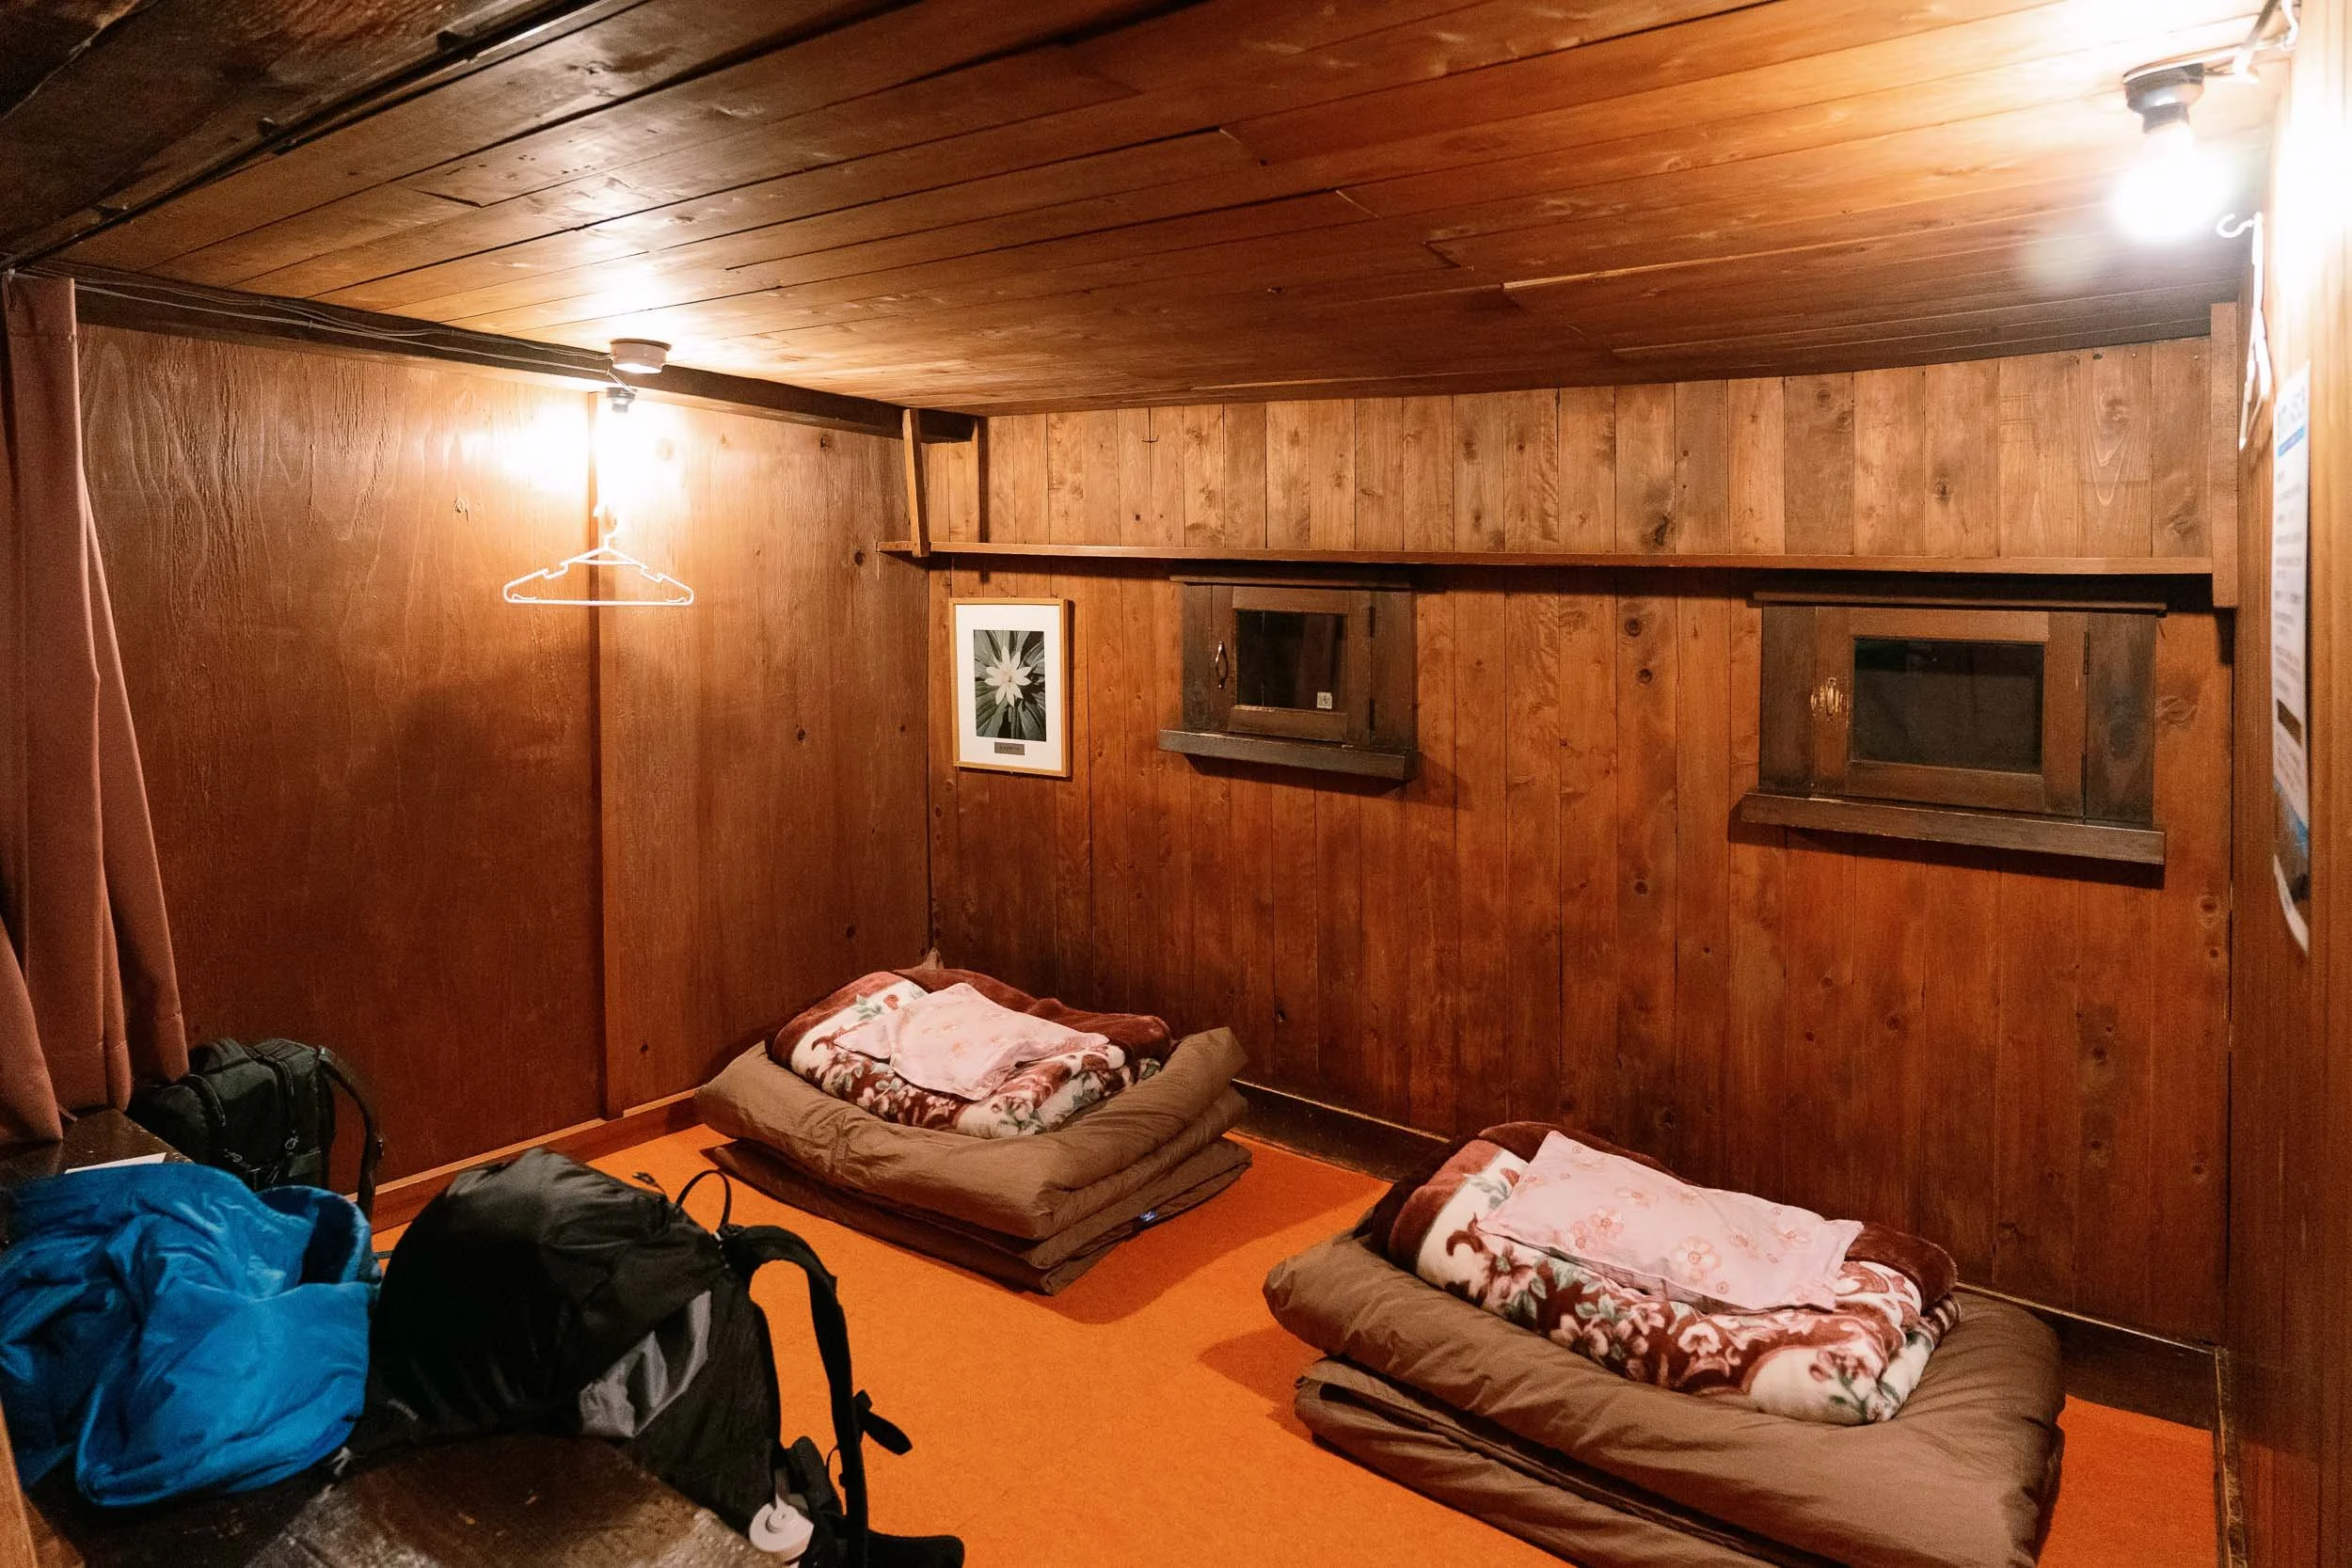
We stopped for lunch at Yarisawa Lodge. As you leave the forest line behind, the trail turns steep and becomes fully exposed. It is a continuous 3 to 4-hour ascent, gaining 1,500m over just 5km. It is a tough day. On the plus side, the path is well-marked and gives you clear indications of how far you are from Yarigatake Sanso, where you will spend the night. Remember to arrive at the hut before 3:00 PM for safety. The hut managers are relatively strict; dinner starts at 5:00 PM sharp and you will only have 30 minutes to eat.

The food was nothing fancy, but unlimited rice refills and miso soup meant we were well-fed after a long day. Today we saw one of the most beautiful sunsets of our lives. We have another blog post talking about the Japanese mountain sanso in more detail and what to expect.
The Cost: Roughly ¥15,000 per person, per night. (Remember to pay in cash!). We have another post covering the cost of hiking in the Japanese Alps.
Where we stayed: Yarigatake Sanso (Booked directly in advance for ¥31,000 total via the 8:00 AM calendar rush).
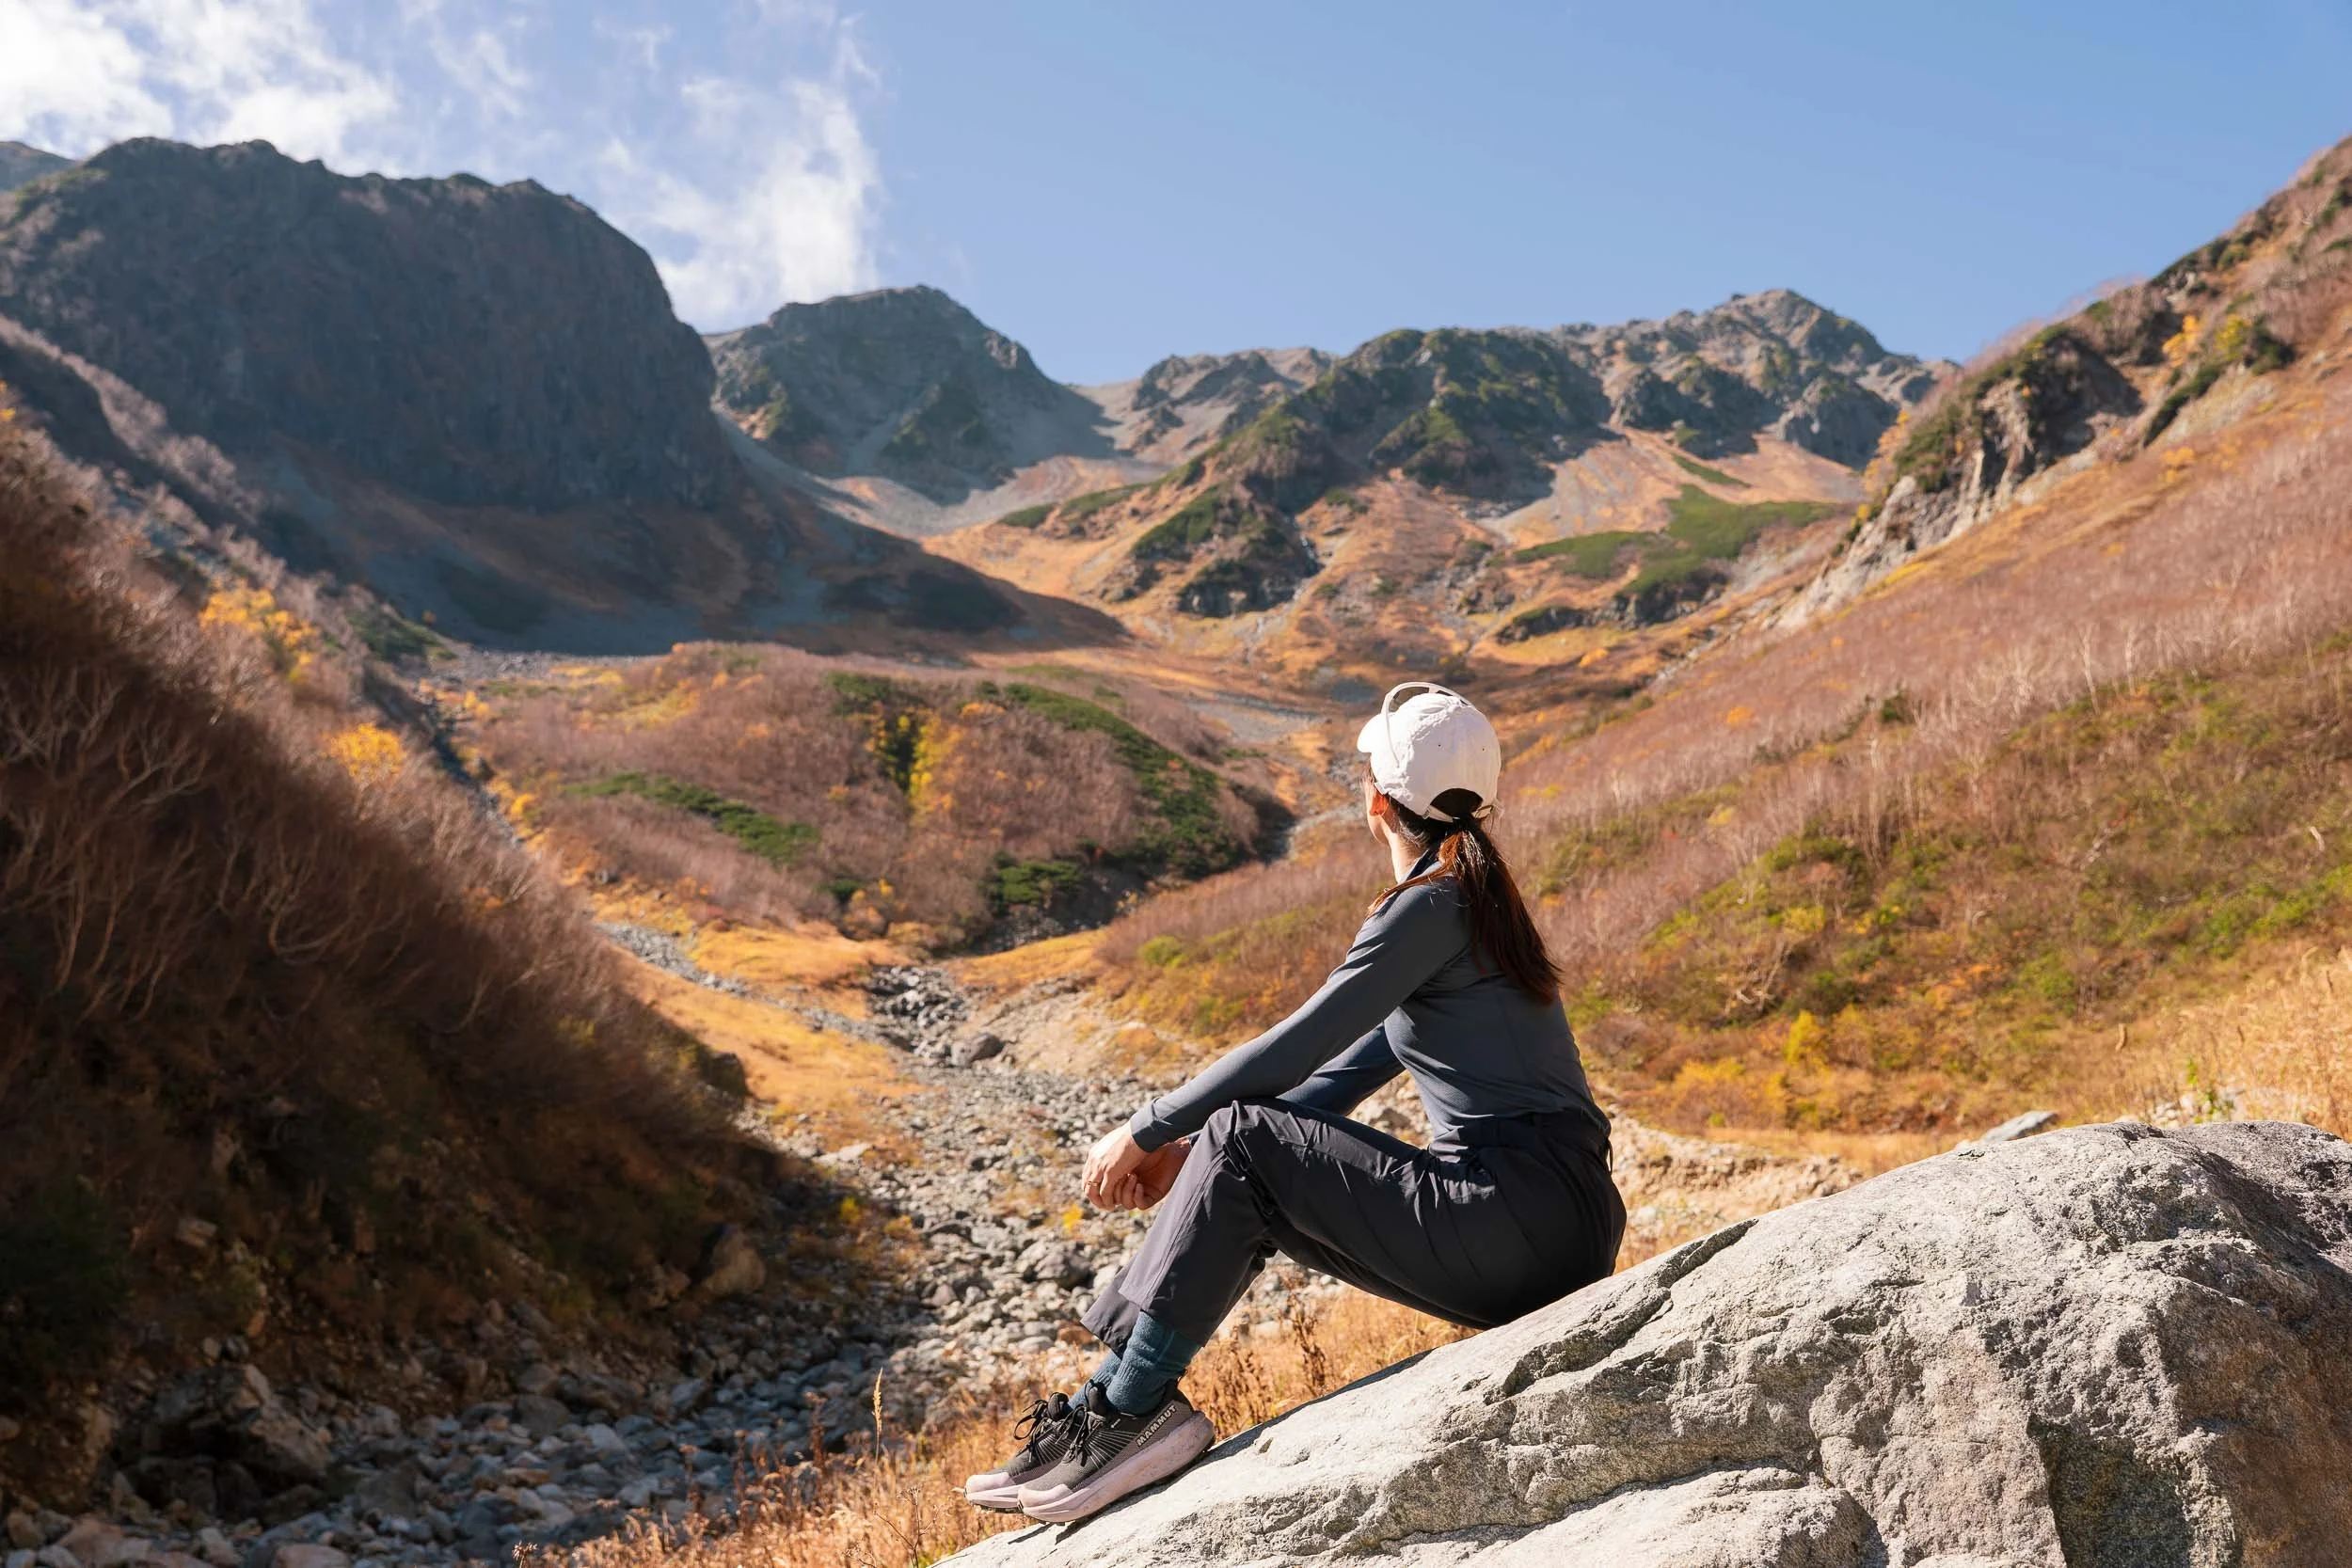
Day 4: Mt Yarigatake "Matterhorn of Japan" to Karasawa Cirque
Stats: 7.5km | 9 Hours | 800m Elevation Gain (Difficult via Daikiretto Gap)
AllTrails: Yarigatake to Kitahotaka Map; Kitahodaka to Karwasawa Map
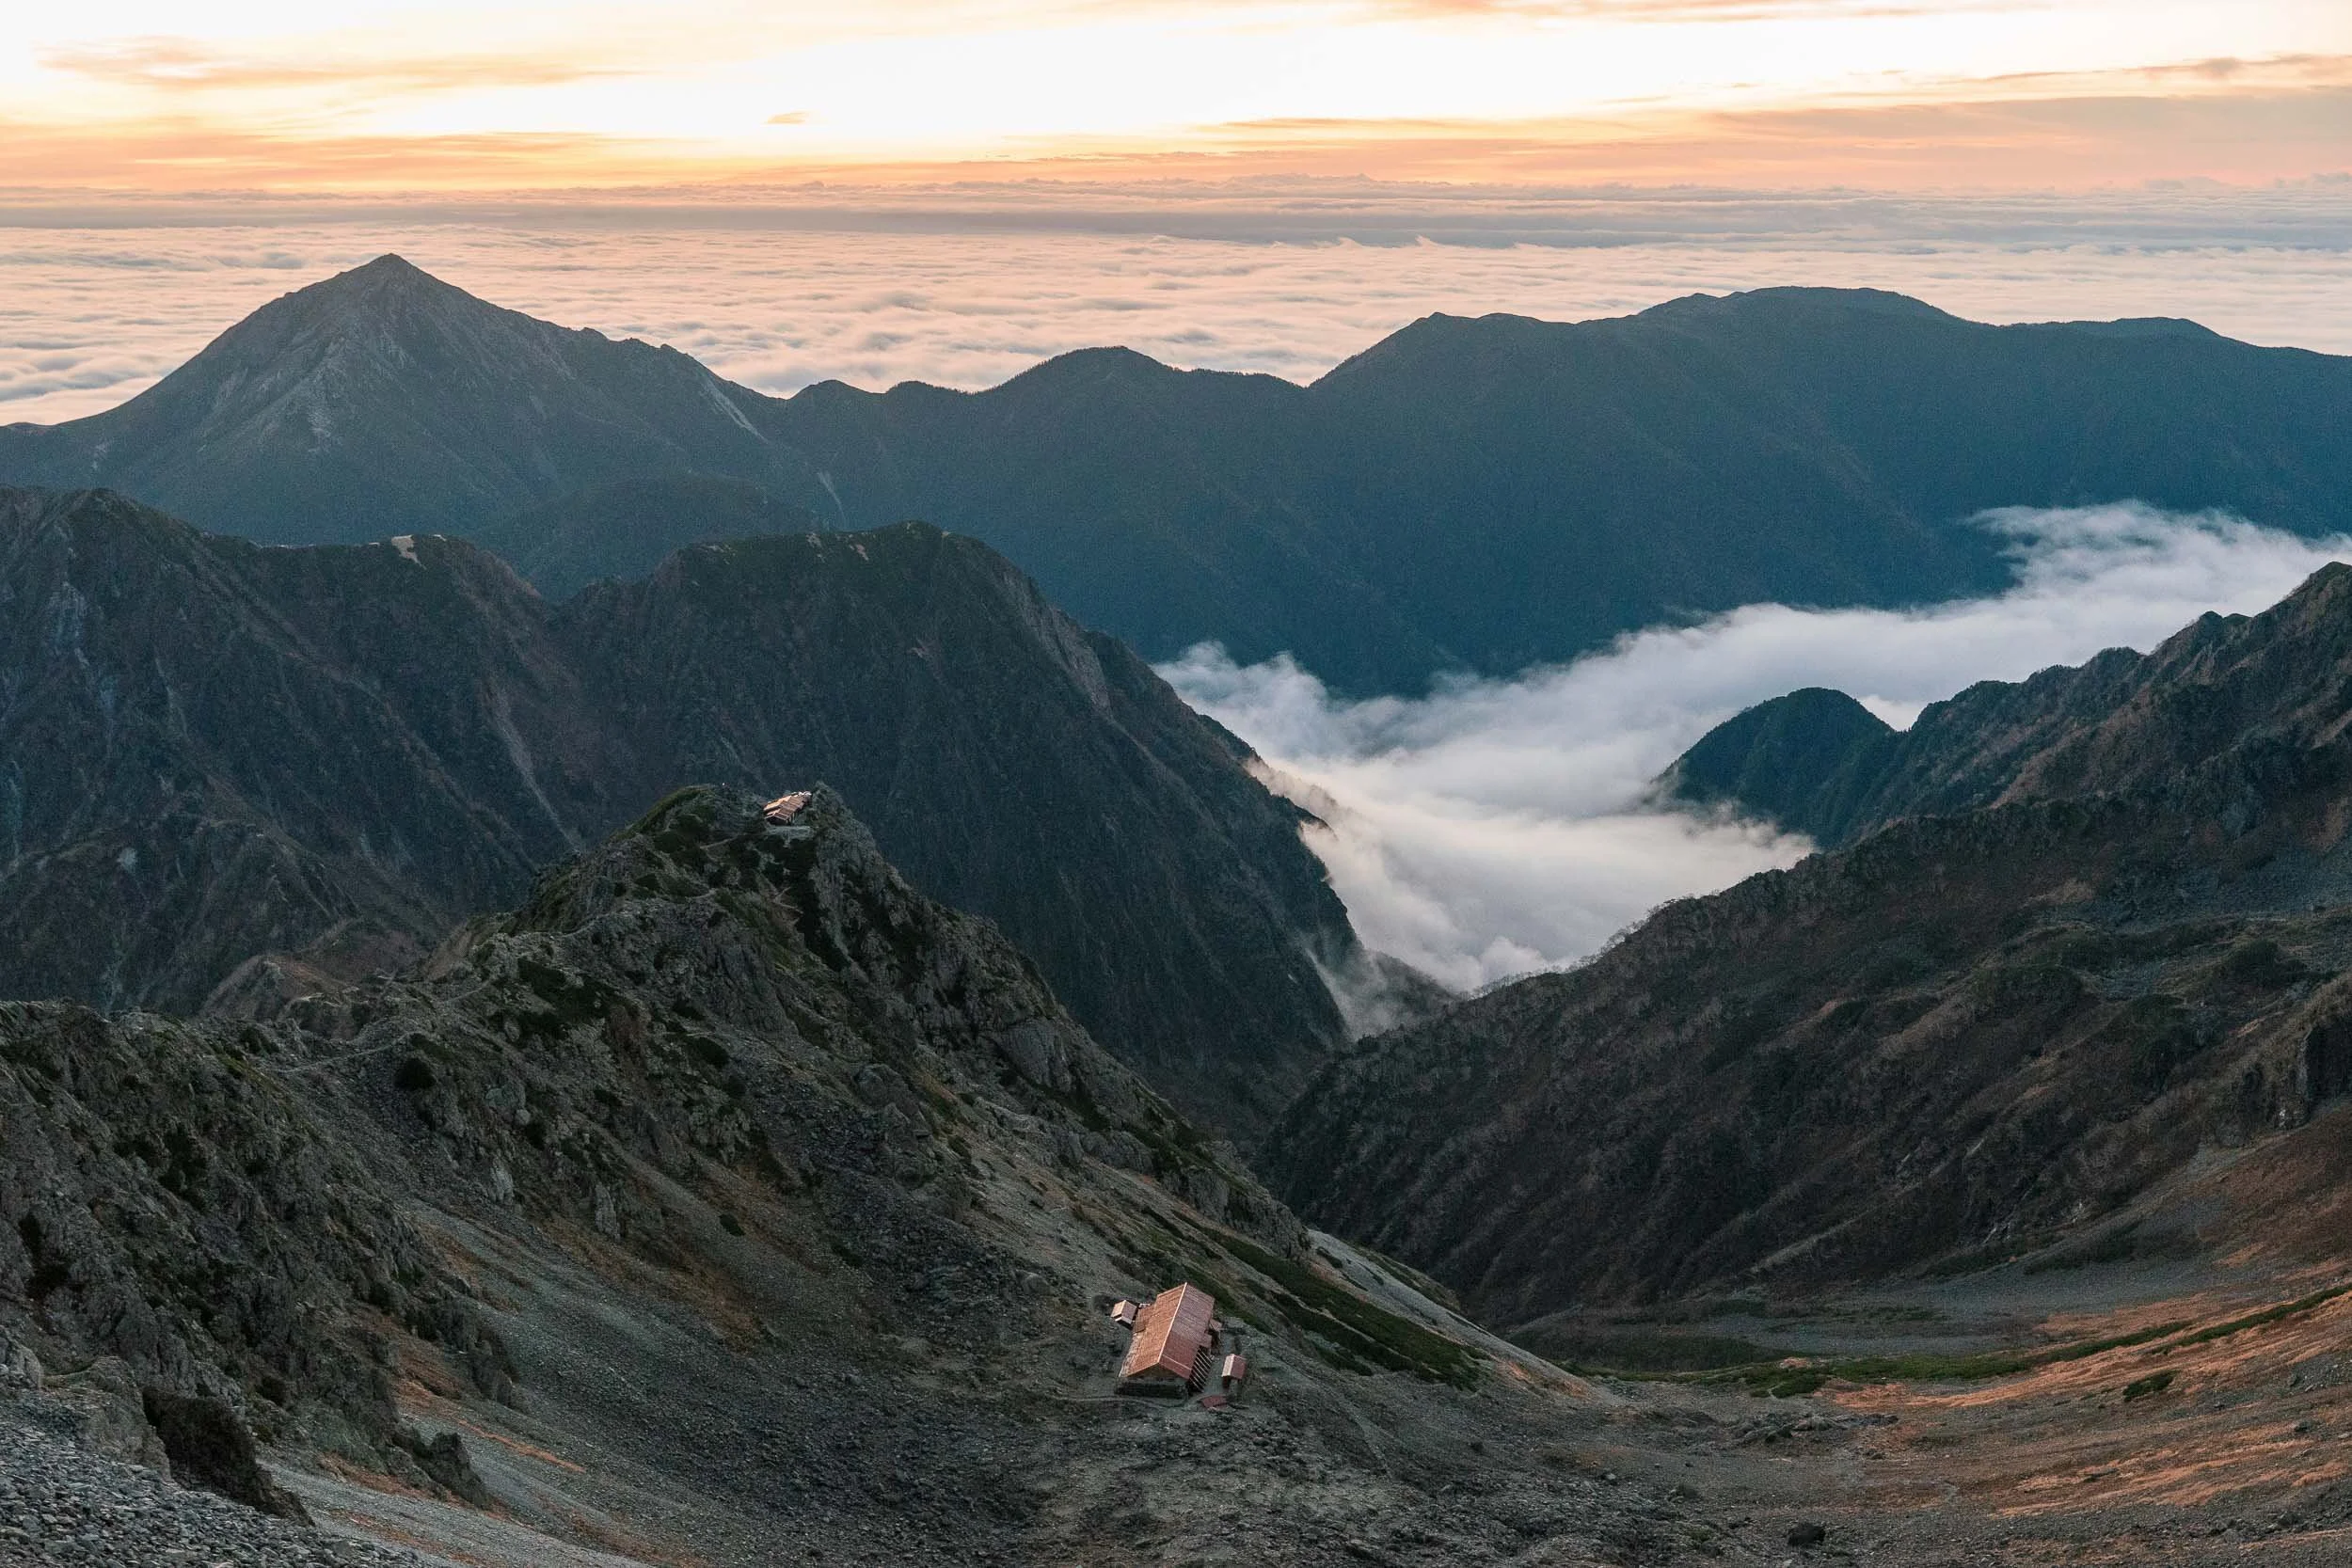
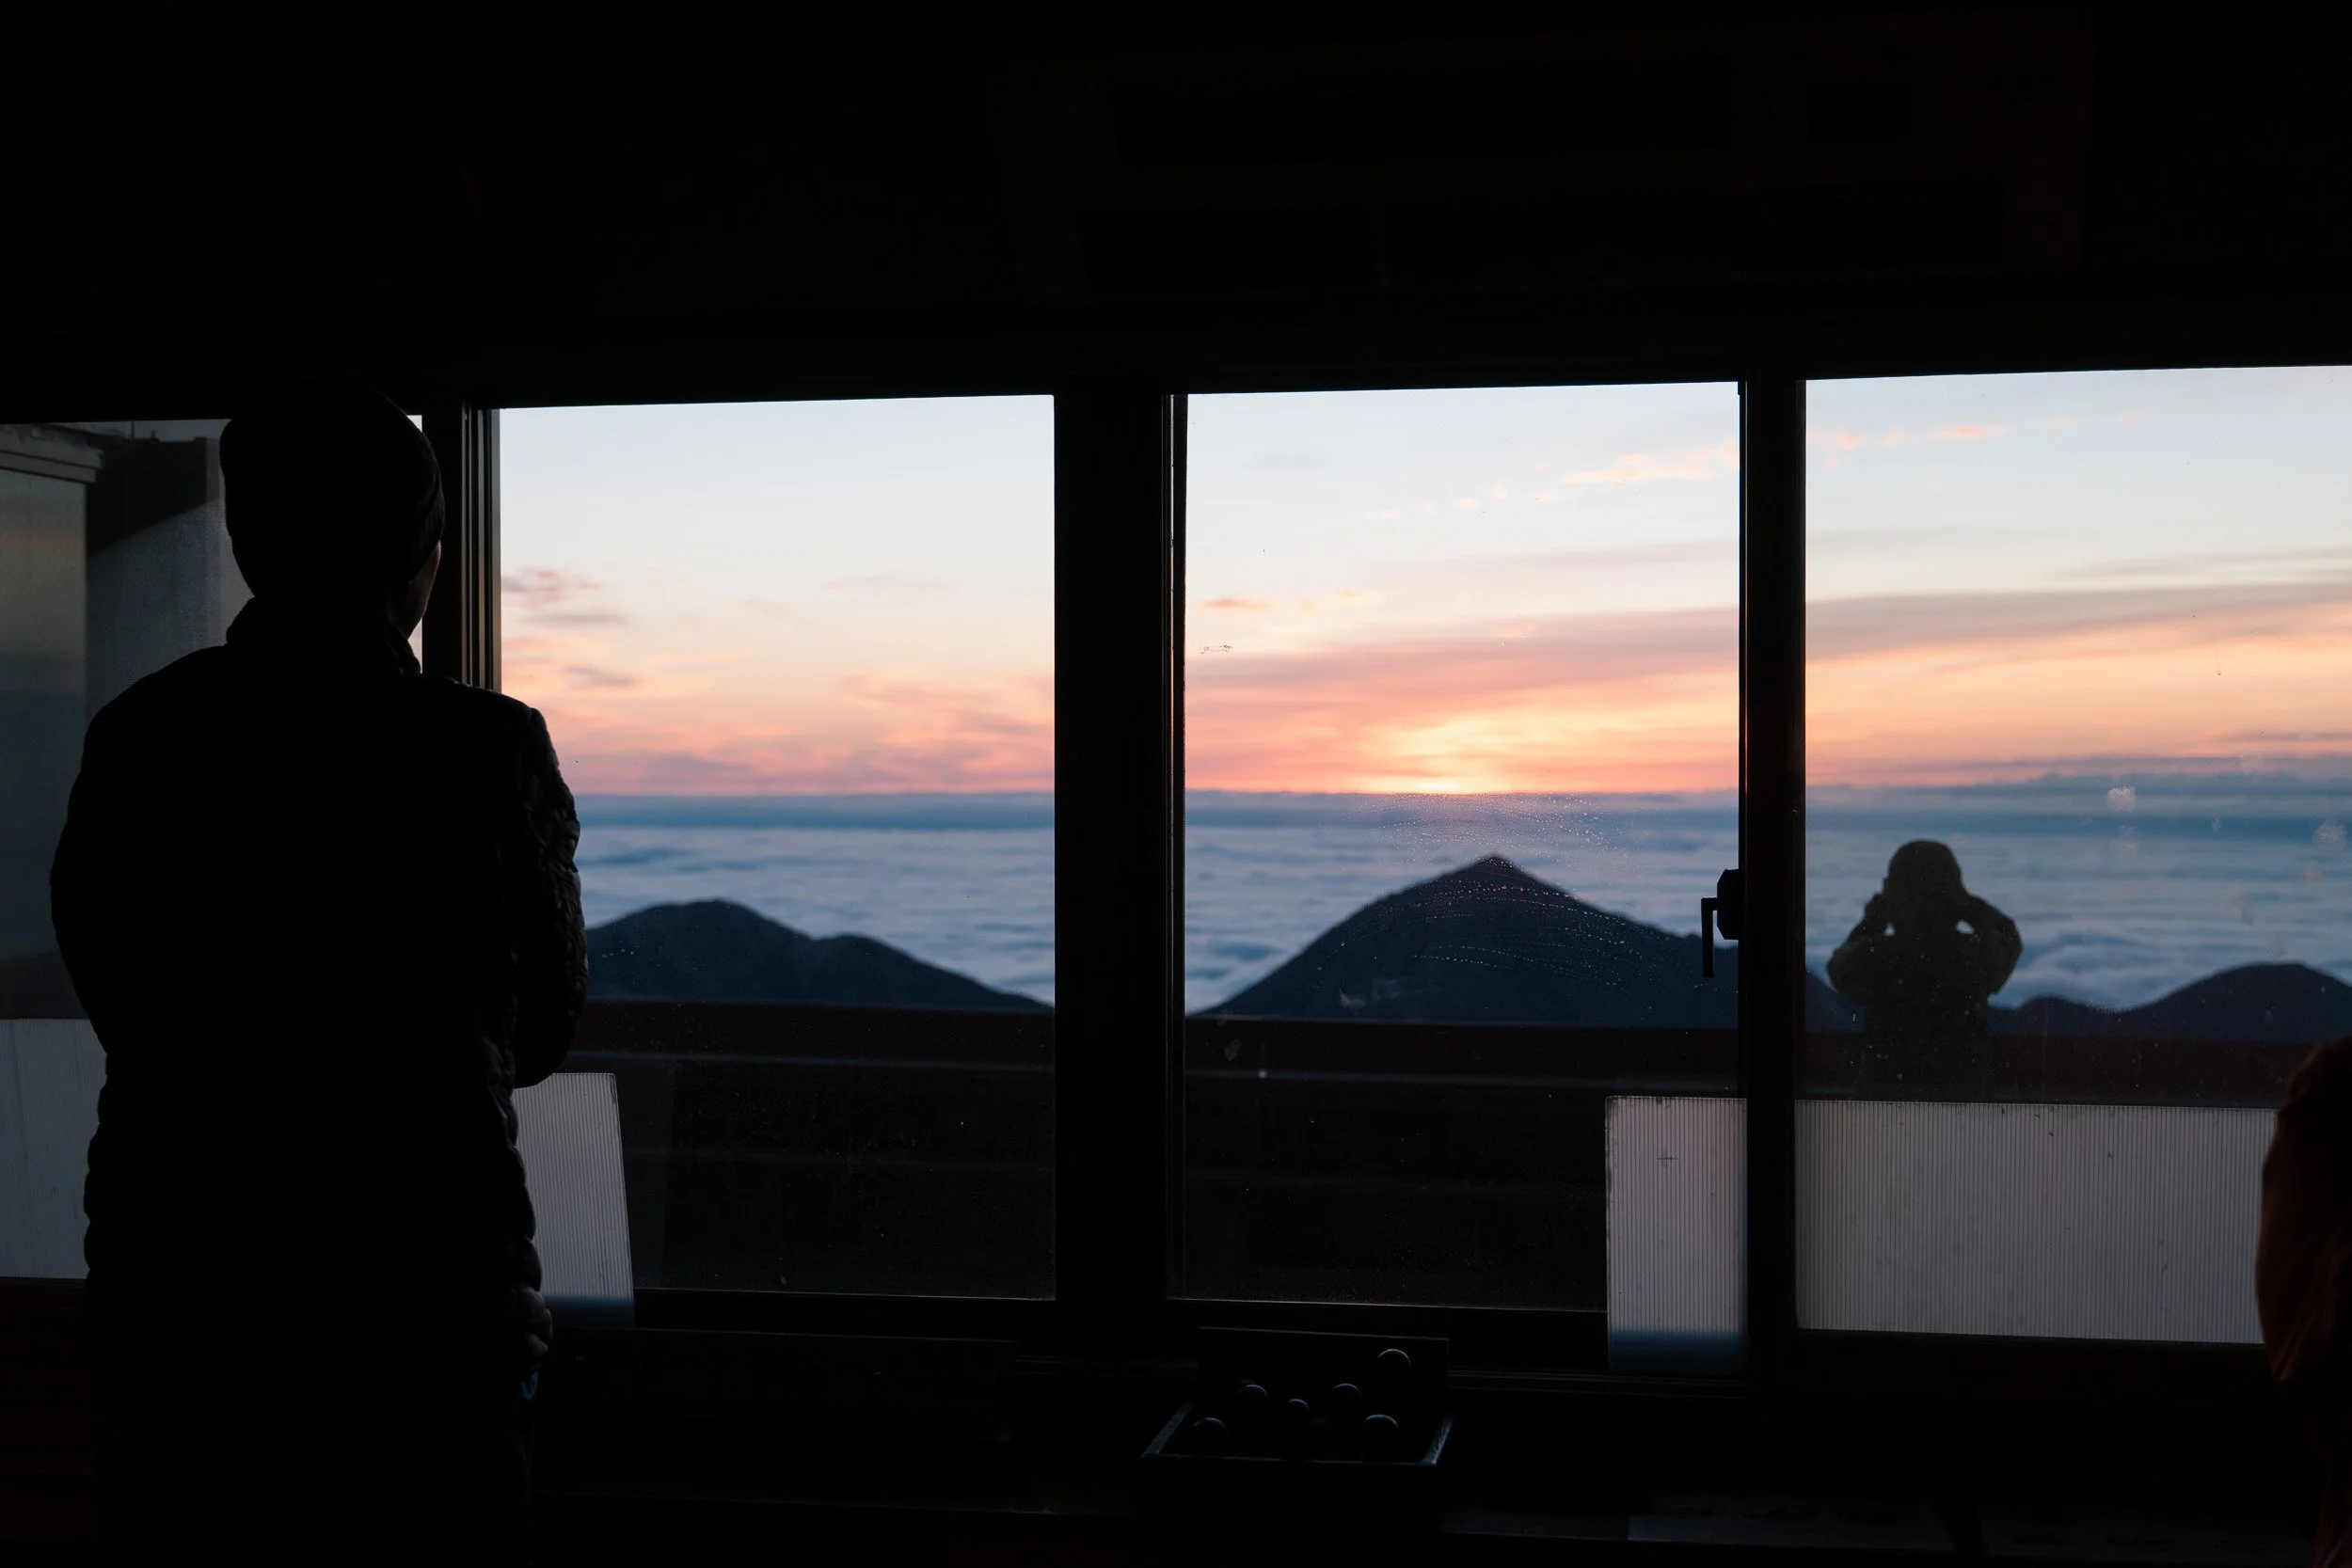
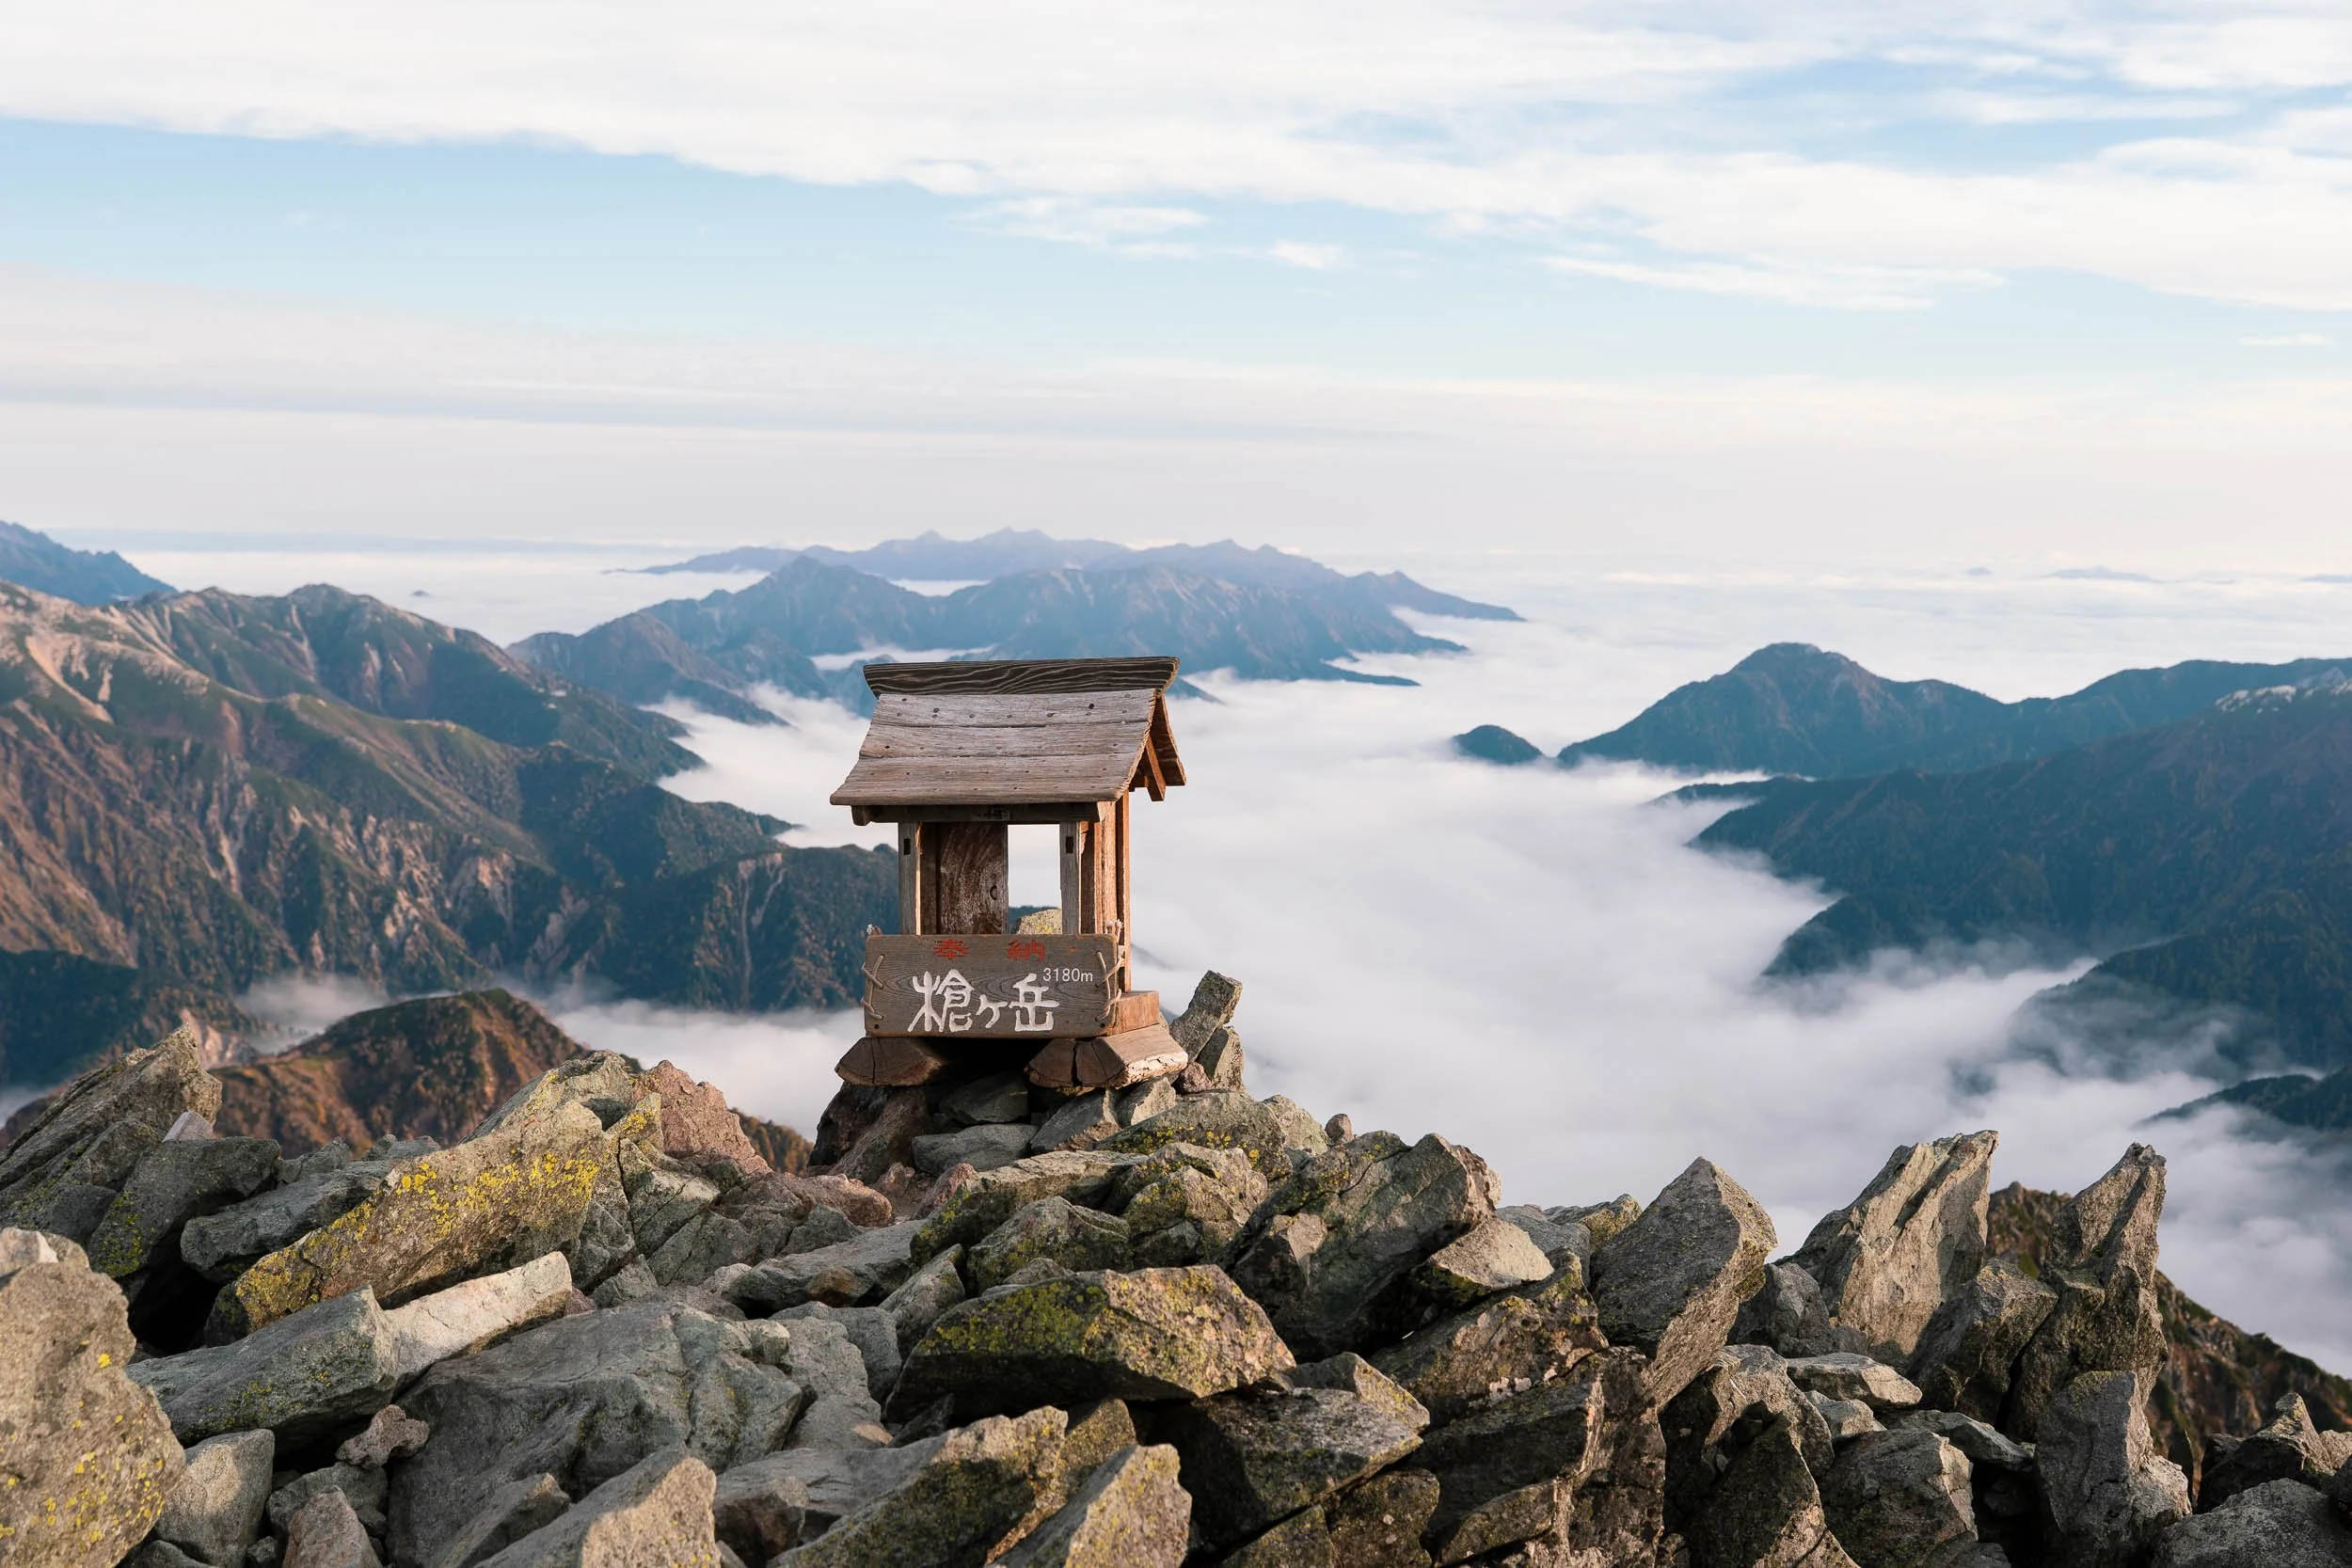
Set your alarm early. One of the most breathtaking phenomena in the Northern Alps is the Unkai (Sea of Clouds). Watching the sun break at 4:00 AM over a perfectly white, ocean-like layer of clouds beneath your feet makes every vertical step you took yesterday entirely worth it.
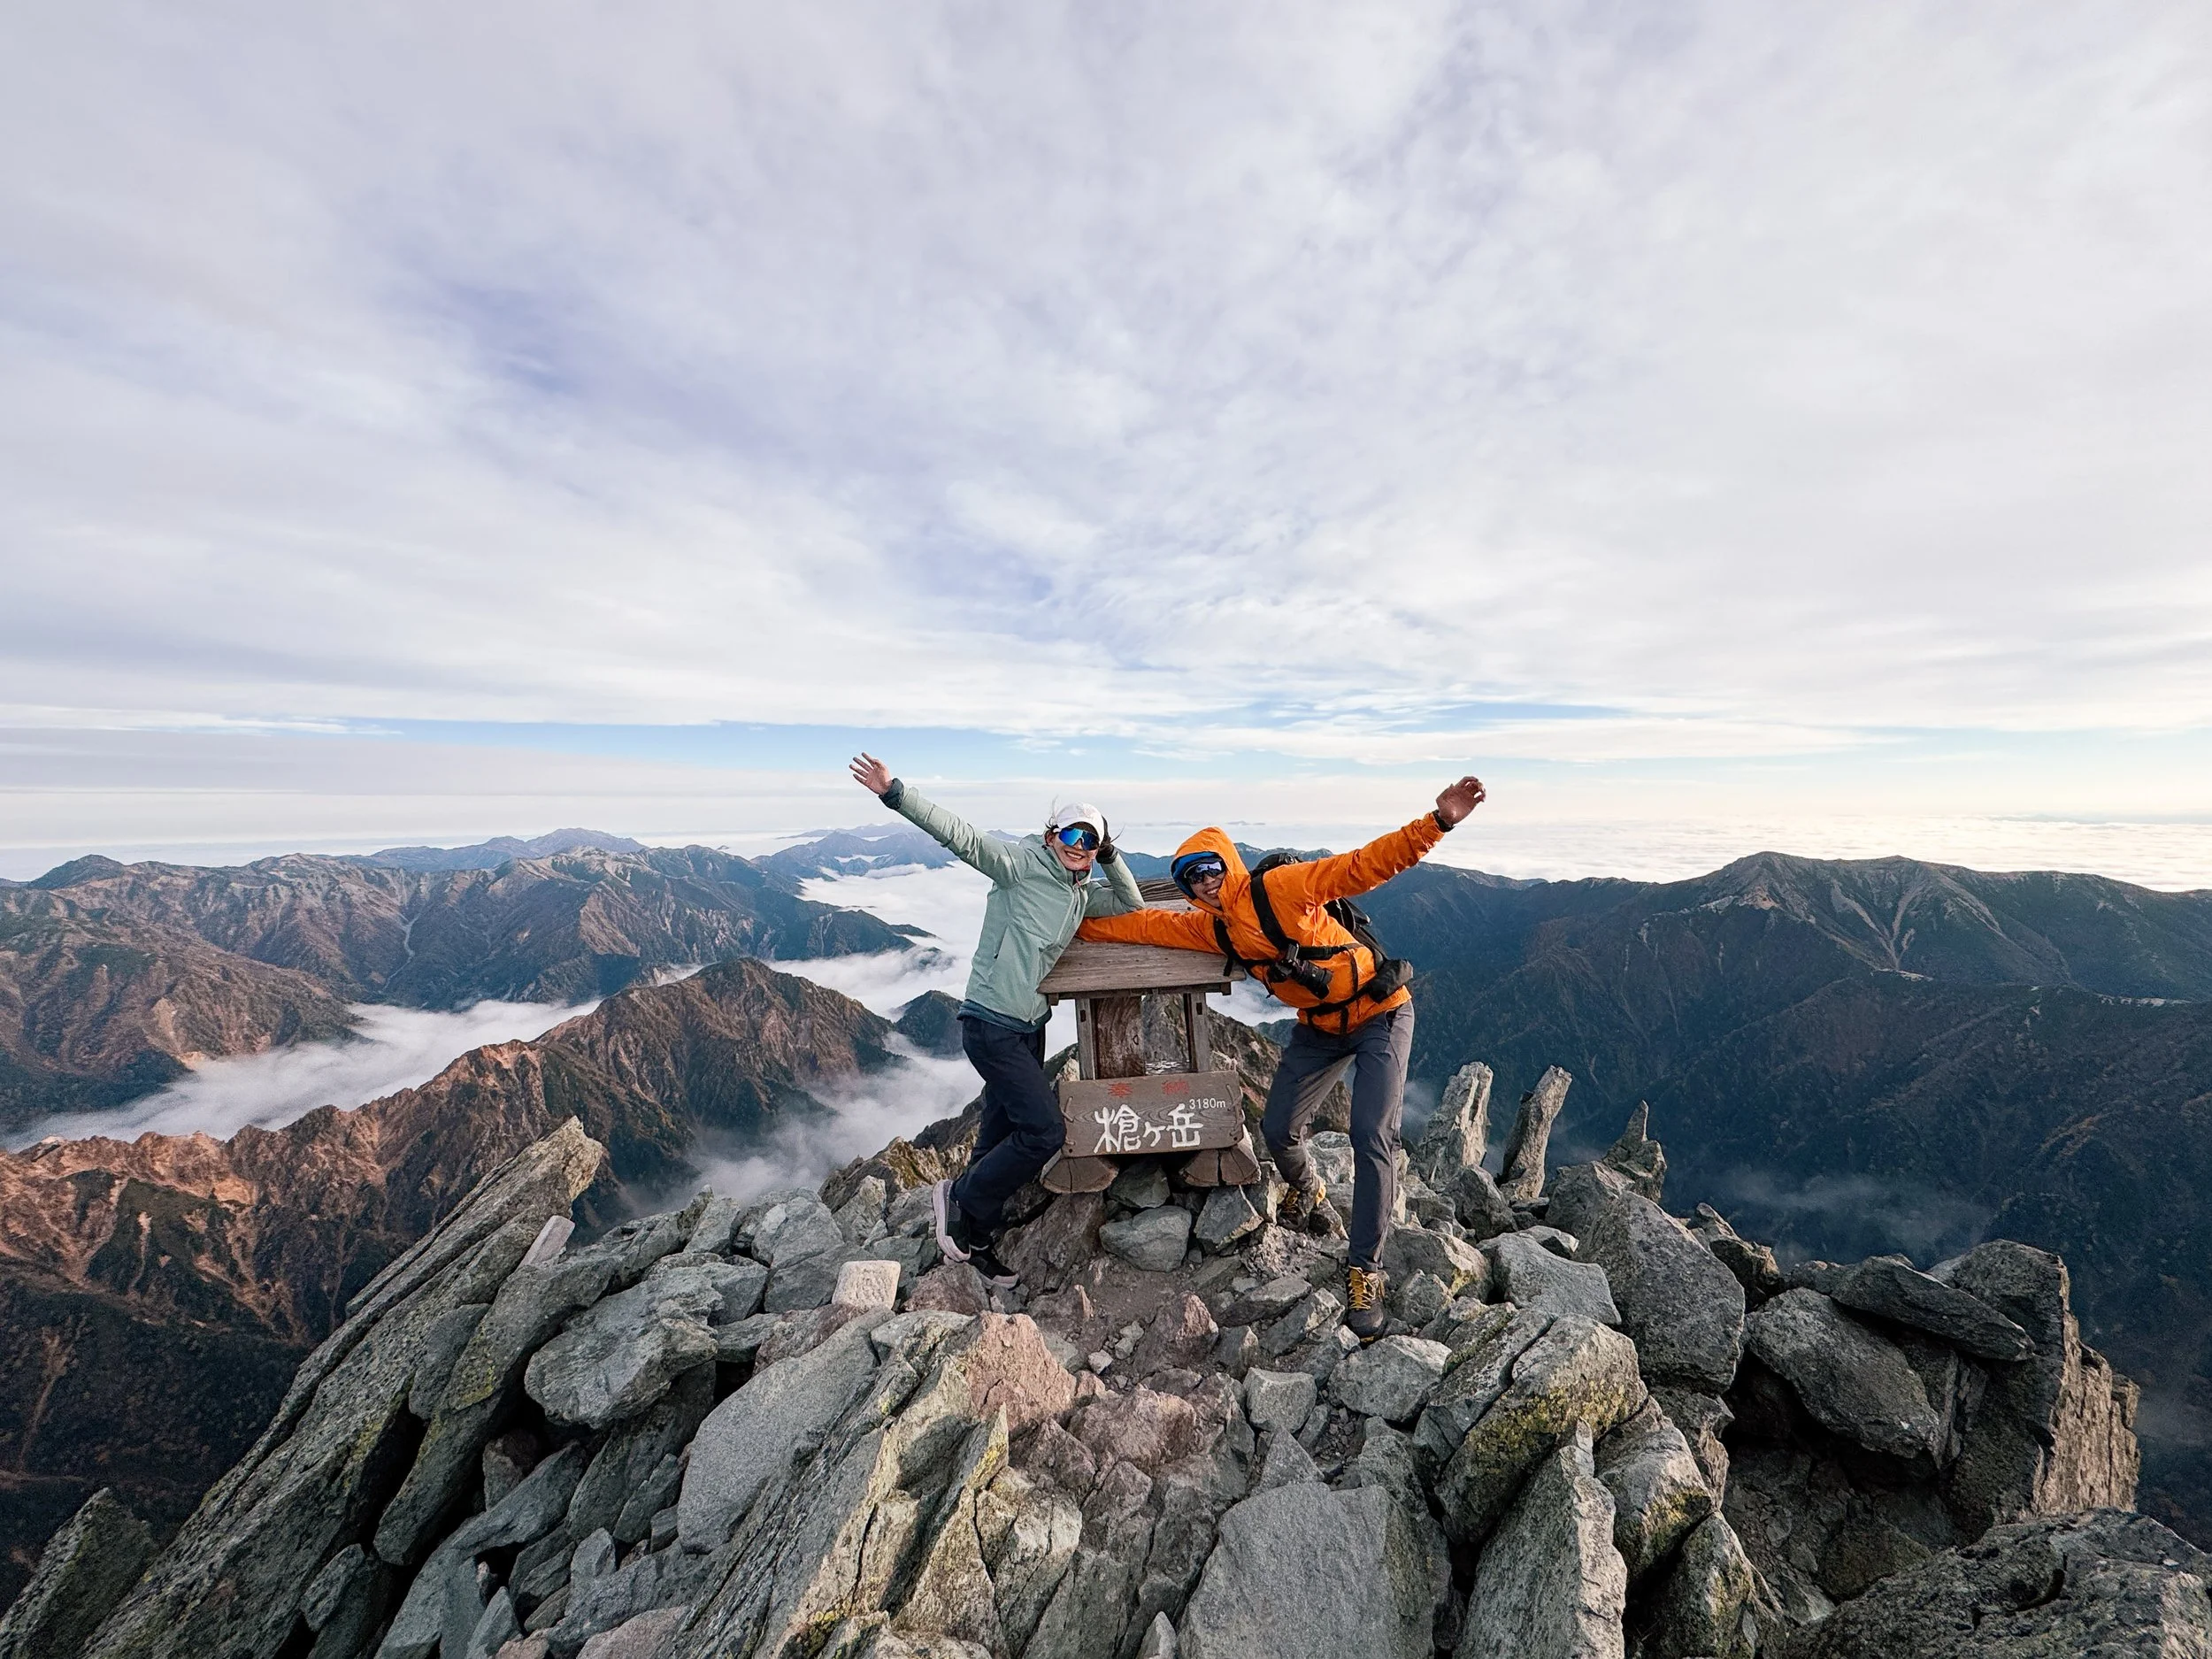
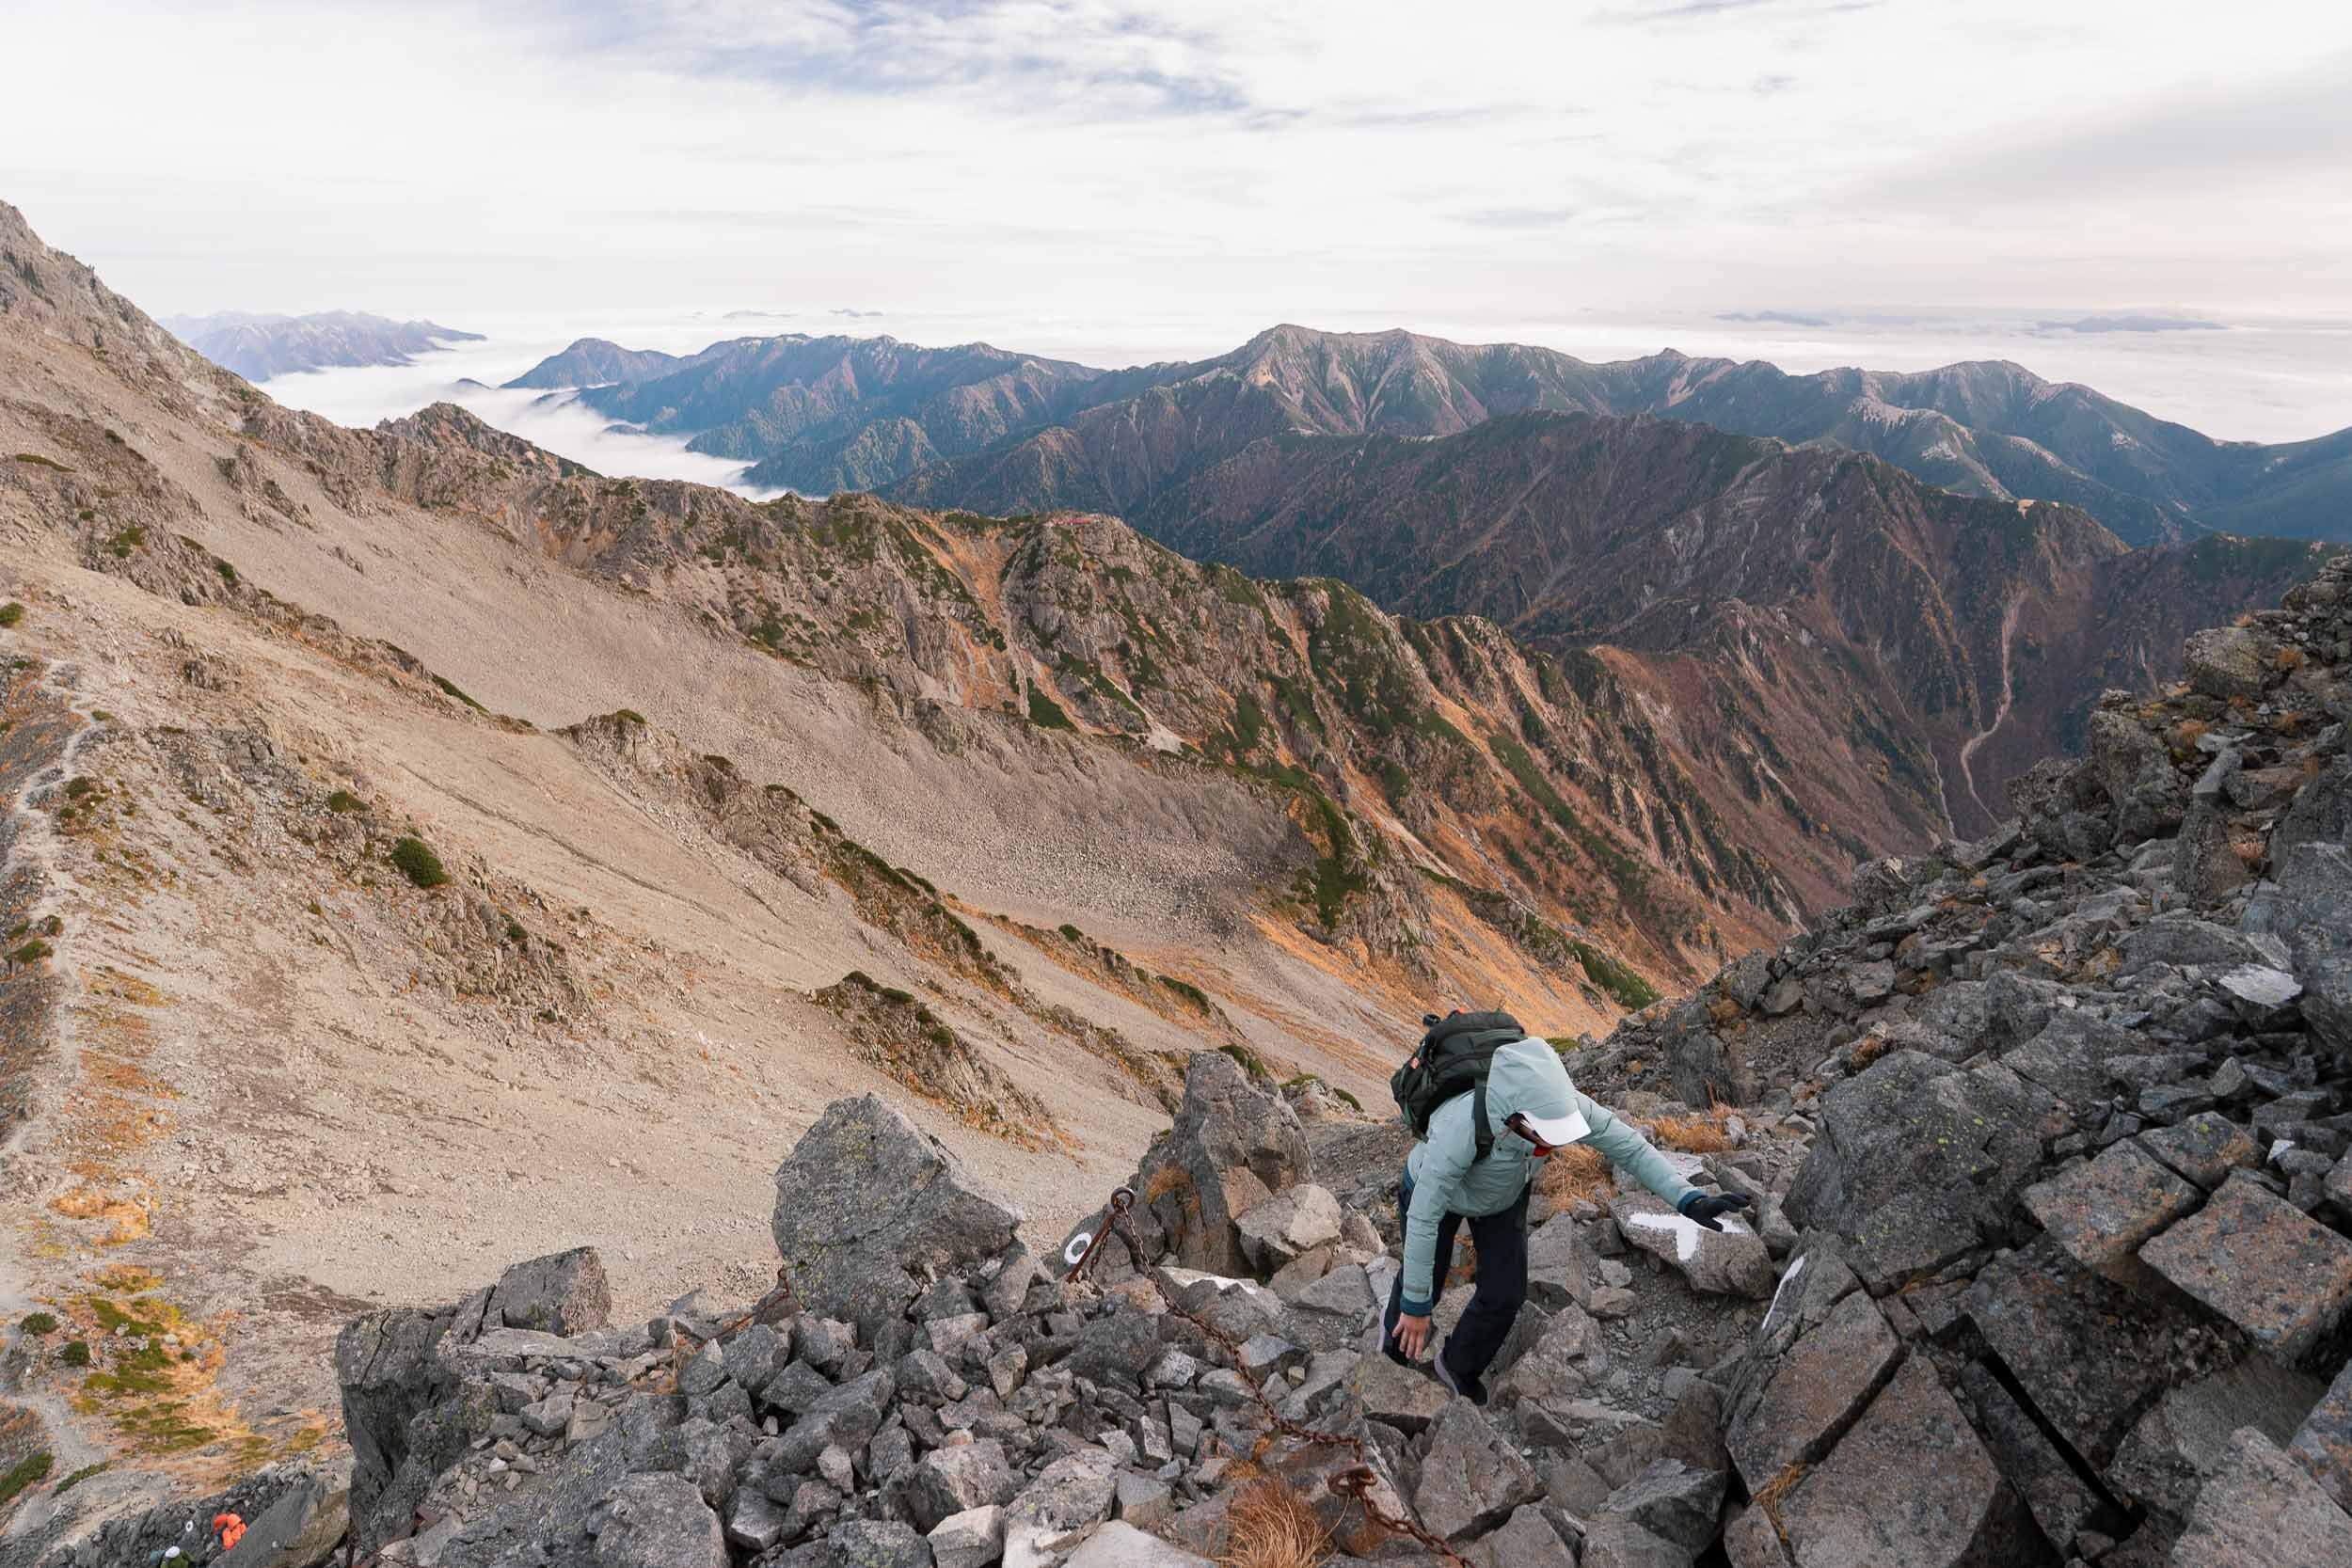
From the hut, make your final push to the summit of Mt. Yarigatake (3,180m), known as the "Matterhorn of Japan" due to its iconic, sharp spear shape. The final 100 vertical metres require you to navigate vertical steel ladders and chains bolted directly into the exposed rock face. The 360-degree payoff at the peak is unmatched - it is much more peaceful and scenic compared to Mount Fuji.
From the summit, we traversed down toward the magnificent Karasawa Cirque via the Daikiretto Gap (known as Japan’s most dangerous ridge).
A Note on Safety: If you look at maps along the high ridges, you will see the infamous Daikiretto Gap. It is a massive, knife-edge drop-off that is beautiful to look at but highly dangerous. We do not recommend this route for casual hikers; you will require proper climbing and scrambling skills, and it is extremely exposed, meaning that if you have a fear of heights, you will really struggle with it. Alternatively, you can descend back down to Yokoo Bridge and take a gentler route to Karasawa Cirque.

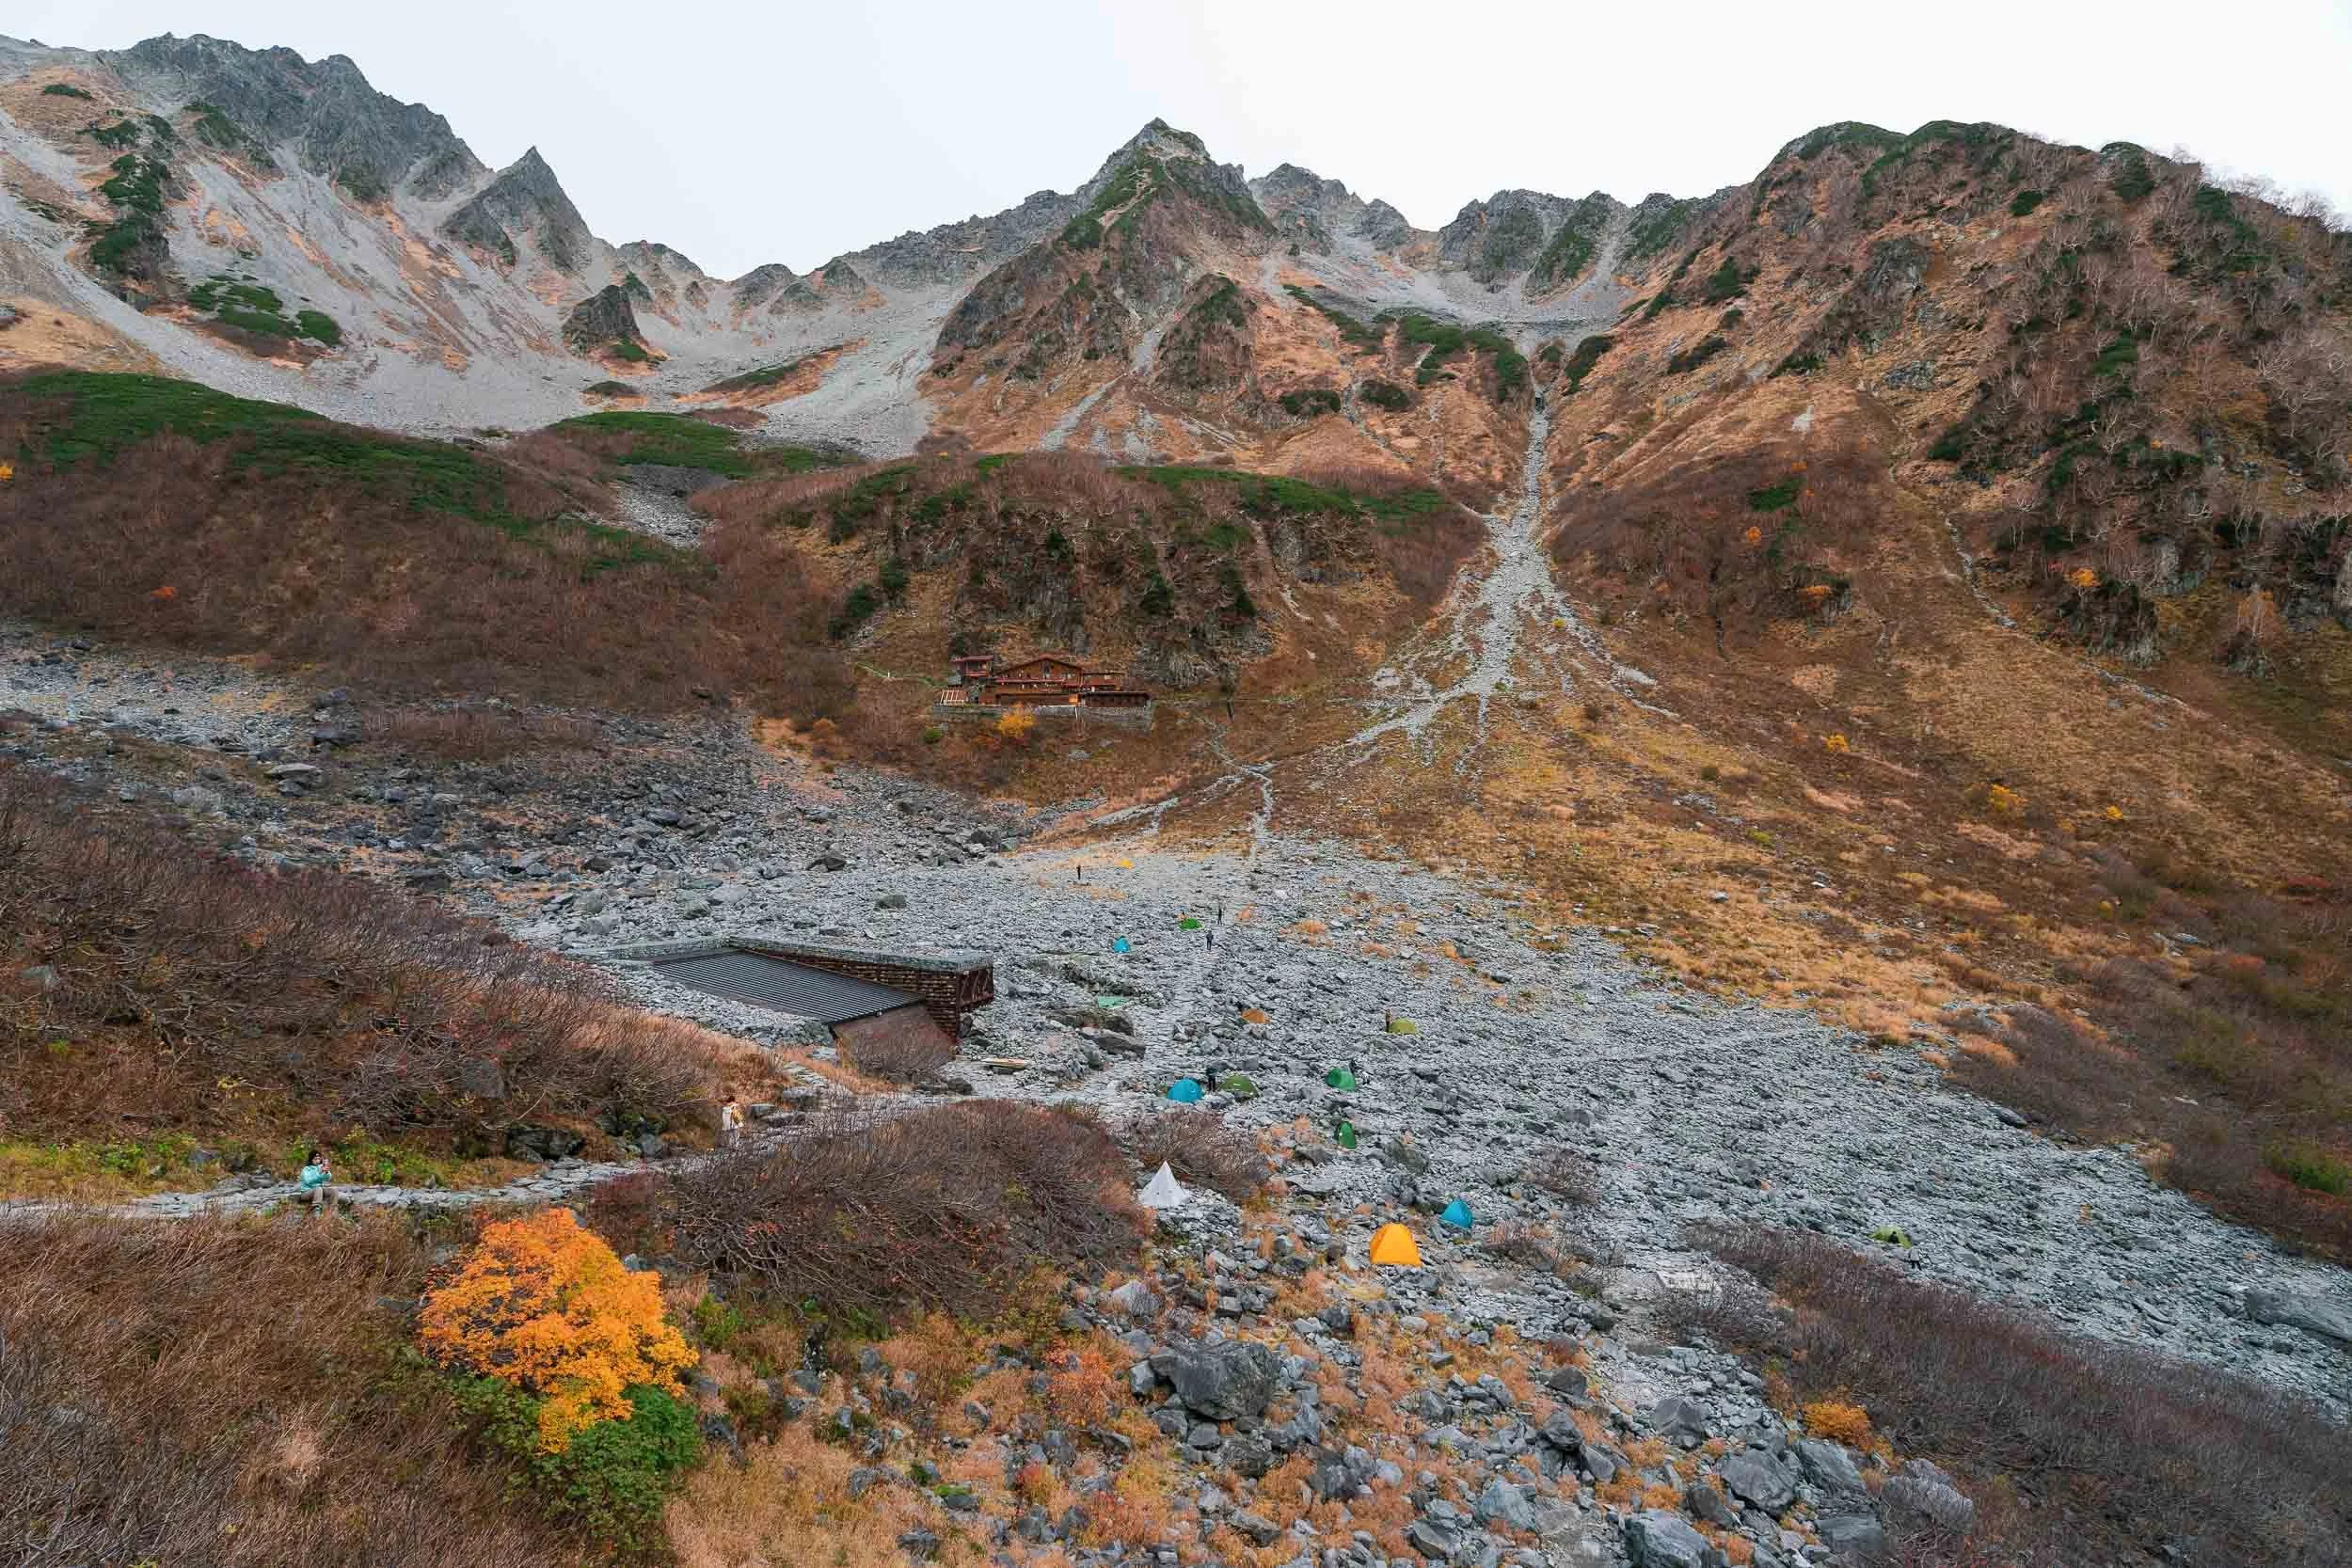
During peak autumn foliage (late September to mid-October), the famous Karasawa Cirque transforms into a colourful "tent city" where hundreds of hikers camp beneath the towering peaks.
Where we stayed: Karasawa Hut (Booked directly in advance through their online booking form).
Day 5: Descent & Onsen Recovery
Stats: 18.5km | 5 Hours | 120 m Elevation Gain
AllTrails: Map here
Our final trekking morning we descended back down to the Kamikochi valley via an easy route back to Yakoo Bridge.
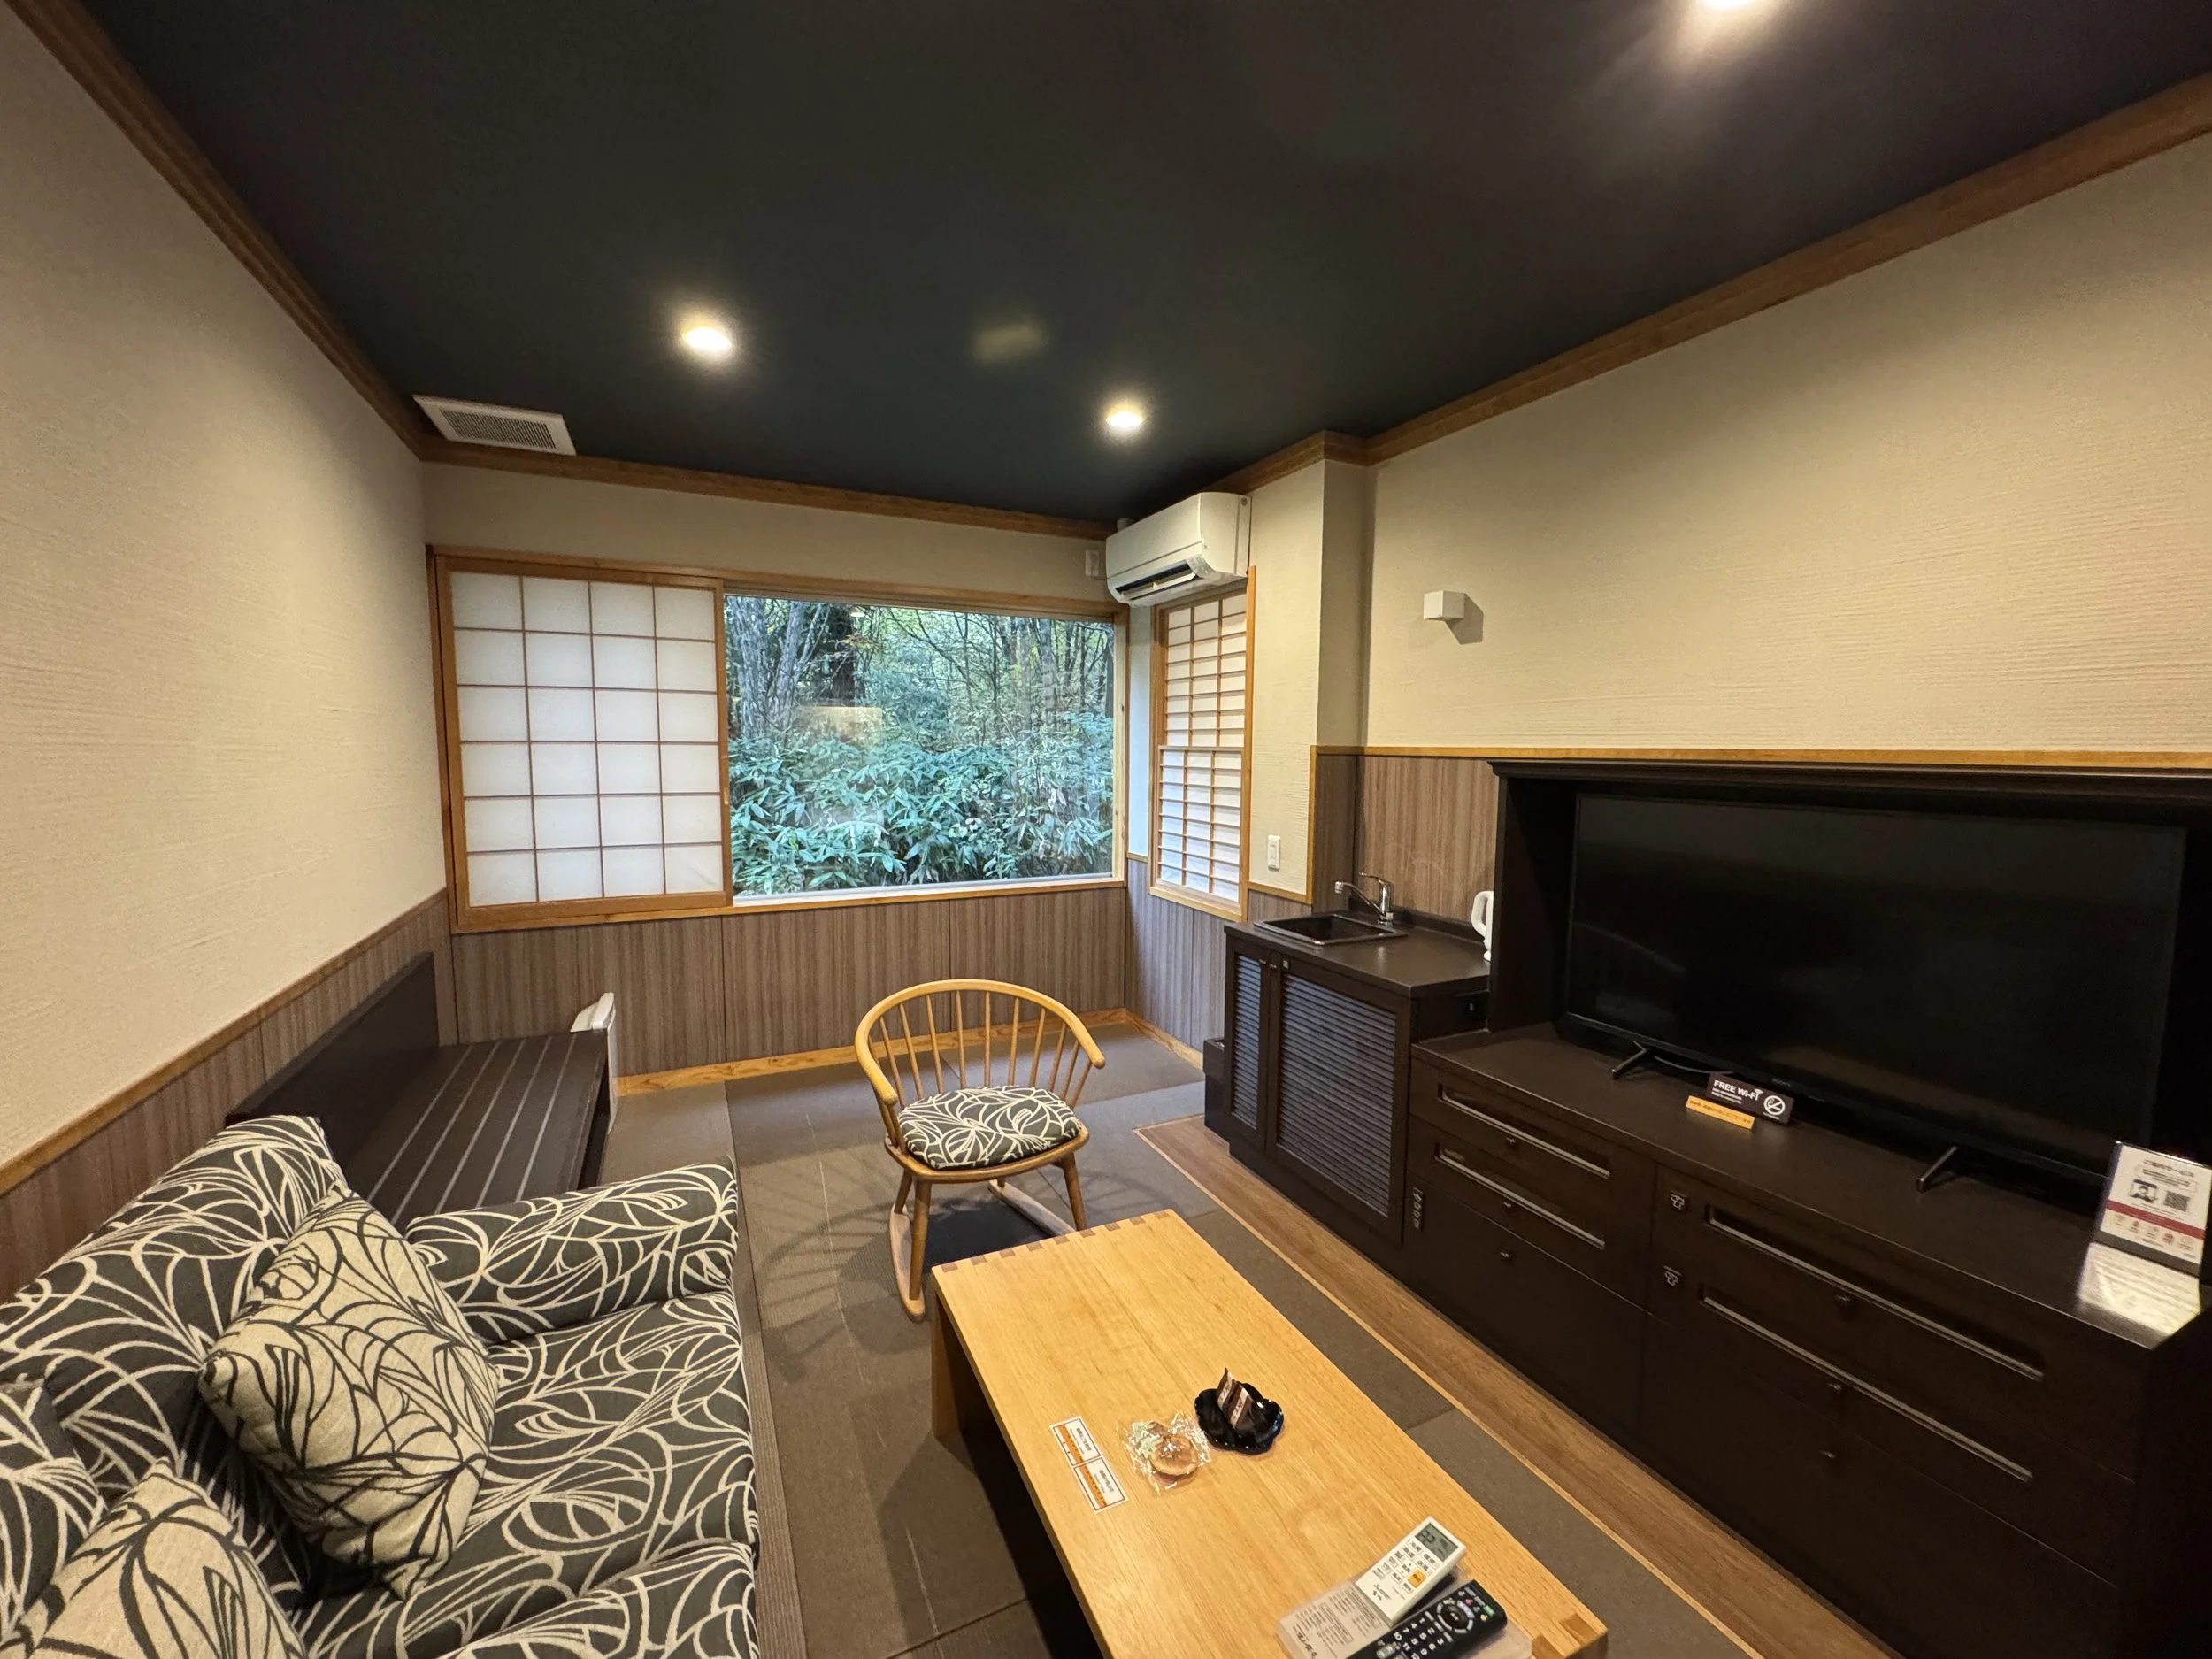
Once you complete the final flat miles back to Kamikochi, take the shuttle back to your accommodation at Hirayu Onsen for the ultimate reward: a recovery stay at Miyama Ouan Kyoritsu Resort. We had a massage arranged by the hotel and enjoyed a curated 4-course dinner as part of the package.
Where we stayed: Miyama Ouan Kyoritsu Resort. This is a gorgeous premium ryokan nestled in the Hida Mountains. Slipping into private open-air onsens and devouring their local Hida beef meals is the ultimate luxury recovery after days of roughing it on the ridges.

Journey Back to Tokyo
We took the Alpico highway bus from Hirayu Onsen (yes, there is a direct bus from Hirayu Onsen back to Tokyo) back to Shinjuku. The bus takes around 4 to 5 hours and drops you off right in the centre of Tokyo.
Recommended Treks in the Northern Japanese Alps from Kamikochi
If a technical multi-day circuit feels like too much, the region offers incredible flexibility for every style of traveller:
Mt. Yakedake (Day Hike — Moderate Difficulty)
This is an active, steaming volcano day-trip that starts and ends right in Kamikochi. It is the best option for hikers looking for incredible crater views without a multi-day commitment.Karasawa Cirque (2 Days, 1 Night — Moderate Difficulty)
This trek is best for witnessing the legendary autumn foliage colours (Koyo) and experiencing an overnight stay right inside a magnificent glacial basin.Kamikochi-Yari-Hotaka Circuit (3 to 4 Days — Difficult) - this is the route we took!
The ultimate high-altitude test of grit, summits, and hut-to-hut trekking. This route is best for experienced hikers who want to conquer iconic peaks and fully immerse themselves in Japan's ridge-line trail culture by scrambling the notorious Daikiretto Gap.Yarigatake: Takaho-Kamikochi Alpinist Loop (4-5 Days - Difficult)
This route is for experienced hikers looking for an extra adrenaline rush, as you will be scrambling not just across the Daikiretto Gap, but also the even more challenging knife edge ridge between Kitahotaka and Okuhotaka.

Support Our Adventures!
Hi there! If you found our guides helpful, please consider using our affiliate links below when booking your next trip. It comes at no extra cost to you, but it helps us keep creating these resources. Thank you so much for your support!
Flights & Hotels: Book your stay with Trip.com
Car Rentals: Find the best rates via Discover Cars
Alltrails:Sign up with vivchow30 here to get 30% off today!
Have a specific question about your upcoming trek? Drop us an email or send a DM to @vivchowvals we’d love to help!
If you’ve enjoyed our content, you can treat us to a ‘virtual’ coffee here.