
Tre Cime di Lavaredo & Cadini di Misurina: The Complete Guide
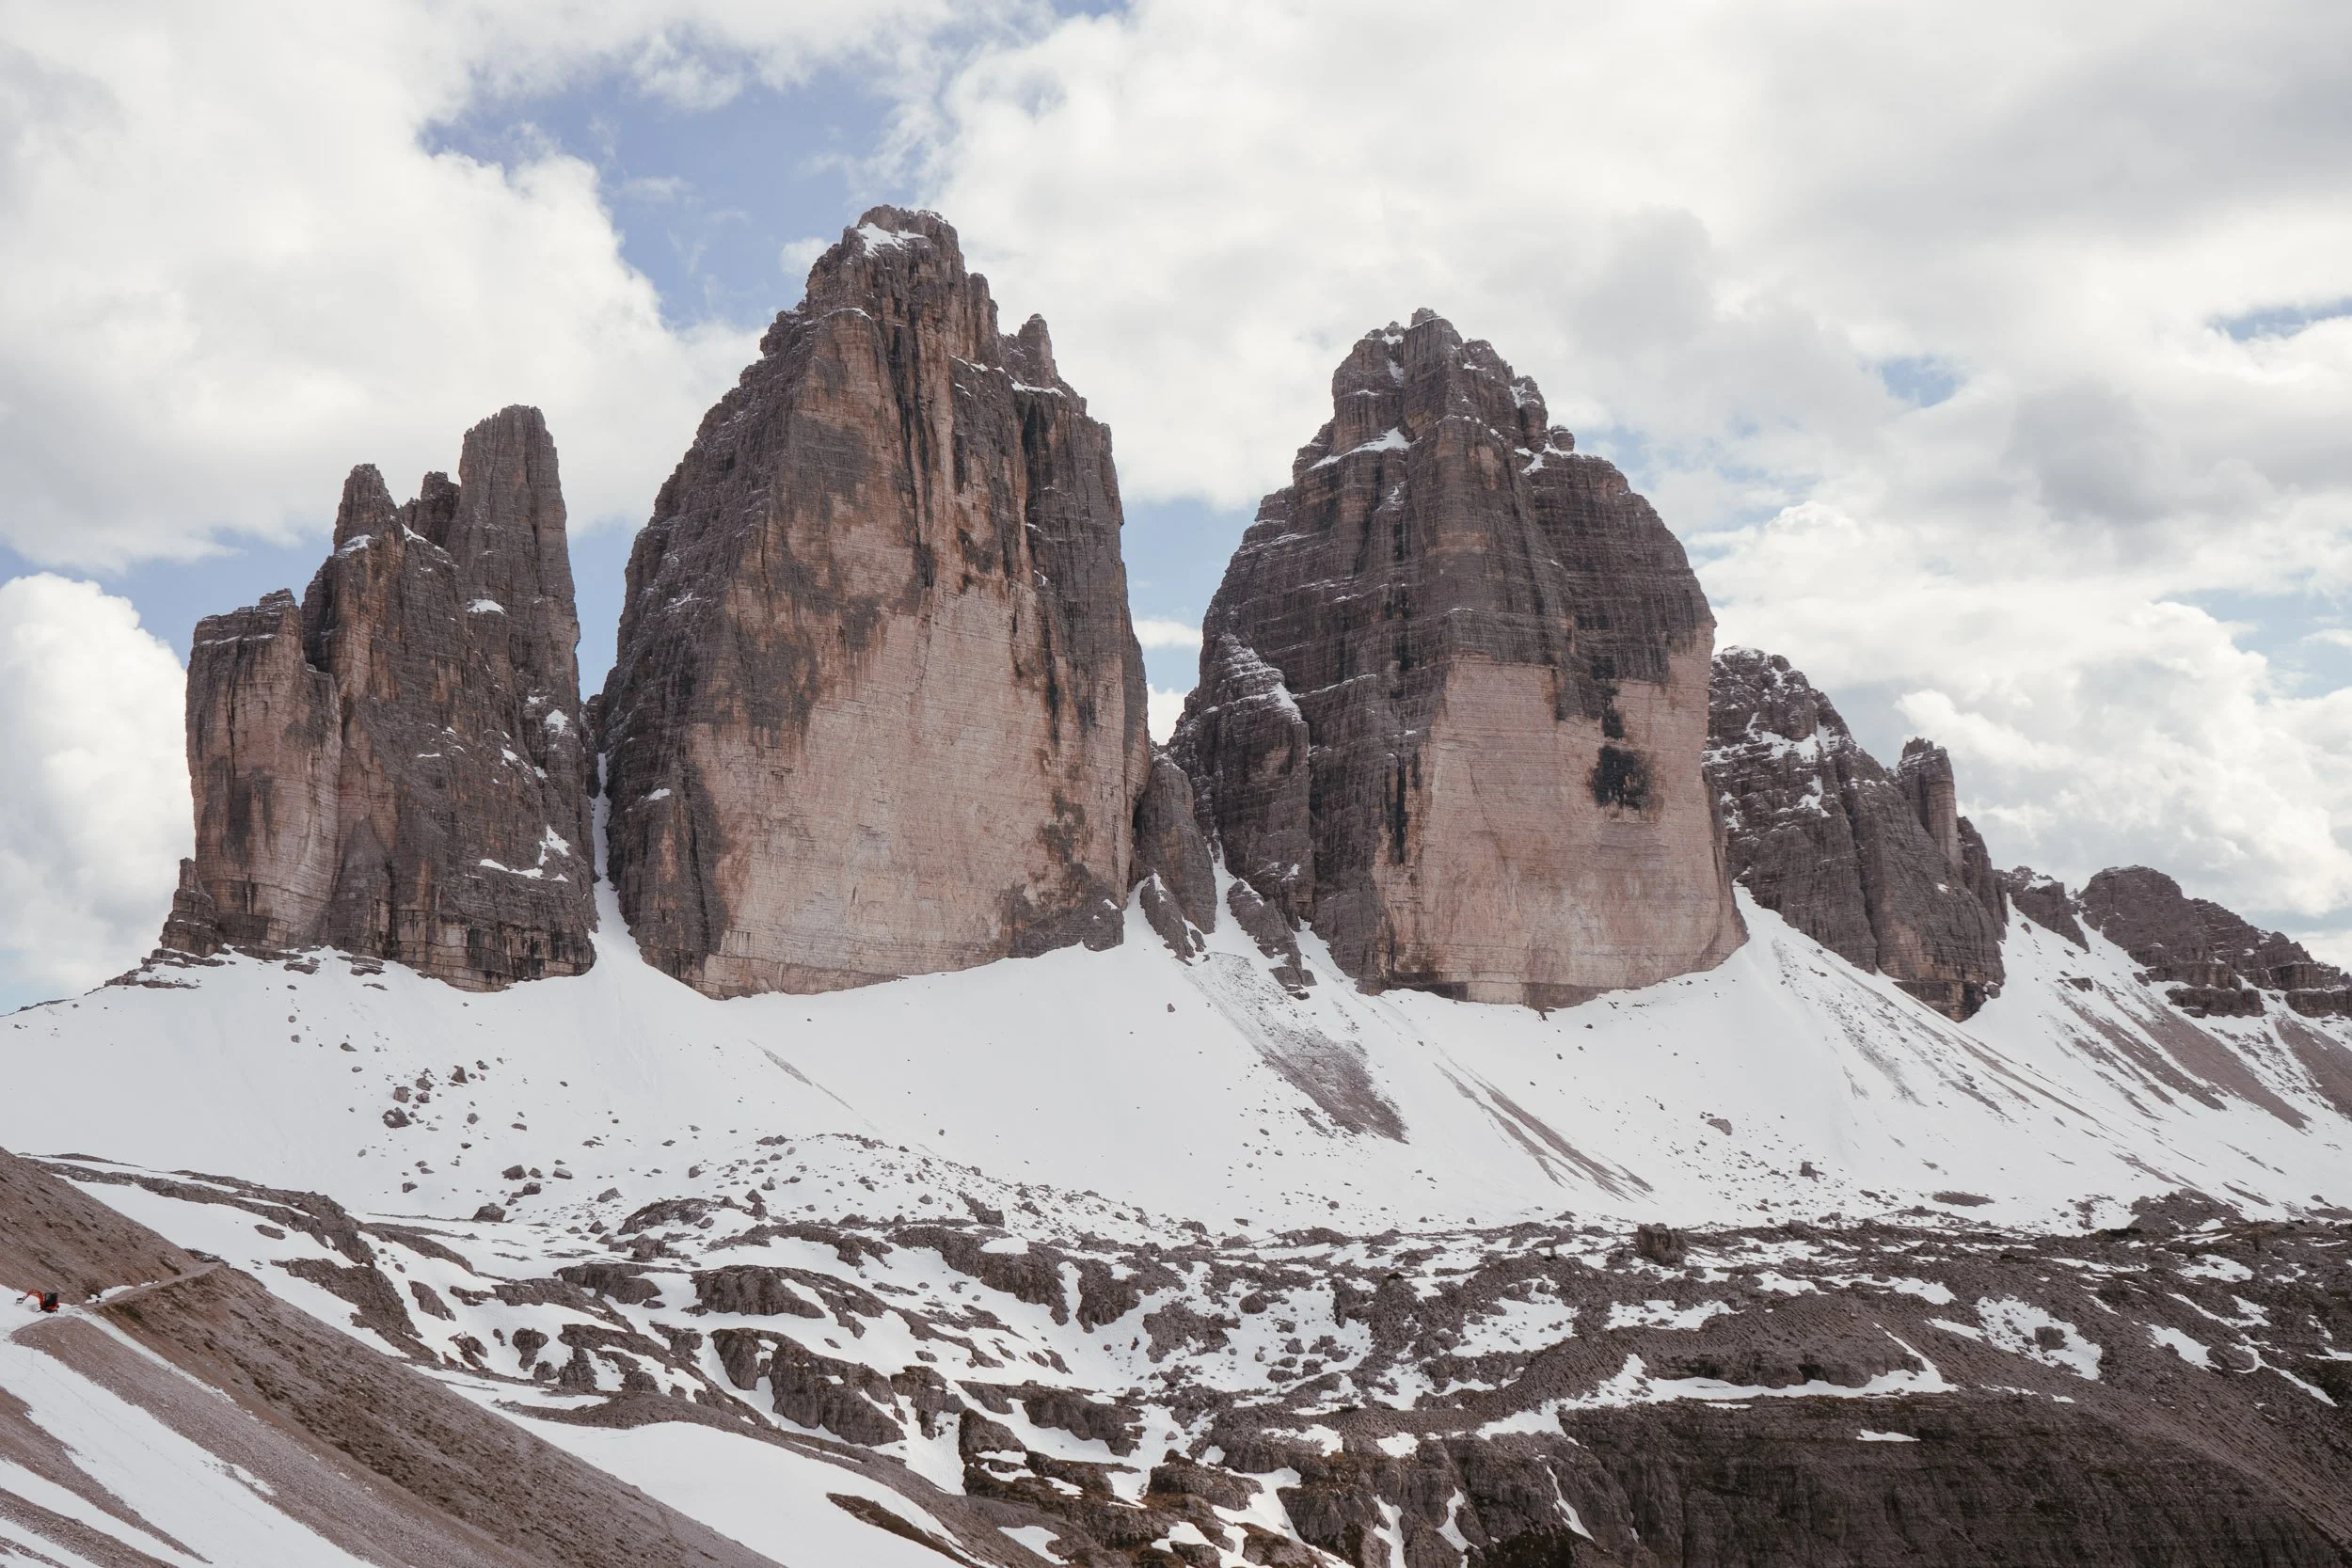
Visiting the iconic Tre Cime di Lavaredo, the Three Peaks of Lavaredo, is easily one of the most unforgettable mountain experiences in the entire Italian Dolomites. With their vertical northern faces rising abruptly from limestone scree, these colossal towers embody everything people imagine when picturing the region.
We spent four full days exploring this area, staying overnight in high altitude mountain huts (rifugi) across the massif to experience the trails at sunrise, midday, and dusk. While most visitors treat this as a quick three hour walk, pairing the classic Tre Cime circuit with the dramatic Cadini di Misurina viewpoint and the historic World War I tunnels creates the ultimate alpine day hike from Cortina d’Ampezzo.
Because both trailheads start right from the very same car park at Rifugio Auronzo, planning your day requires careful time management. It is remarkably easy to get swept away taking photos at one spot and find yourself running out of daylight before you even start the other.
Whether you want to walk the classic loop, explore historic wartime relics, or tackle nearby via ferratas, here is everything you need to know to plan a flawless trip.
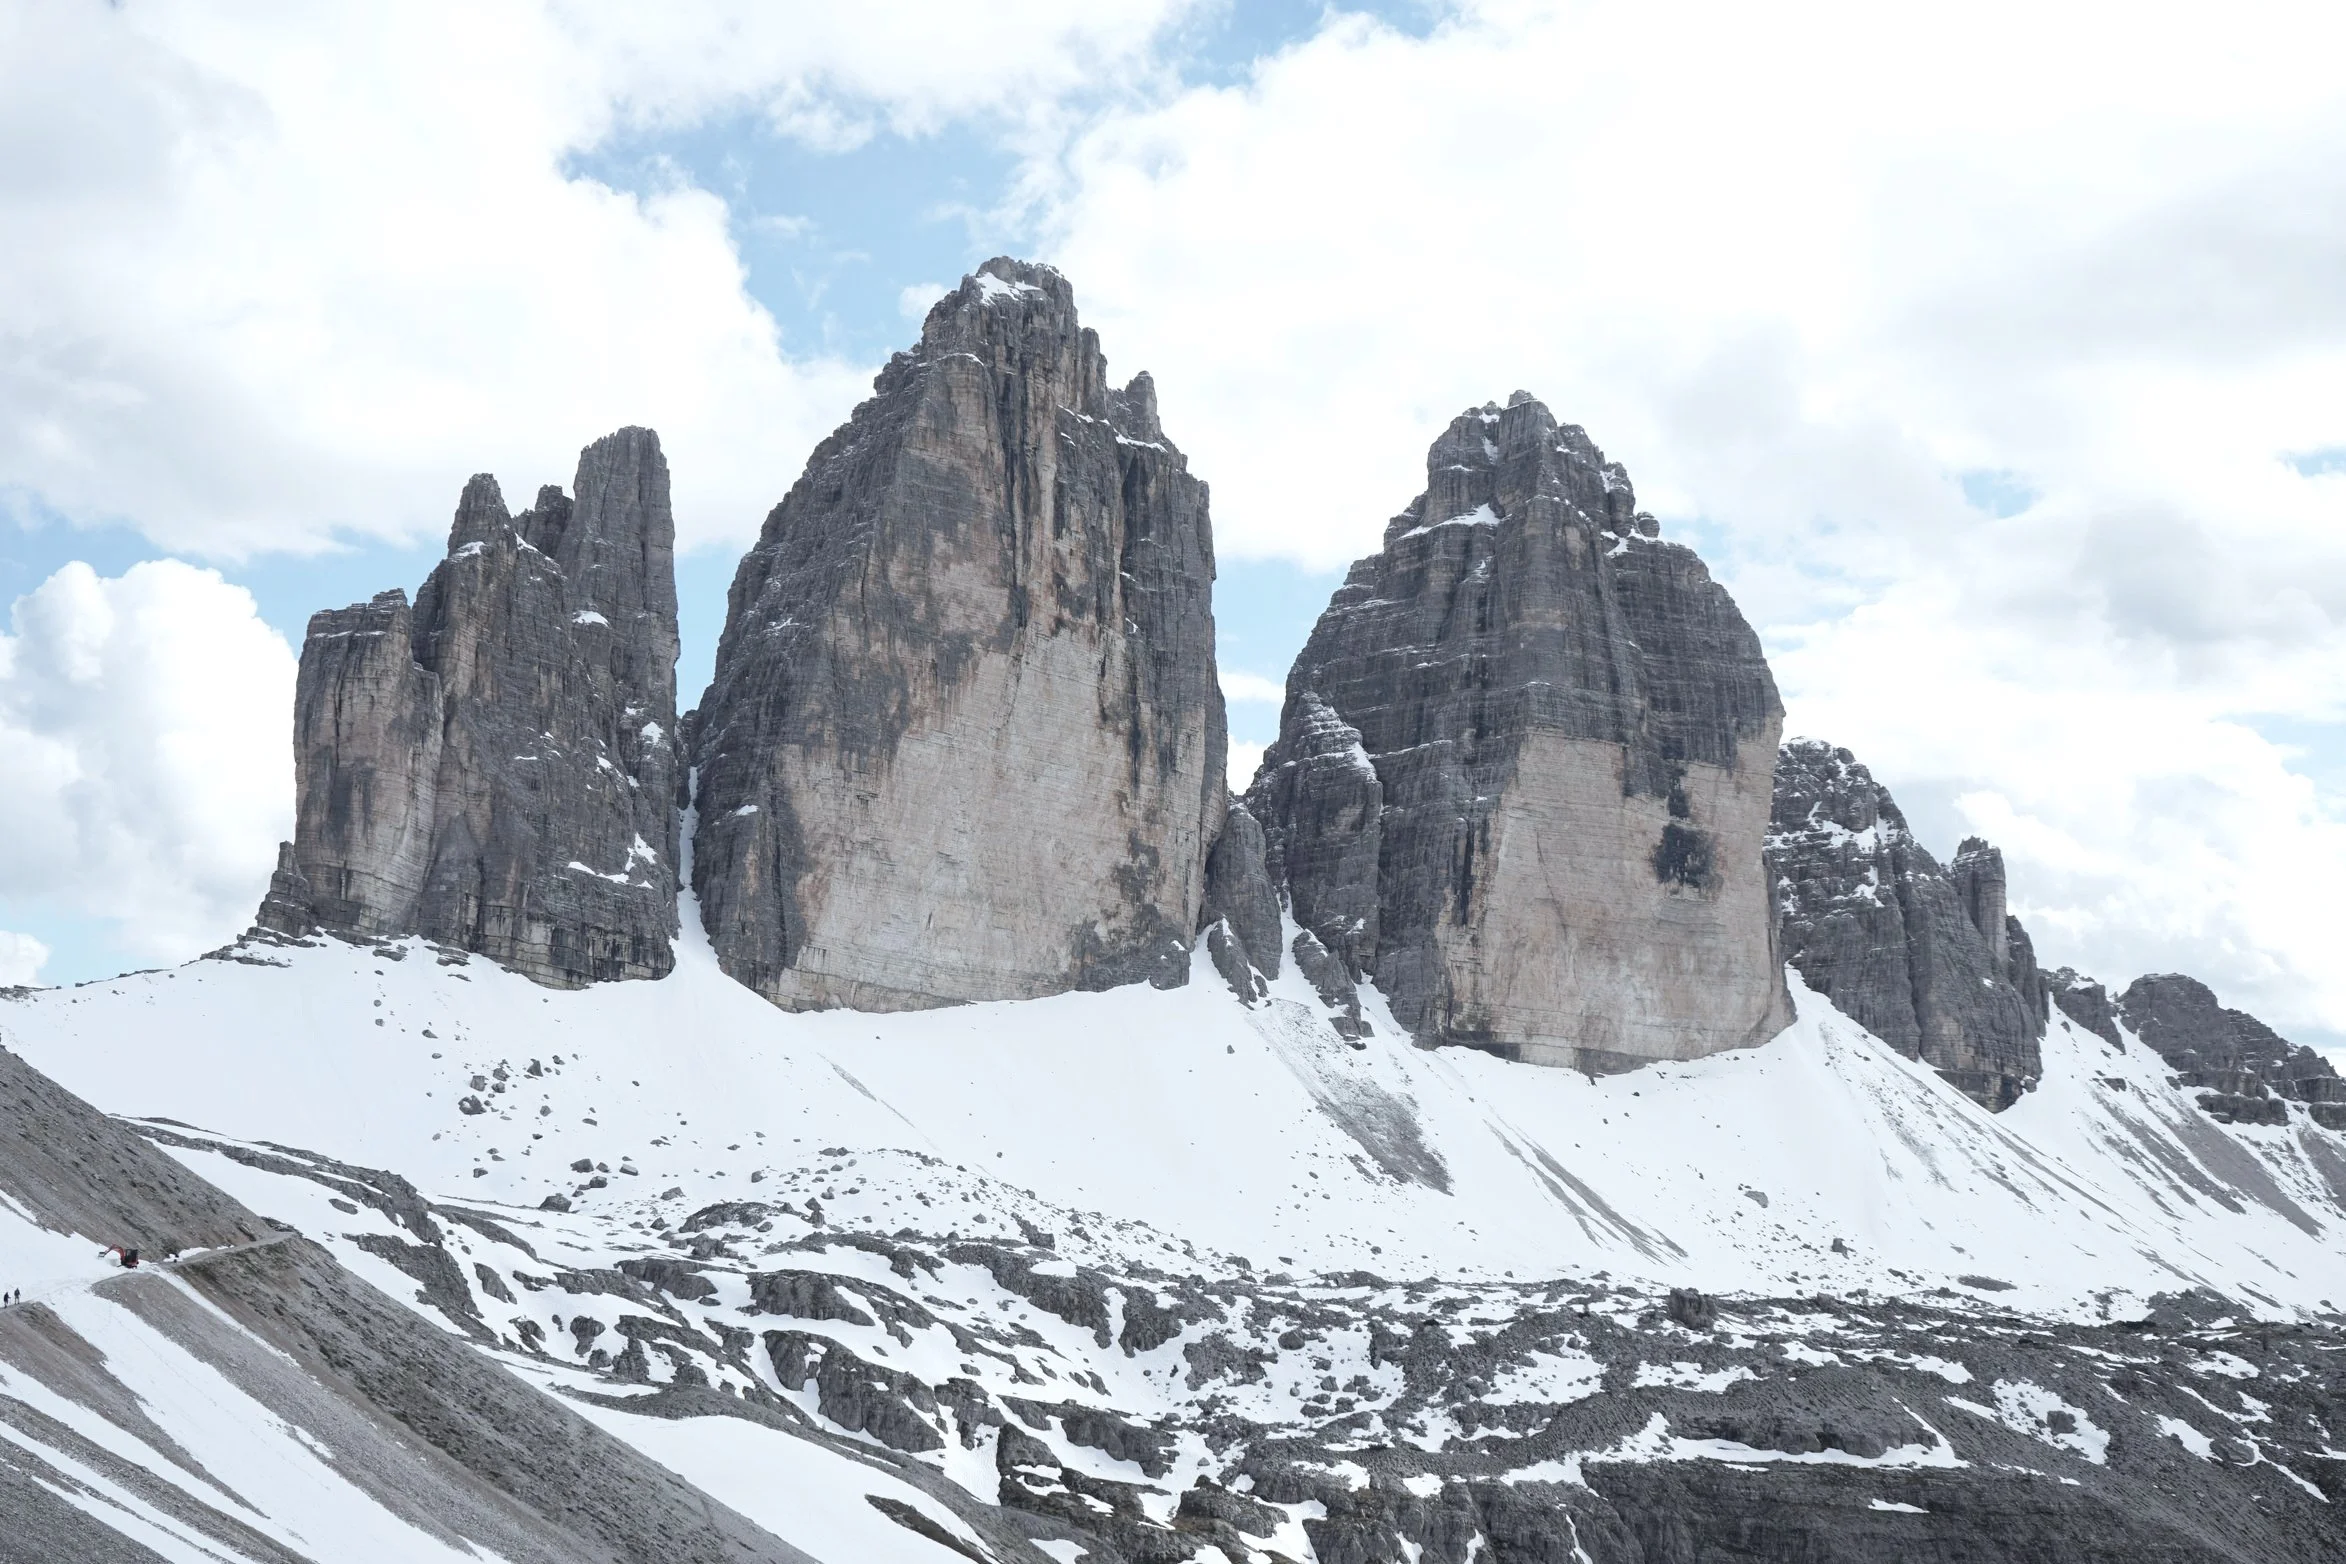
Tre Cime in June 2024
Getting to Tre Cime: Transport, Tolls & Parking
The starting hub for both Tre Cime di Lavaredo and Cadini di Misurina is the high mountain plateau surrounding Rifugio Auronzo (2,333 m). Because vehicular traffic is strictly regulated to protect the natural park, planning your arrival in advance is essential.
Driving and Toll Road Rules
If you are driving from Cortina d’Ampezzo or Misurina, a paved mountain toll road brings you directly to the Rifugio Auronzo parking lot.
The vehicle toll is €40 per car, which covers road access and a 12 hour parking window.
All parking passes must be reserved and paid online in advance through the official Auronzo tourism portal. Physical cash or card payments at the road barrier are no longer accepted.
The toll road is open seasonally from late May through late October, subject to mountain weather and snow clearance.
If you plan to stay past 12 hours, you must purchase consecutive booking slots online to avoid heavy municipal fines.
For more details on Rifugio Auronzo Parking rules: read our comprehensive guide: [Tre Cime di Lavaredo Parking Rules].
Visiting Without a Car: Public Shuttles
If you are visiting without a rental vehicle, frequent seasonal public buses link the valley towns directly to Rifugio Auronzo between end of May and mid October:
From Dobbiaco (Toblach): Shuttle Bus 444 runs directly from Dobbiaco railway station every 30 minutes. Advance online seat booking is mandatory through the official Drei Zinnen portal.
From Cortina d’Ampezzo: Take Dolomiti Bus Line 51 to Lake Misurina, then connect directly onto Line 50 climbing to Rifugio Auronzo. You can tap and pay on board with a contactless bank card.
Watch the Evening Schedule: The final public buses back to the valley depart around 6:30 PM to 7:15 PM, meaning sunset hikers must arrange alternative descent transport.
For more detail information about public transportation options and ticket booking portals head to our full guide: [How to Visit Tre Cime di Lavaredo Without a Car].
When is the Best Time to Visit Tre Cime di Lavaredo?
Because the trails sit above 2,300 meters, seasonal conditions dictate everything from trail safety to how you physically reach the trailhead.
Summer: The Best Window for Hiking
Summer is hands down the best time to visit Tre Cime di Lavaredo. The high alpine season generally runs from late May or early June through early October, aligned directly with the opening of the toll road and the operating dates of the mountain huts.
July and August (Peak Summer): These are the most reliable months for hiking. Snow has melted off the high passes, daytime temperatures are pleasantly warm, all mountain rifugi are fully open, and the trails are completely clear. The only trade-off is popularity, meaning you must book your parking slots well ahead and start your hikes early in the morning to beat the peak daytime crowds.
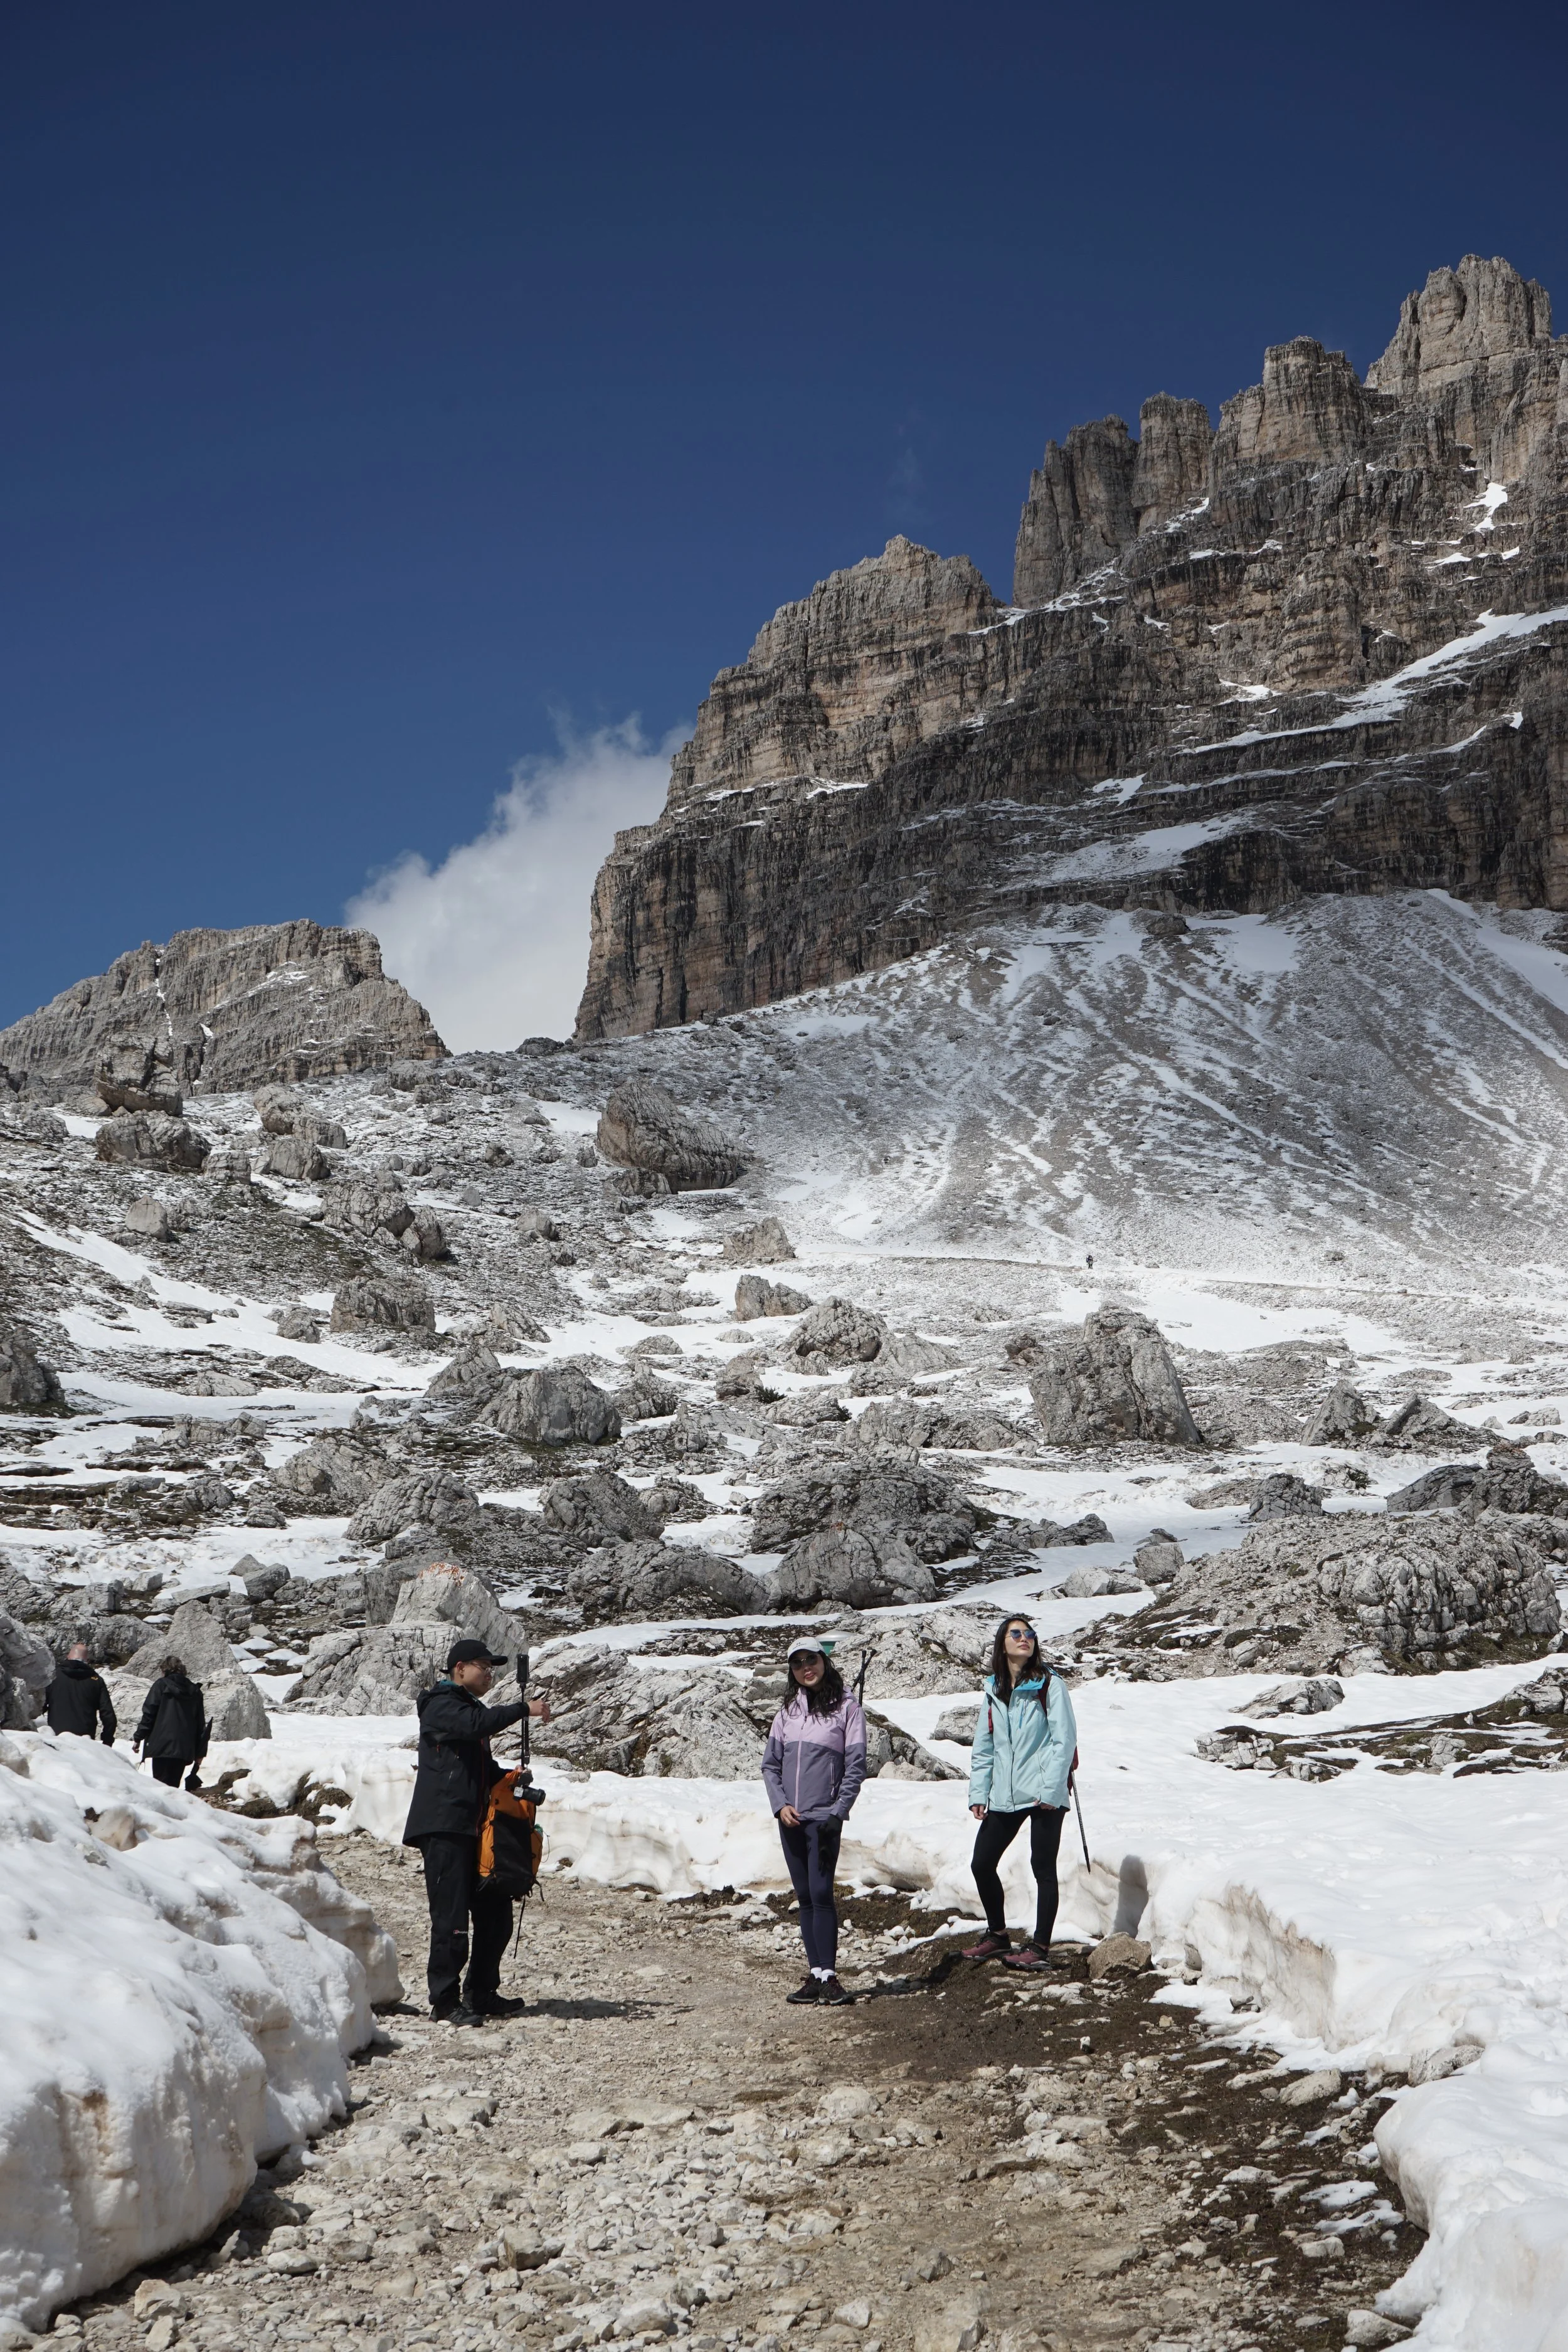
June (Early Summer): Wildflowers carpet the lower meadows and the air is crisp, but late-lying snowdrifts can linger across high shaded scree sections, especially around Forcella Lavaredo. Sturdy hiking boots and trekking poles are essential.
September and October (Golden Autumn): September is one of our absolute favorite times in the Dolomites. The heaviest crowds thin out, daytime temperatures remain stable, and the mountain light is crisp and golden. Early October offers quiet paths, though early autumn snowfalls can arrive without warning, prompting the toll road to close for the winter.
Checkout this LIVE WEBCAM for Tre Cime trail condition.
Winter vs Summer: Can You Visit in Winter?
Visiting in winter is possible, but it is an entirely different mountaineering pursuit rather than a standard day hike:
Toll Road Closure: The toll road from Lake Misurina closes completely between late October and late May due to heavy snow and avalanche risk. You cannot drive or take a public shuttle up to Rifugio Auronzo.
Hiking Up the Mountain: To reach Tre Cime in winter, you must hike, snowshoe, or ski tour all the way up from the valley floor near Lago d'Antorno or Val Campo di Dentro, adding substantial distance and vertical ascent through deep snow.
Closed Mountain Huts: All the serviced rifugi along the loop, including Auronzo, Lavaredo, and Locatelli, are firmly shuttered for the winter. There are no open cafes, warm meals, heated rest areas, or running water along the trails.
Avalanche Safety: Snow covers all summer trail markers, and crossing steep scree slopes beneath the rock faces requires winter alpine experience, microspikes or crampons, and avalanche safety gear.
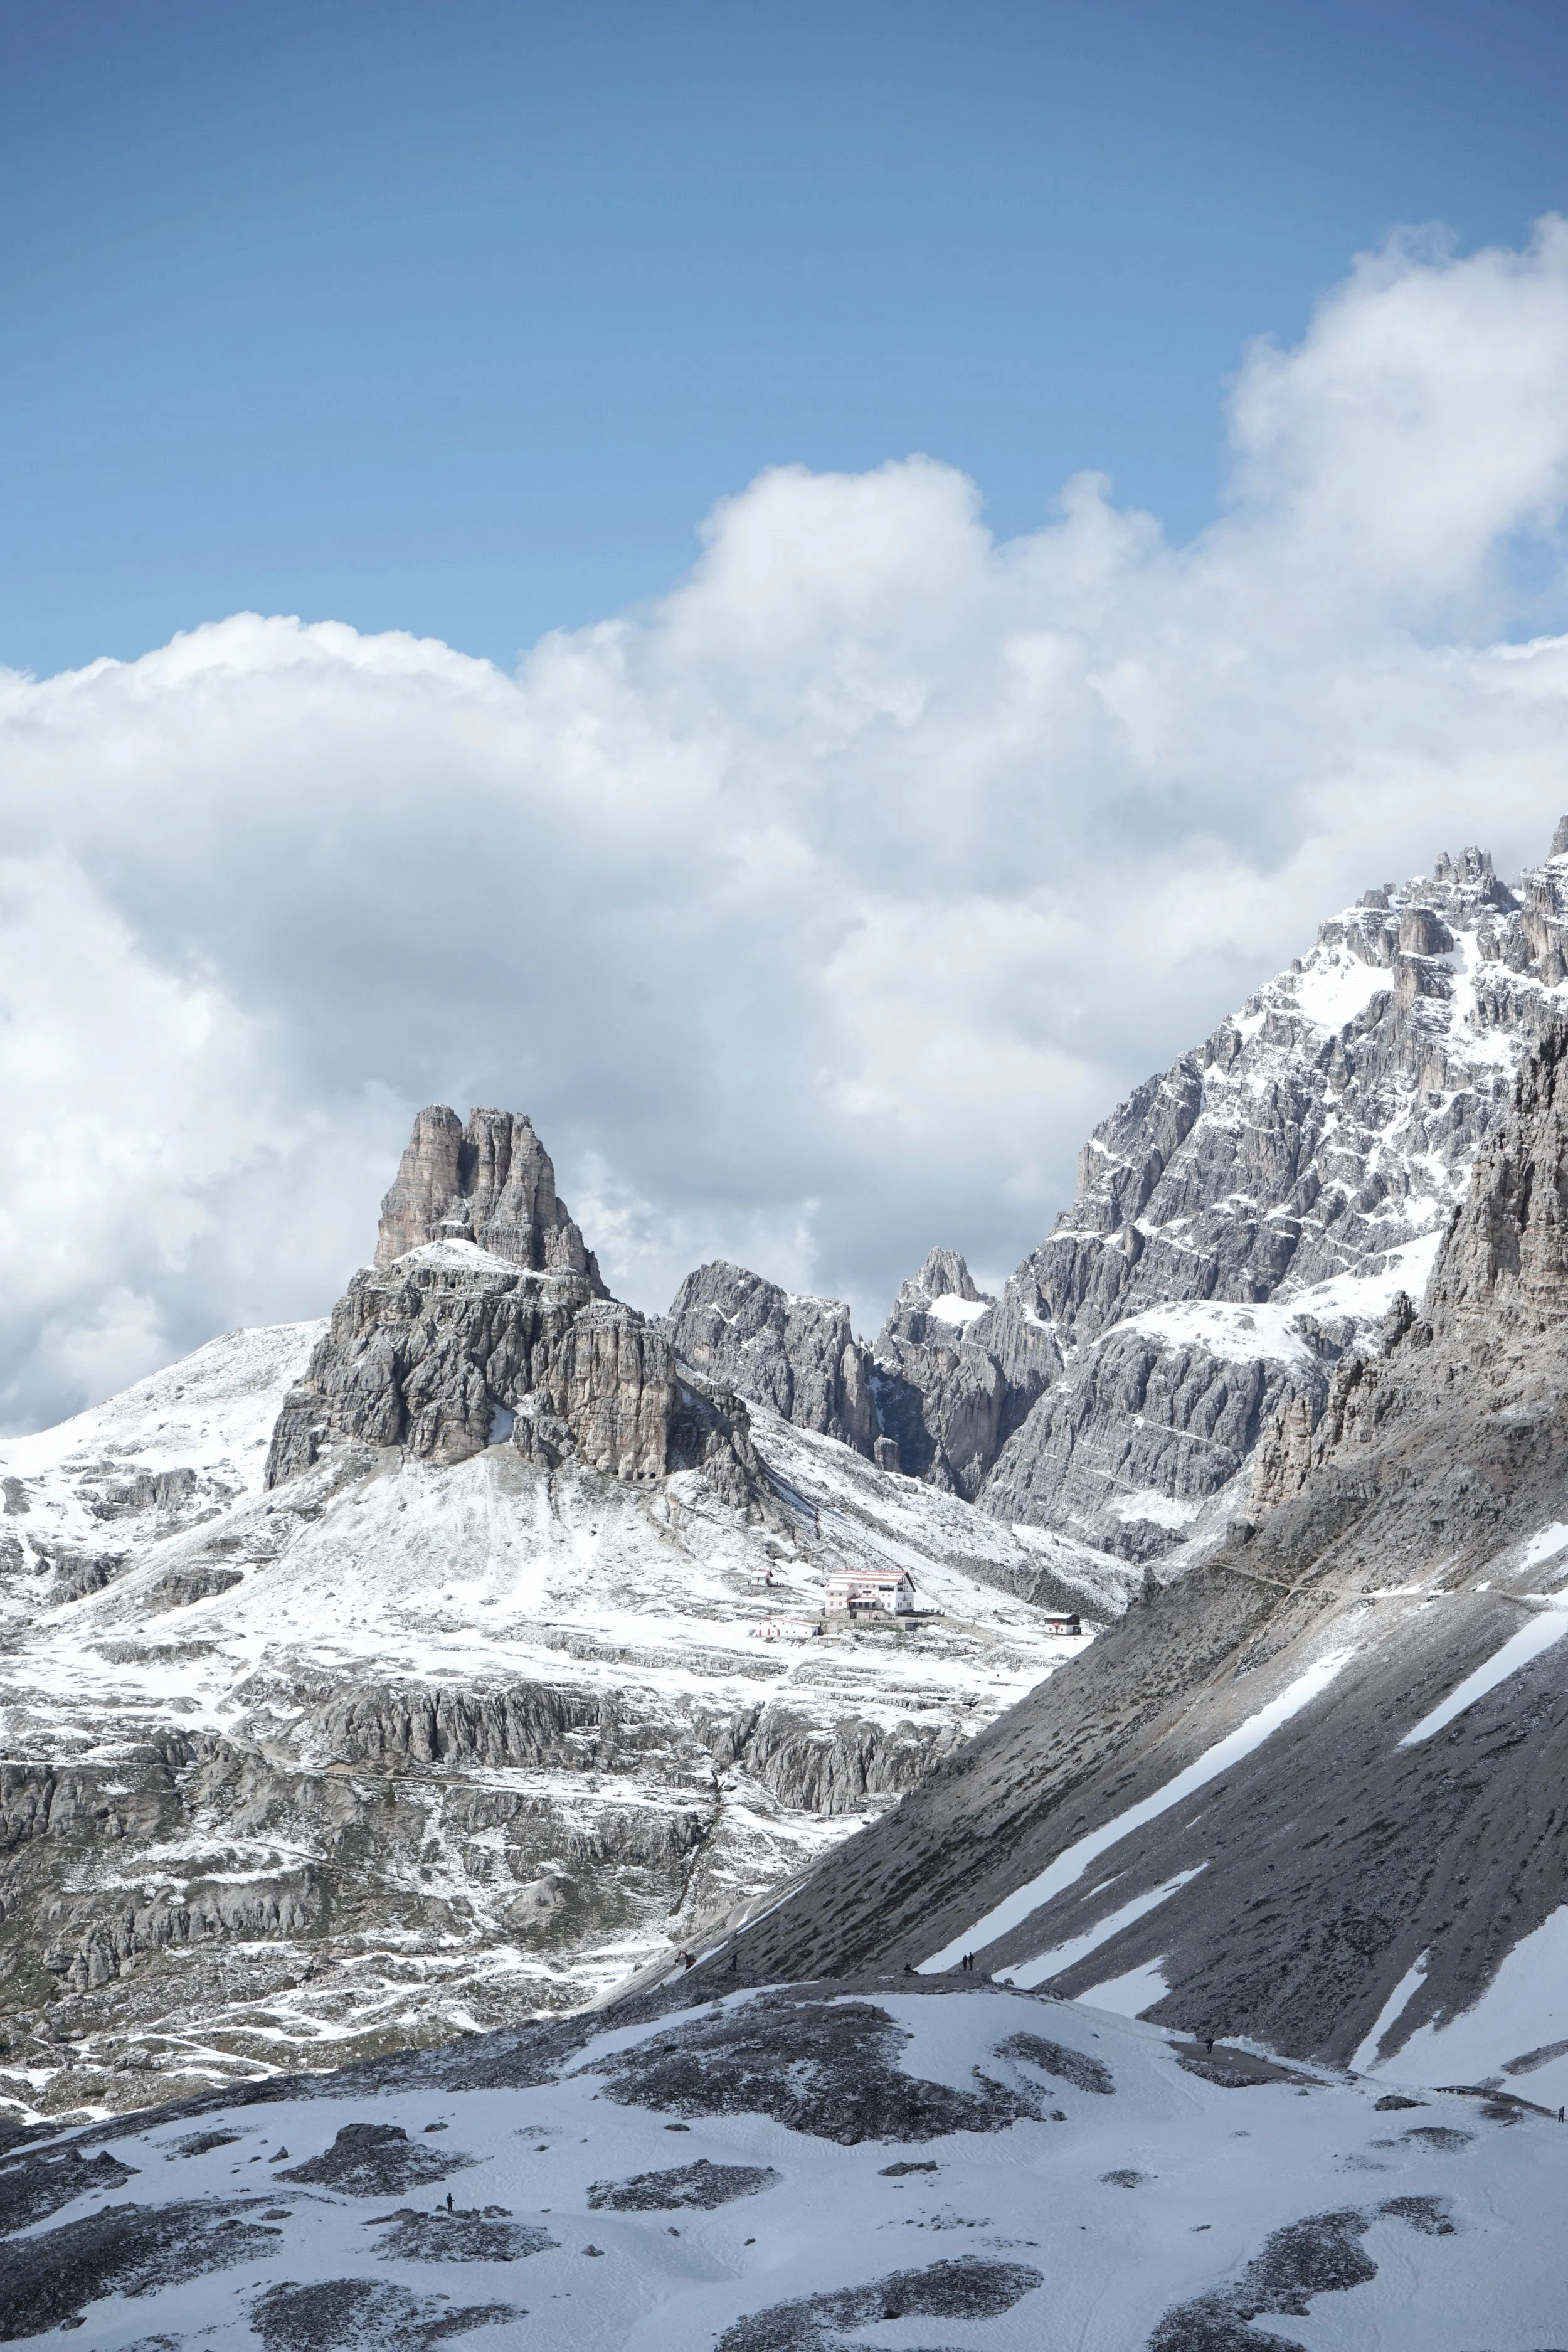
Hiking Trails at Tre Cime di Lavaredo: Route Overview
There are several scenic walking routes that climb up from the valley floor to the Three peaks. If you prefer to skip the toll road entirely and hike up to the high plateau from places like Lake Antorno, we cover those approaches in our guide on [How to Visit Tre Cime di Lavaredo Without a Car].
This guide focuses specifically on the trails you can explore once you have reached the high plateau around Rifugio Auronzo.
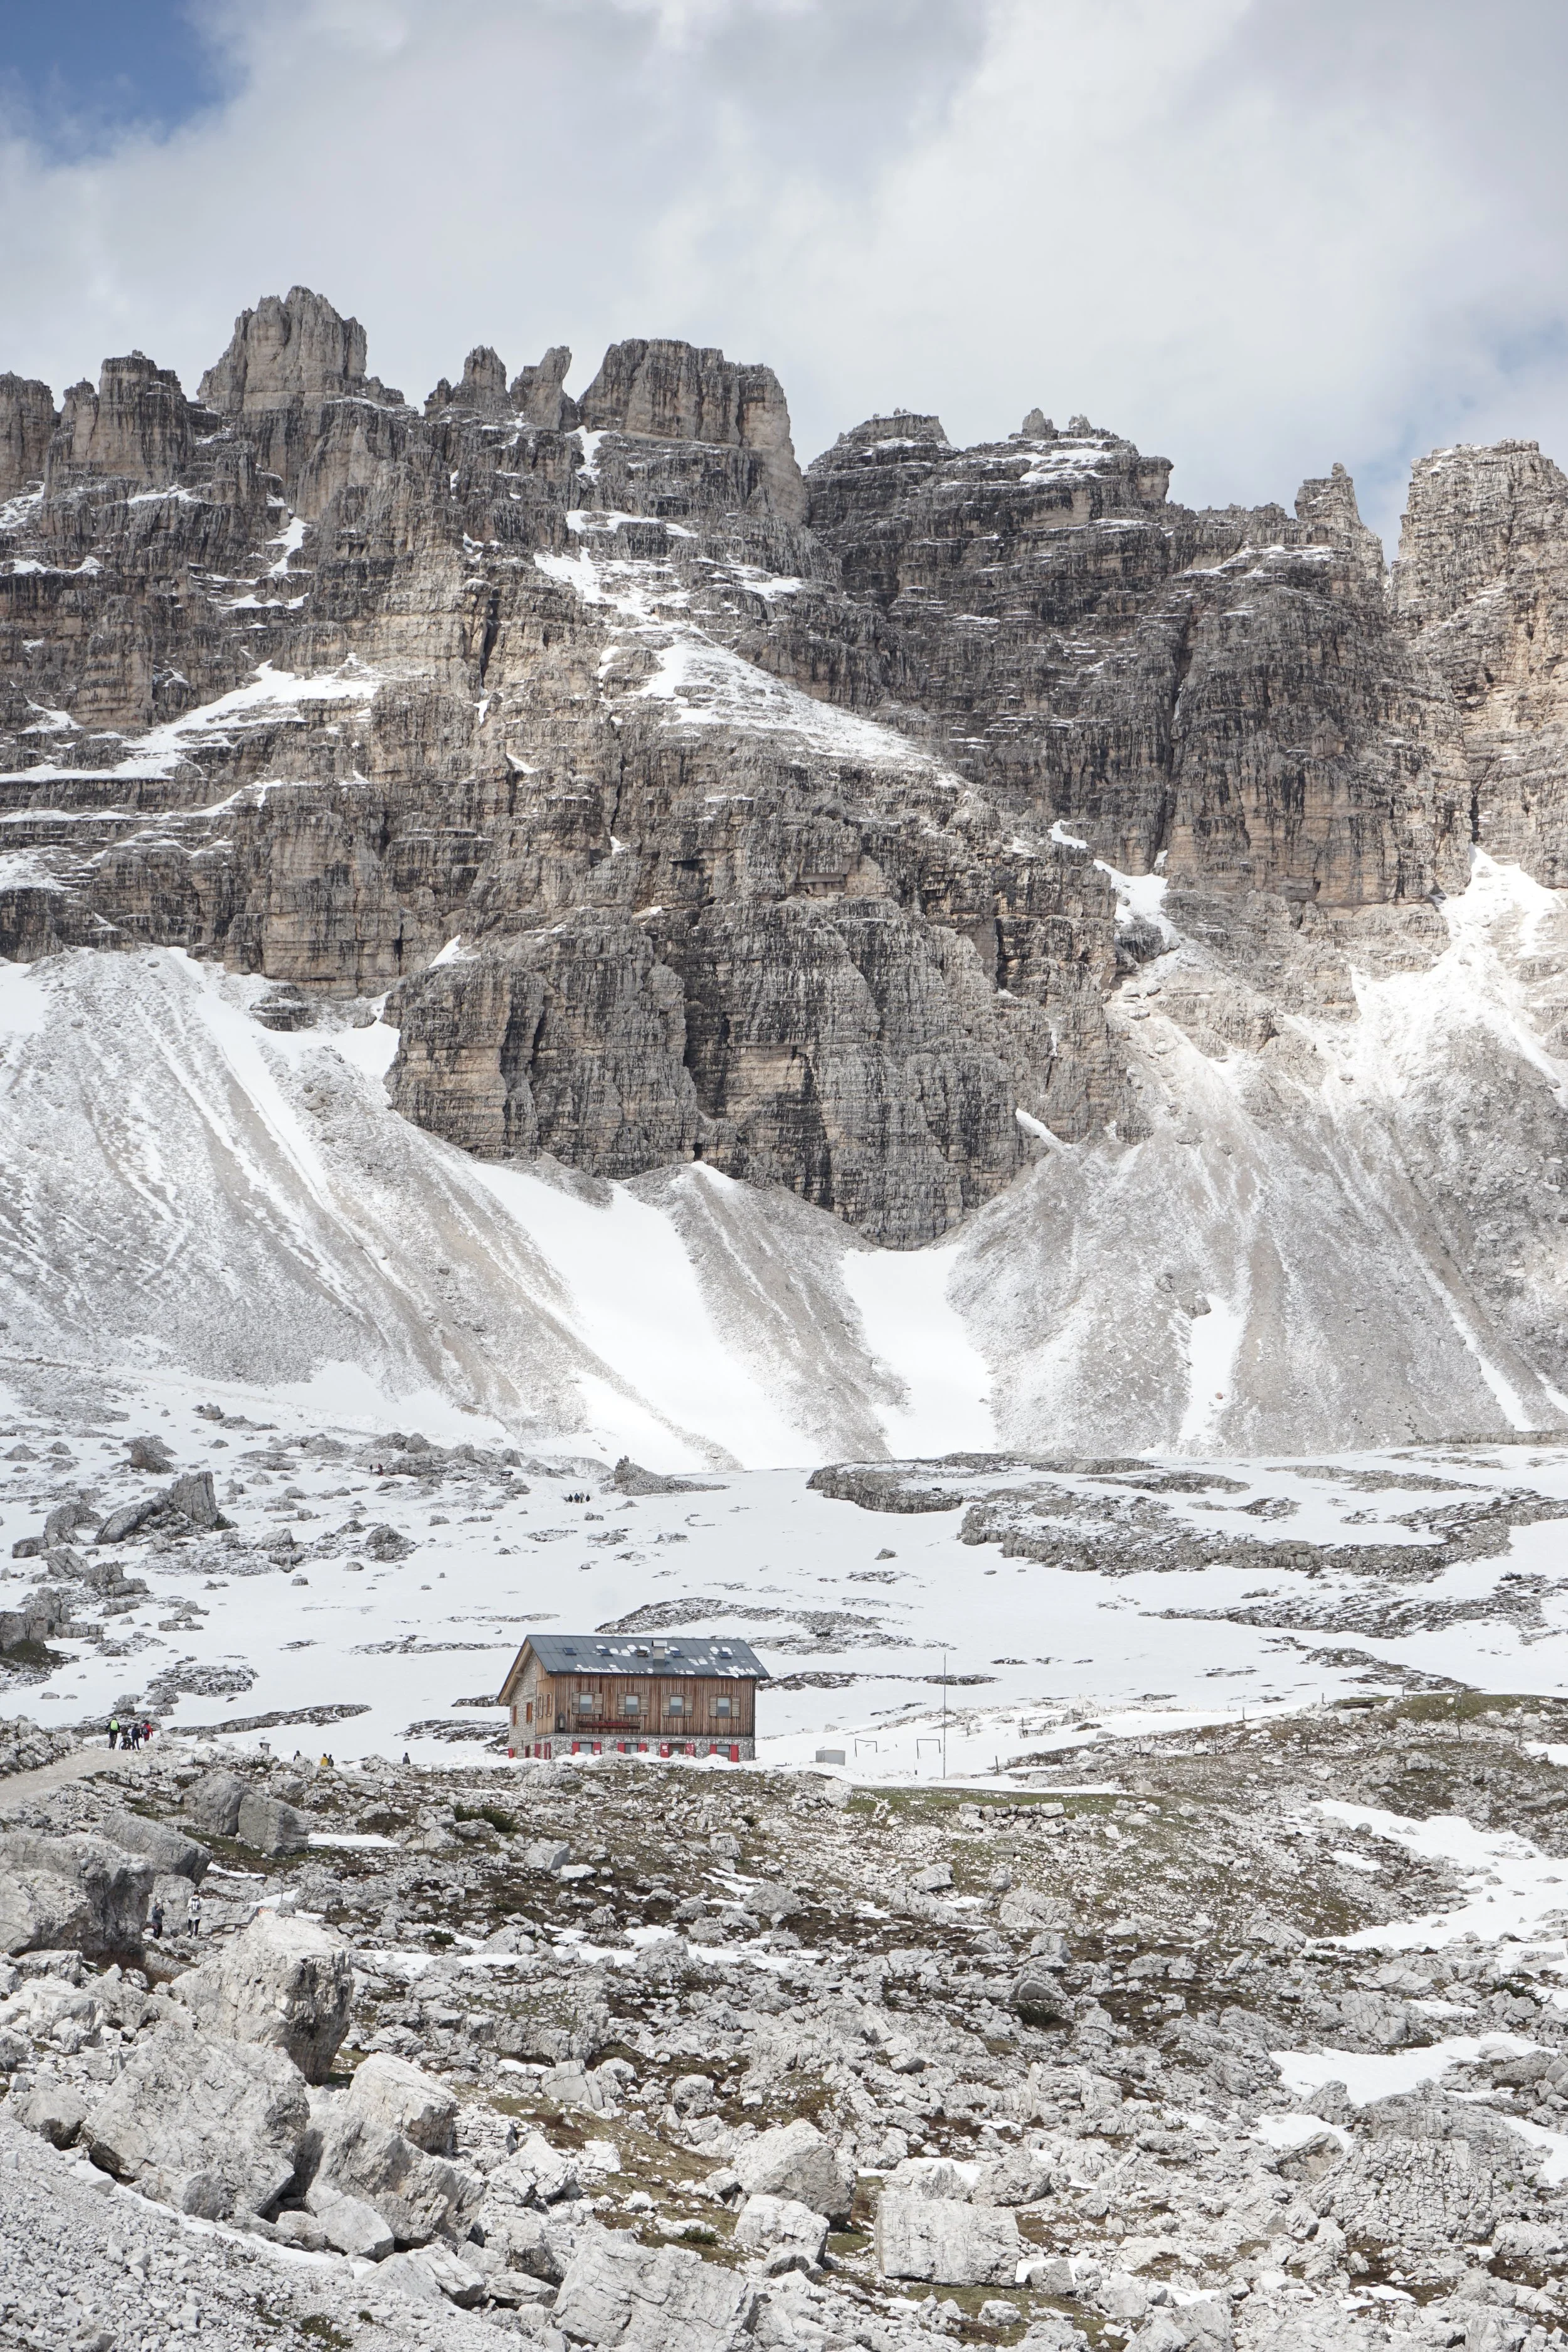
Because Rifugio Auronzo sits right on the saddle between two completely different mountain massifs, you have multiple trail styles starting from the exact same car park. We break these down into three main categories: classic hiking trails suitable for regular walkers, via ferrata routes that require specialized climbing gear, and the famous Cadini di Misurina viewpoint trail.
Classic Hiking Trails (No Climbing Gear Required)
These walking trails stay on established mountain footpaths and require no specialized climbing equipment, just sturdy hiking footwear, layers, and trail stamina.
The Classic 10 km Tre Cime Loop (Trails 101 & 105)
Trail Numbers: Trail 101 and Trail 105
Distance: Around 10 km
Elevation Gain: Approximately 400 m
Duration: 3.5 to 4.5 hours
Navigation: AllTrails Map (use code vivchow30 for 30% off AllTrails+)
This is the signature circuit encircling the base of the Three Peaks, linking Rifugio Auronzo, Rifugio Lavaredo, Rifugio Locatelli, and Malga Langalm.
Tre Cime Loop: Clockwise or Anticlockwise?
Because it is a continuous loop starting and finishing at Rifugio Auronzo, you can hike it in either direction.
However, after spending four days exploring these trails in every direction, we strongly recommend hiking the loop clockwise.
Walking clockwise from Rifugio Auronzo toward Malga Langalm and Rifugio Locatelli first gives you a far superior visual experience:
The Landscape Unfolds More Naturally with Fewer Crowds: Starting clockwise along Trail 105 immediately leads you onto quieter singletrack paths through open western pastures. The crowds disperse much faster than on the wide eastern dirt road, allowing the scenery to unfold peacefully as you get into your stride.
You Spend More Time Facing the Majestic North Faces: The sheer northern walls of Tre Cime are by far the most dramatic, iconic side of the entire massif. When you hike clockwise toward Rifugio Locatelli, you spend a huge portion of the trail walking directly toward and alongside these monumental vertical rock faces. If you hike anticlockwise, your back is constantly turned away from them as you descend into the valley toward Malga Langalm, forcing you to stop and twist around over your shoulder to see the best views.
Jaw Dropping Views of Cadini di Misurina on the Descent: Once you pass Rifugio Locatelli and crest the high saddle at Forcella Lavaredo, the return leg down toward Rifugio Lavaredo opens up into an incredible vista. The razor sharp, jagged spires of the Cadini di Misurina group rise directly in front of your eyes across the southern valley. It creates an unforgettable panoramic backdrop the entire way down. If you walk anticlockwise up toward the pass, your back faces the Cadini peaks the entire time.
The Truth About the "WWI Tunnel" Cave
Just above Rifugio Locatelli, you will almost certainly see a queue of hikers lining up along the scree. What social media often mislabels as the "historic WWI tunnel" is not an extensive wartime tunnel system at all. It is simply a shallow rock hollow where people line up to capture the popular framed photo of Tre Cime through the cave opening. Unless you are a dedicated photographer wanting that exact composition, we feel it is not worth queuing in the crowds.
There is a genuine, historic World War I tunnel complex here, but it is not a casual walk in cave. It is a climbing route known as the Galleria del Paterno, which forms the initial ascent of Via Ferrata De Luca (Innerkofler). Traversing these genuine wartime galleries carved deep through Mount Paterno requires a certified via ferrata lanyard set, harness, climbing helmet, and a dependable headlamp.
If you are keen to explore the real wartime tunnels and scale the summit of Mount Paterno, check out our in depth route breakdown in our dedicated post: [Via Ferrata De Luca / Innerkofler: The Ultimate Mount Paterno Guide] (Coming soon!).
Add-on Detours from Rifugio Locatelli: Sextner Stein & Laghi dei Piani
Instead of queuing up for the shallow photo cave, there are two far more rewarding side trips sitting right behind Rifugio Locatelli that are well worth your time:
The Twin Lakes: Laghi dei Piani (German: Bödenseen)
Tucked directly behind the northern plateau of Rifugio Locatelli lie the shimmering glacial pools of Laghi dei Piani.
It takes only a five to ten minute stroll down from the hut terrace to reach the lakeshore.
On calm, clear days, the still turquoise water creates a glass like mirror that reflects the surrounding jagged peaks and the sheer northern face of Mount Paterno.
Most casual day-trippers never venture beyond the refuge terrace, making the shores of the lakes an exceptionally peaceful, beautiful spot to unpack a snack, take quiet photos, or simply soak in the alpine atmosphere away from the main walking path.
Sextner Stein (Sasso di Sesto, 2,539 m)
Starting Point: Rifugio Locatelli
Distance: ~1.5 km return
Elevation Gain: ~139 m
Duration: 30 minutes to 45 minutes round trip
Terrain: Steep dirt and scree footpath
Navigation: AllTrails Map
Instead of queuing for the cave photo, we recommend continuing past Rifugio Locatelli and making the short climb up to the summit of Sextner Stein (Sasso di Sesto).
This rounded grassy peak sits directly behind the hut and offers a far superior, quieter experience:
You get an elevated, 360 degree panoramic vantage point looking straight across the sheer northern walls of Tre Cime, the twin Laghi dei Piani lakes, and the towering face of Mount Paterno.
Because the majority of day hikers stop right at Rifugio Locatelli or cluster around the small photo cave, climbing up to Sextner Stein lets you escape the crowds and enjoy a peaceful, secluded mountain moment.
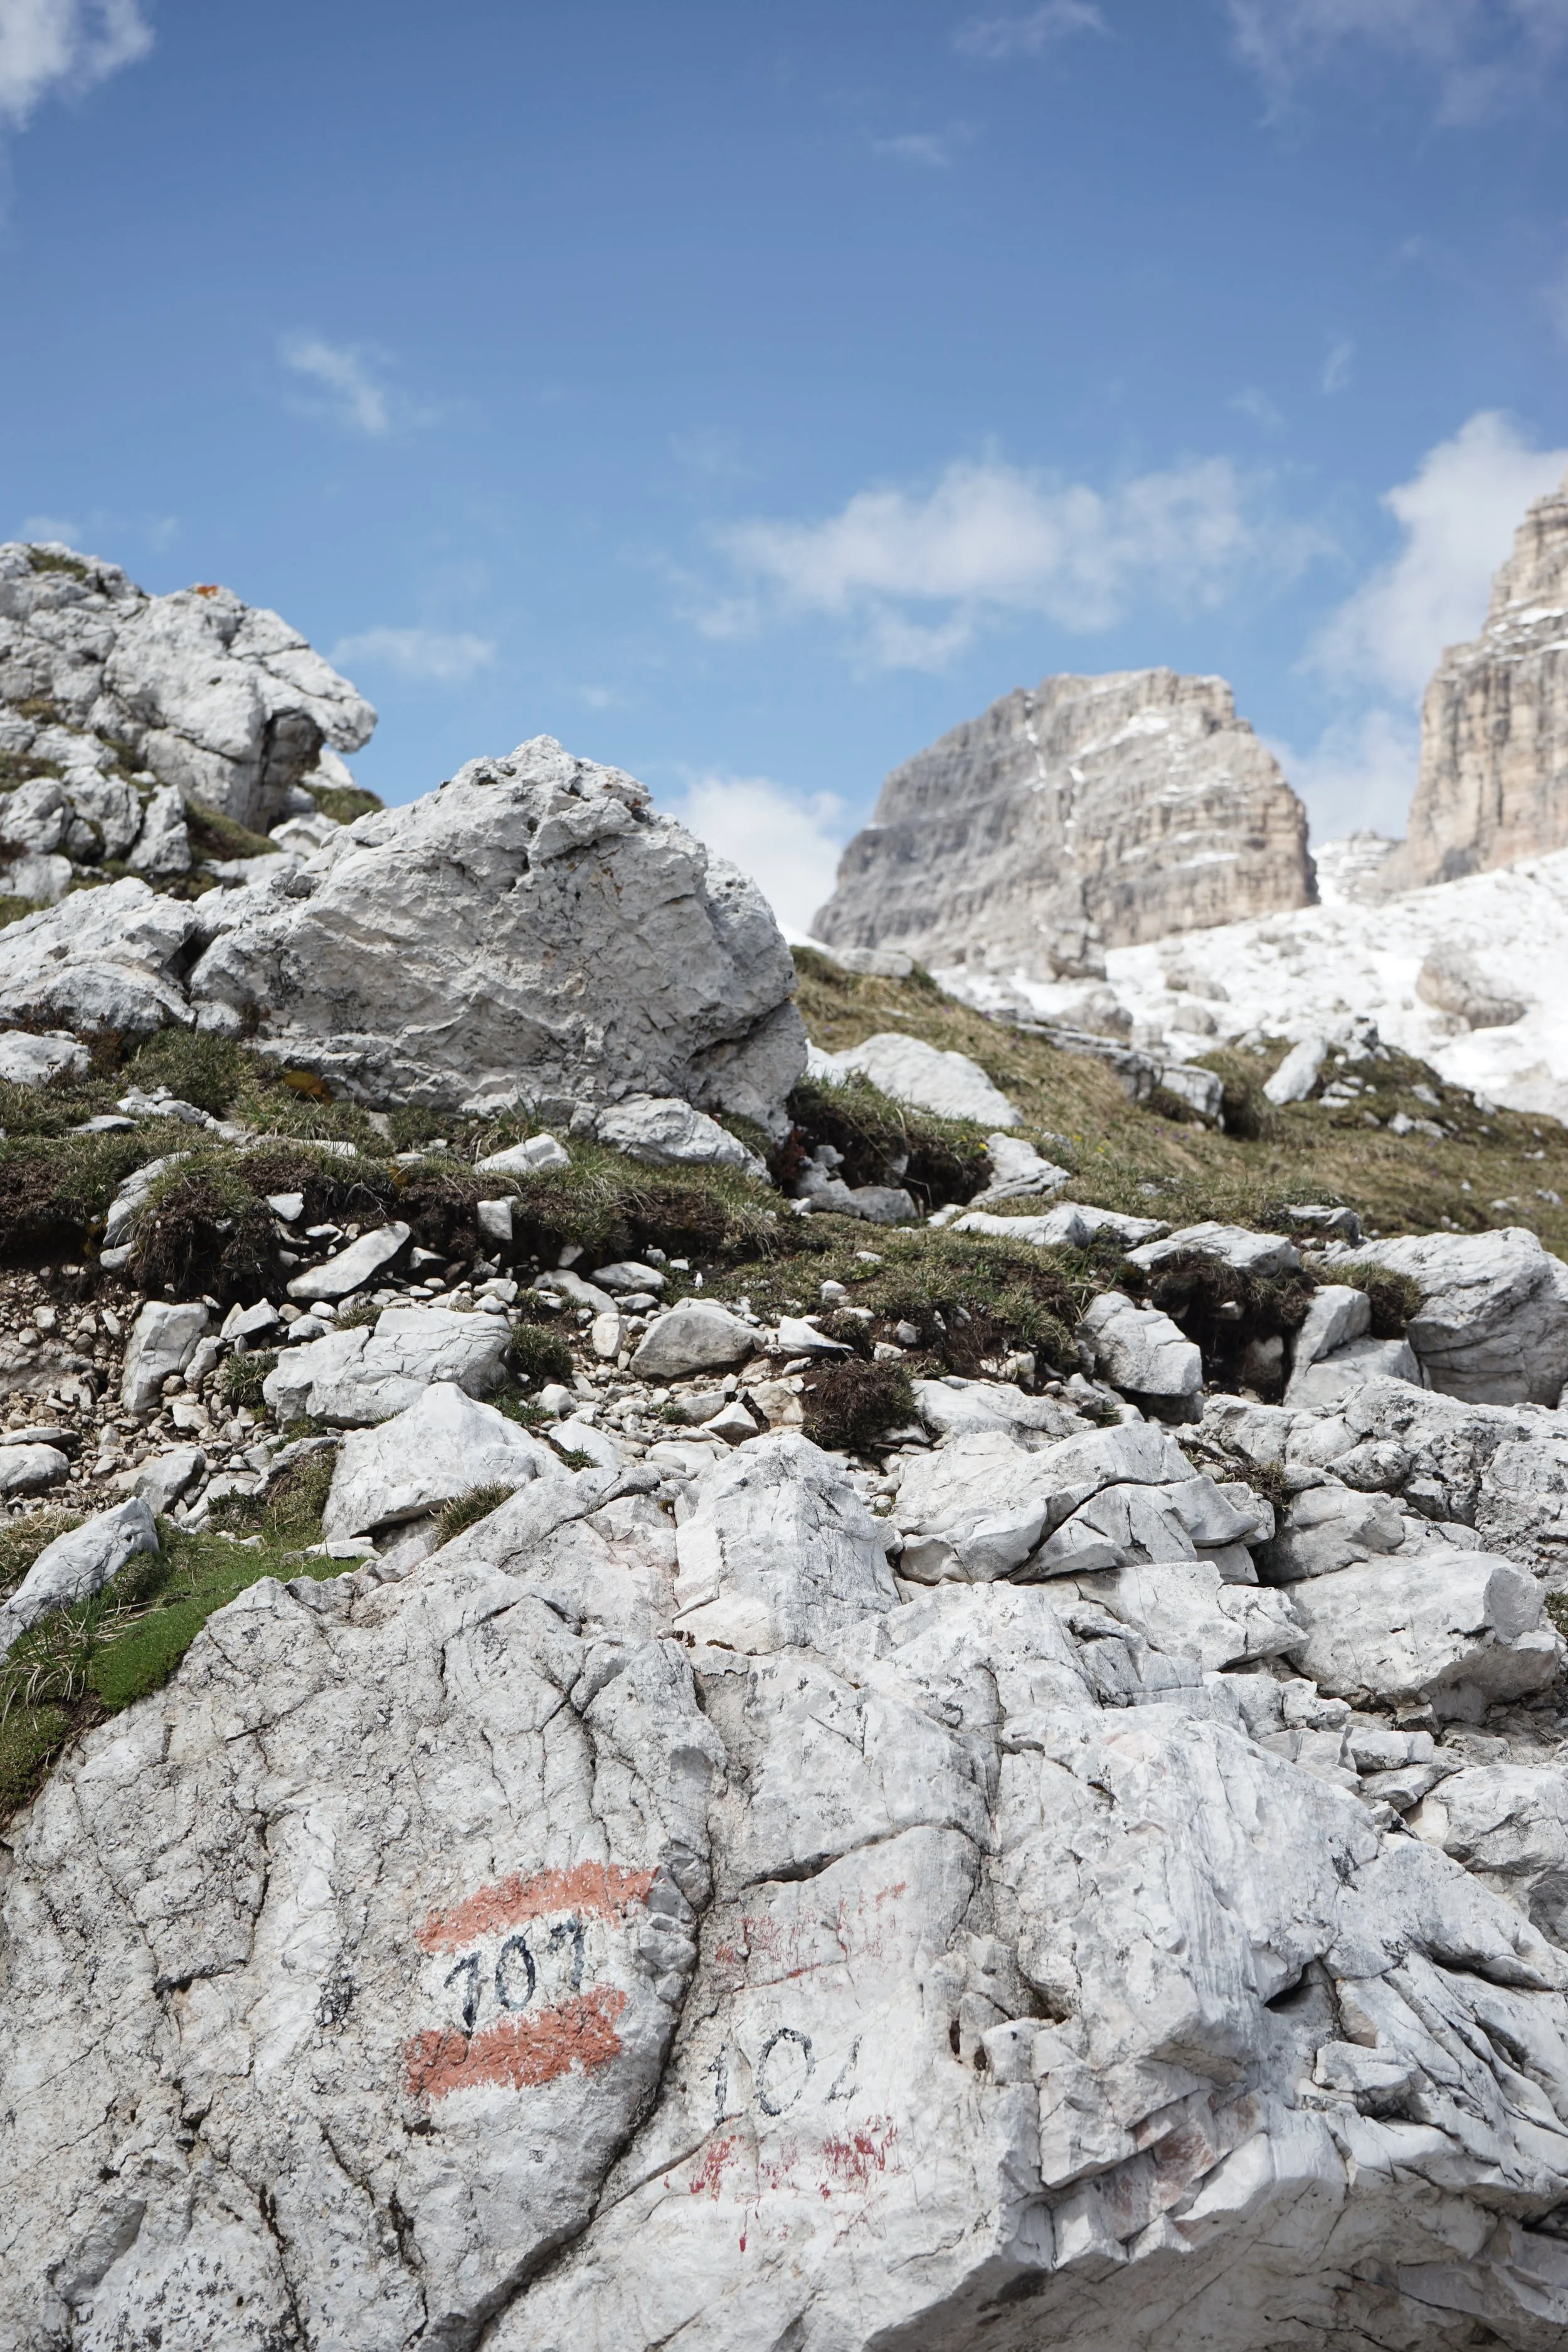
The Monte Paterno Circuit (Trails 104 & 101)
Trail Numbers: Trail 101, Trail 104, and Trail 107
Distance: ~14.2 km loop from Rifugio Auronzo including Tre Cime Loop
Elevation Gain: ~742 m
Duration: 5-6 hours
Navigation: AllTrails Map
If you want a longer, quieter day hike without doing the classic northern face circuit or putting on climbing harnesses, the Monte Paterno loop is a phenomenal alternative.
From Rifugio Lavaredo, instead of heading straight over Forcella Lavaredo, this trail branches eastward along Trail 104 into the wild Pian di Cengia basin. You hike through lunar scree fields and rugged limestone valleys toward Rifugio Pian di Cengia (2,528 m), the highest hut in the area. From there, you loop northwest toward Rifugio Locatelli along Trail 101 before heading back to Rifugio Auronzo. It sees a fraction of the foot traffic found on the main circuit and showcases the remote alpine heart of the park.
Cadini di Misurina Viewpoint Hike
Starting Point: Rifugio Auronzo
Trail Number: Path 117
Distance: Around 3.5 km round trip
Elevation Gain: Approximately 160 m
Duration: 1.5 to 2 hours round trip
Navigation: AllTrails Map
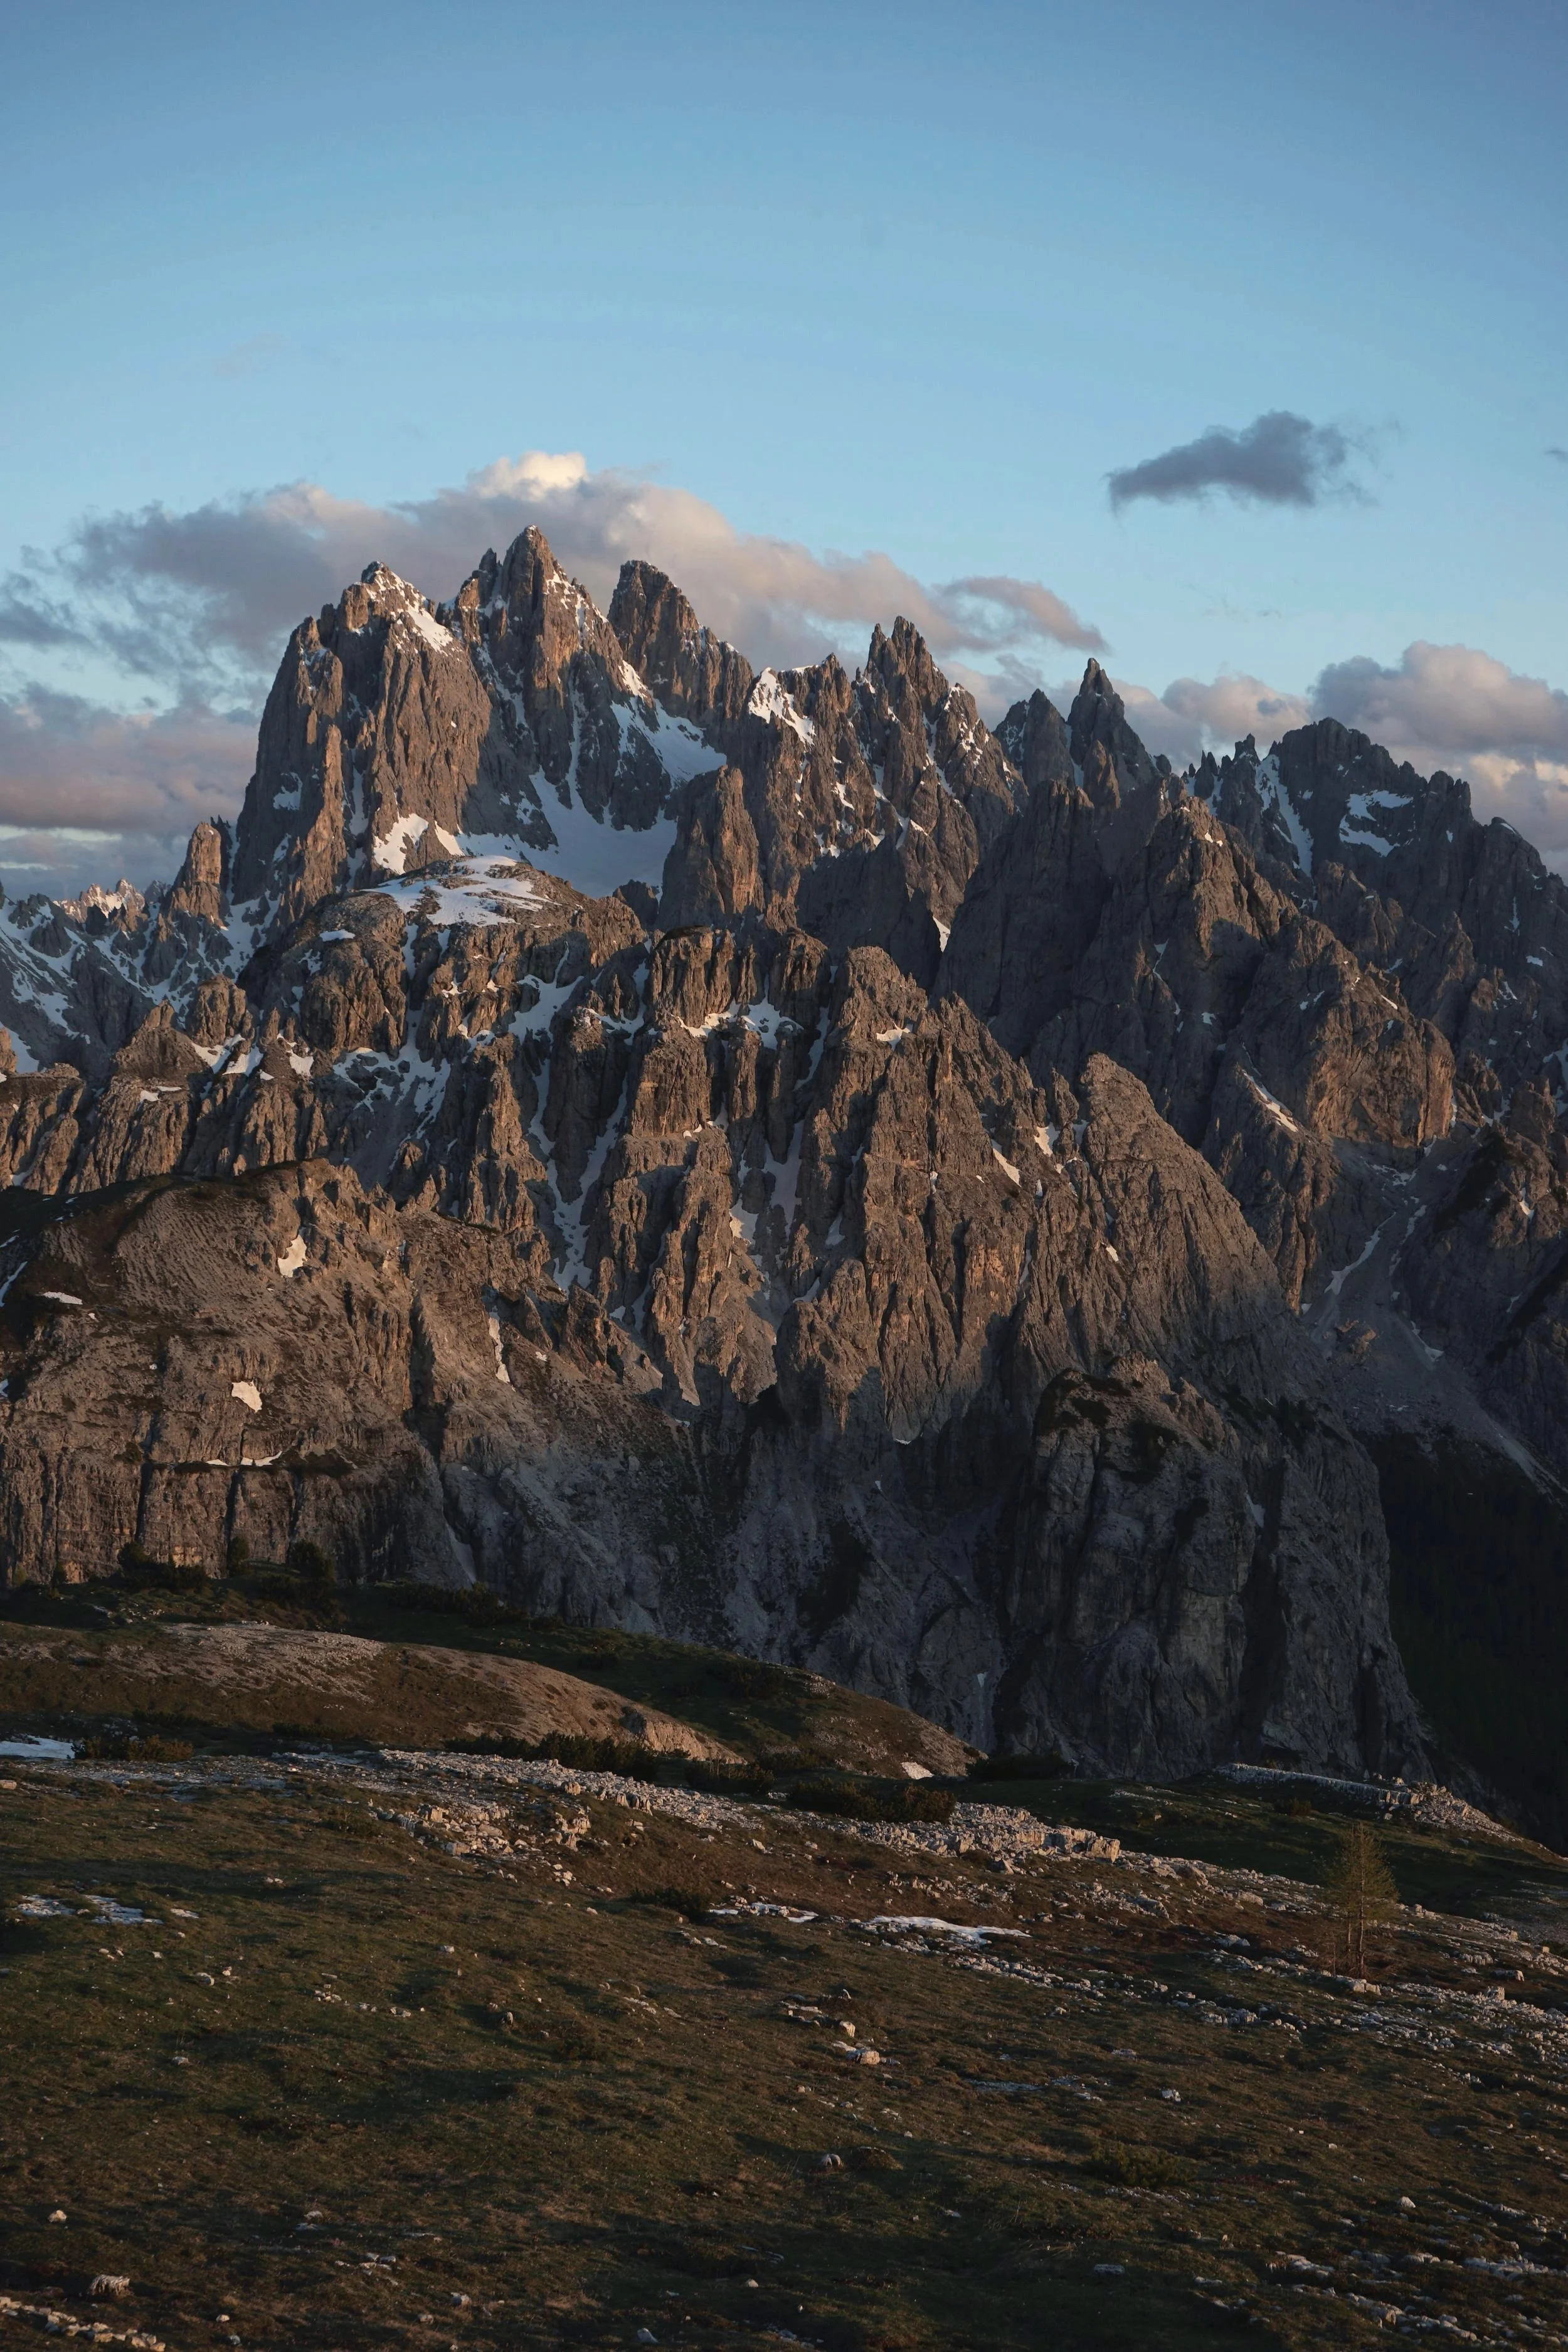
Often nicknamed the Mordor of the Dolomites, this viewpoint overlooks a dramatic amphitheater of razor sharp limestone pinnacles that look entirely unreal.
Hiking Cadini First vs Last: Timing Your Day
Because both the Cadini di Misurina trail and the Tre Cime loop begin and end right at the Rifugio Auronzo car park, it really does not matter whether you do Cadini first or last.
Your decision should depend entirely on what time you arrive and where you want to catch sunrise or sunset:
Catching Sunrise at Cadini: If you arrive at dawn, hiking to Cadini di Misurina first is magical. Morning light hits the sharp spires while the air is still and the trail is relatively empty. Once finished, you return directly to the car park and immediately set off on your Tre Cime loop.
Saving Cadini for Golden Hour & Sunset: If you arrive mid morning, complete your Tre Cime loop first, stop for lunch, and then hike out to Cadini di Misurina in the late afternoon. Sunset over the Cadini spires glows with deep pink and purple alpine light, making it well worth lingering for if you have your own vehicle.
Keep Track of Time: Whichever order you choose, watch your clock. It is remarkably easy to spend two hours taking photos at your first destination and find yourself short on daylight for the second.
Via Ferratas & Scrambling (Climbing Gear Mandatory)
If you have extra days or want to add vertical climbing excitement to your trip, the cliffs around Tre Cime host world renowned via ferrata routes. These require a climbing harness, certified via ferrata lanyard set, climbing helmet, headlamp, and a solid head for heights.
Be sure to check via ferrata status before attempting one to ensure safety!
Via Ferrata De Luca / Innerkofler (Mount Paterno)
Grade: Moderate (Grade 2B / B)
Starting Point: Rifugio Locatelli
Elevation Gain: ~350 m from the hut
Duration: 3 to 4 hours round trip from Locatelli
Navigation: AllTrails Map
This is the premier wartime climbing route in the park, and where you will find the authentic World War I underground passages (the Galleria del Paterno). The route begins by ascending through a pitch-black tunnel complex roughly 600 meters long, carved directly through the interior limestone of Mount Paterno during the war.
Because the gallery has zero natural light and features wet, uneven rock steps, bringing a reliable, powerful headlamp is an absolute necessity.
After navigating the dark interior tunnels, the route pops out onto airy cliff ledges protected by steel cables, continuing across exposed rock ramps all the way up to the 2,744-meter summit cross with front-row, unobstructed views across Tre Cime.
Check out our in depth route breakdown in our dedicated post: [Via Ferrata De Luca / Innerkofler: The Ultimate Mount Paterno Guide] (Coming soon!).
Via Ferrata Torre di Toblin
Grade: Difficult (Grade 3C / C)
Starting Point: Rifugio Locatelli
Duration: 2.5 to 3 hours round trip from Locatelli
Navigation: AllTrails Map
A steep, heart pumping ladder climb scaling the sheer rock tower of Torre di Toblin (2,617 m) right behind Rifugio Locatelli. Featuring a sequence of 17 vertical iron ladders fixed into narrow chimneys, it offers tremendous exposure and aerial views across the entire park for confident climbers.
Check out our in depth route breakdown in our dedicated post: [Via Ferrata Torre di Toblin Guide] (Coming soon!).
How Much Time Should You Allow?
How long you spend around Tre Cime depends on your travel style and how you reach the mountain:
The Leisurely Full Day Experience (Our Personal Recommendation)
If you are driving your own vehicle, your toll road parking ticket gives you a full 12 hour window, so take advantage of it. While you could technically rush through the main viewpoints, we personally love taking it easy and exploring at an unhurried alpine pace.
Spending a full day gives you ample breathing room to hike the clockwise Tre Cime circuit, stop for a relaxed lunch on a rifugio terrace, walk out to the Cadini di Misurina ridge, and linger for afternoon light without constantly glancing at your watch.
The Half Day Express Visit
If you are on a tight Dolomites road trip schedule or relying on public shuttles that depart in the late afternoon, you can complete a focused visit in roughly 4 to 5 hours. That gives you enough time to walk the classic 10 km Tre Cime loop or head out to the Cadini di Misurina viewpoint with a brief snack stop.
Just keep in mind that if you attempt to squeeze both hikes into half a day, you will be power walking past viewpoints and will likely need to skip sitting down for a proper hot meal.
Staying in Mountain Rifugi vs Wild Camping Regulations
Spending the night high on the plateau lets you experience these colossal limestone spires at their very best: bathed in golden evening light, under star filled skies, and in early morning silence before the day trip traffic arrives.
Wild Camping and Campervan Regulations
One of the most important rules to know before visiting is that wild camping in tents or bivouac shelters is strictly forbidden. The entire area falls within the protected Parco Naturale Tre Cime, and park rangers patrol the trails regularly. Setting up a tent anywhere on the alpine meadows or scree slopes carries severe legal fines.
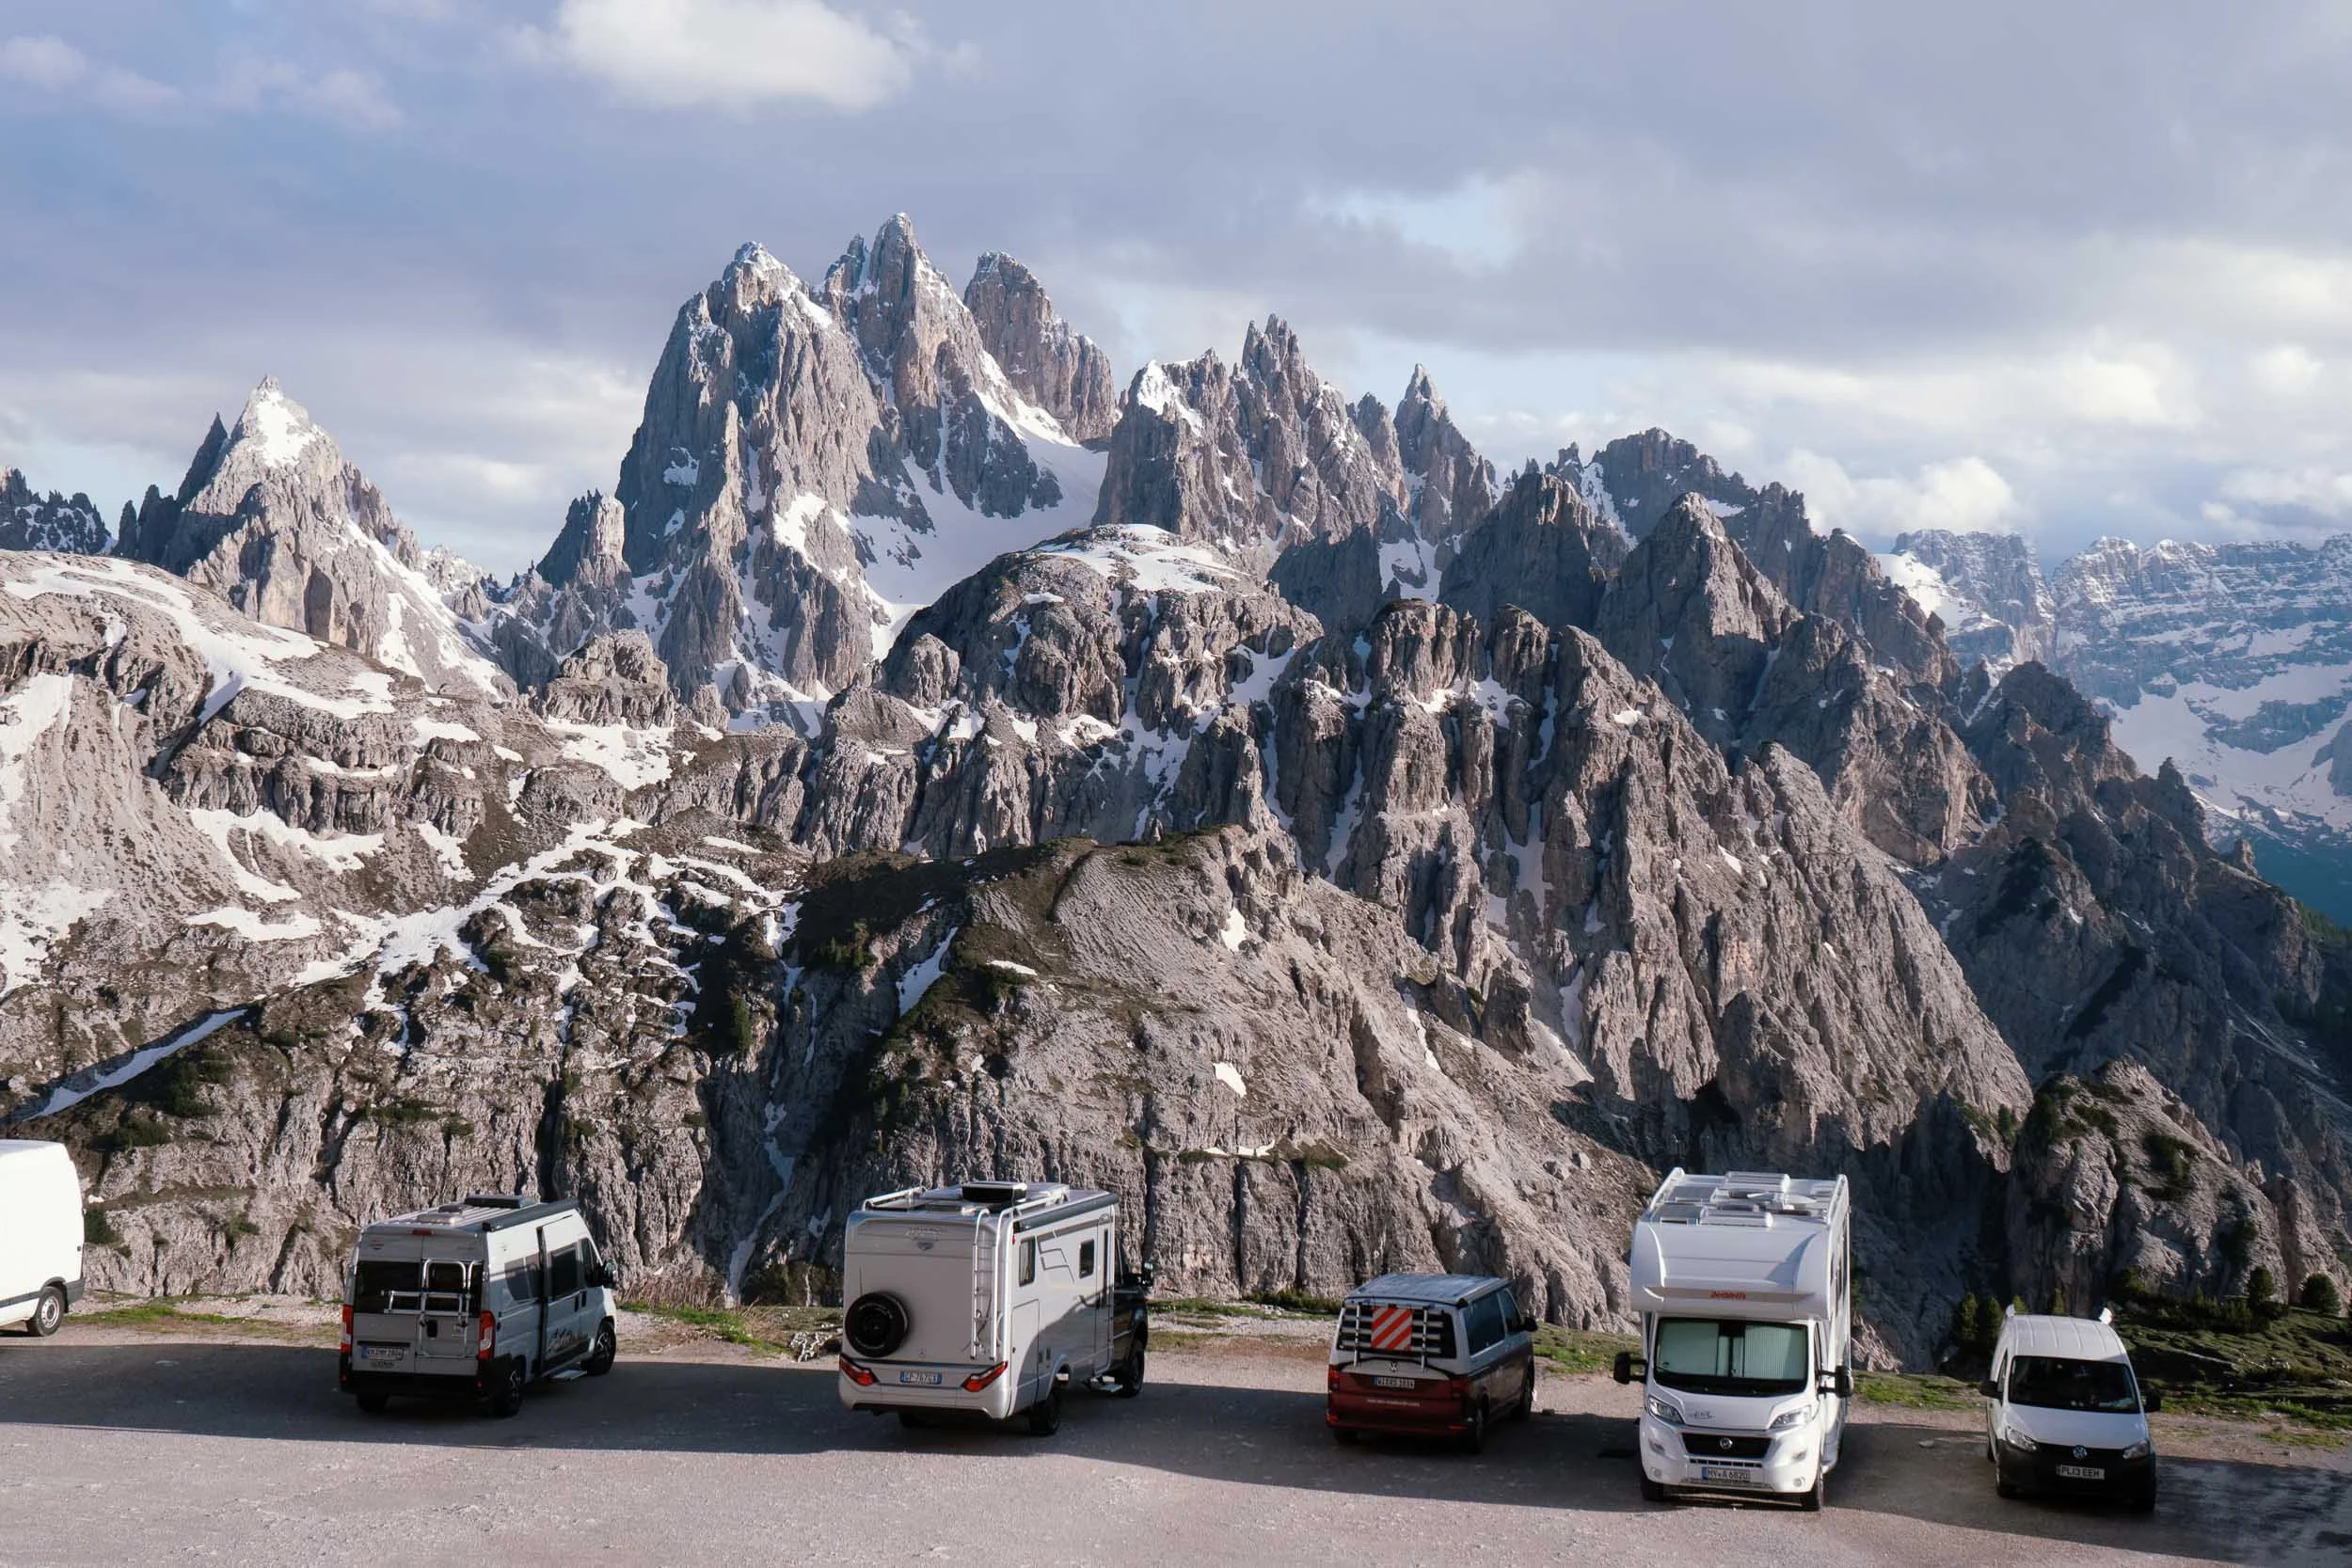
If you are traveling in a self contained campervan, sleeping inside your vehicle in the designated Rifugio Auronzo parking lot is permitted as long as your paid 12 hour ticket windows cover your entire duration on site. However, setting up awnings, camp chairs, or tents outside your vehicle is prohibited.
Staying Overnight: Comparing the Rifugi from Our Stays
During our four days exploring the area, we stayed overnight at both Rifugio Locatelli and Rifugio Lavaredo. While both place you right in the middle of magnificent scenery, the experiences and facilities are quite different:
Rifugio Antonio Locatelli (Dreizinnenhütte, 2,405 m)
Perched directly opposite the sheer northern walls of Tre Cime, Locatelli boasts what is arguably the most famous view in the entire Alps.
Facilities & Sleeping: As an official CAI club hut, Locatelli is rustic and traditional. Accommodation consists of large shared bunk bed dormitory rooms. There are no showers available here, so pack wet wipes and toiletries for a quick freshen up.
Drinking Water: The tap water in the washrooms is safe and drinkable, meaning you can refill your hydration bladders and water bottles freely without having to buy plastic bottles.
Rifugio Lavaredo (2,344 m)
Nestled beneath the eastern base of Tre Cime along Trail 101, Rifugio Lavaredo offers a far cozier, more comfortable atmosphere.
Facilities & Sleeping: Lavaredo is privately run and not part of the Italian Alpine Club (CAI), so overnight stays cost noticeably more. However, the extra cost brings genuine alpine luxury, including hot showers with a small fee.
Drinking Water: The tap water here is non potable, which means you cannot fill bottles from the sinks. You will need to purchase bottled mineral water from the bar.
Stopping for Food & Drink Along the Trails
You never have to worry about carrying heavy meal rations on this hike. All three mountain huts along the route serve delicious, hearty mountain food, homemade apple strudels, cakes, and a wide selection of alcoholic and non alcoholic drinks, making them perfect trailside rest stops.
Here is how dining compares across the three main huts:
Rifugio Auronzo: Operates in a self service canteen style. It is bustling and fast paced, making it the ideal spot if you want to grab a quick plate of pasta, goulash, or a coffee without losing trail time.
Rifugio Locatelli & Rifugio Lavaredo: Both huts prepare delicious hot meals cooked fresh to order. You place your order and wait for your dishes to come out of the kitchen, so expect a longer wait during peak lunchtime hours between 12:00 PM and 2:00 PM. Sitting on the outdoor wooden benches with a plate of fresh polenta, dumplings, or warm barley soup while taking in the views makes the wait completely worthwhile.
Trailside Sweet Treats & Drinks: If you just want a mid hike sugar boost, every hut offers wonderful homemade apple strudels, linzer tortes, and fruit pies. Pair a warm slice with an espresso, a refreshing radler, or a local beer while taking a breather on the terrace.
Bathroom Fees: Public day visitors using the restrooms inside any of the huts will need to pay €1 per visit, so keep a handful of small coins handy in your pocket.
What to Pack for Hiking Tre Cime di Lavaredo & Cadini
Because you are hiking at elevations above 2,300 meters, conditions can shift from warm sunshine to biting alpine winds in a matter of minutes. Here is the essential gear you should pack into your daypack:
Warm Layers and Thermals: Early mornings at sunrise and late evenings after sunset get bitterly cold, even during peak July and August. Bring breathable base layers, an insulating mid layer like a fleece or down jacket, and a lightweight beanie or headband.
Waterproof Jacket and Pants: High mountain weather in the Dolomites is notoriously unpredictable, and afternoon thunderstorms roll across the peaks fast. Always pack a reliable waterproof hardshell jacket and rain covers for your backpack.
Refillable Water Bottle or Hydration Bladder: Staying hydrated is critical at high altitudes. You can always purchase bottled mineral water inside the rifugi along the trail. If you are looking to top up for free, the natural alpine trough at Malga Langalm is the primary spot along the classic loop where you can refill your bottle without charge, provided water is flowing. Keep in mind that during exceptionally dry summers with low winter snowfall, these natural springs can run dry, so starting your hike with at least 1.5 to 2 liters is always wise.
Trail Snacks: While the huts serve incredible hot food and strudels, having energy bars, dried fruit, nuts, or chocolate in your pack keeps your energy high between stops.
Headlamp: A must if you plan to hike out for sunrise, stay late to watch the sunset over Cadini di Misurina, or venture into the pitch black World War I tunnels of Mount Paterno. Make sure it is fully charged before you leave your accommodation.
Via Ferrata Climbing Gear (If Tackling Via Ferrata Routes): If you plan to climb Via Ferrata De Luca (Innerkofler) or Torre di Toblin, full technical climbing protection is mandatory for your own safety. You will need a certified via ferrata lanyard set with shock absorbers, a climbing harness, a climbing helmet to protect against rockfall, and grippy climbing gloves to protect your hands on cold steel cables.
Sturdy Hiking Footwear: Loose limestone scree, polished rock steps, and uneven trails make supportive footwear essential. Wear trail runners with aggressive tread or sturdy hiking boots with excellent grip.
Coins and Cash: Keep a few €1 coins in your pocket for hut restroom facilities, along with €30 to €50 in physical cash for meals, snacks, and drinks if card machines lose satellite signal.
Practical Tips for Your Hike
Manage Your Time Between Trails: Remember that both the Cadini di Misurina viewpoint and the classic Tre Cime circuit start right at Rifugio Auronzo. It is remarkably easy to lose track of time snapping photos at the first spot and end up rushing through the second. Set a clear turnaround schedule before you start walking so you can enjoy both without stress.
Book Your Parking Toll a Month in Advance: If you are driving up, do not wait until the week of your trip to reserve your toll road slot. The online parking booking platform opens reservations ahead of time, and early morning sunrise slots sell out weeks in advance during peak summer months like July and August. Secure your 12 hour window at least three to four weeks before your visit to avoid getting turned away at the barrier.
Reserve Bus 444 or Prepare to Queue for Bus 50: Public transit travelers need to plan ahead as well. If you are taking Shuttle Bus 444 from Dobbiaco, advance online seat reservation is strictly mandatory and cannot be purchased spontaneously on board. If you are catching Bus 50 from Lake Misurina, reservations are not used and you simply queue to board with contactless payment. During peak summer mornings, queues for Bus 50 can stretch very long, so arrive at the stop well before departure.
Cycling Up - Parking Docks vs Trail Rules: An increasingly popular way to beat the toll fees is renting an e-bike in the valley and pedaling up the paved toll road from Lake Misurina. There are bike racks and parking docks located right outside Rifugio Auronzo where you can lock up your bike for the day. However, bicycles and e-bikes are strictly forbidden beyond Rifugio Auronzo onto the walking trails. You must lock your bike at the refuge and complete all trails on foot.
Download Offline Trail Maps Before Ascending: Mobile phone signal along the high limestone ridges and in deep valleys behind Mount Paterno can be patchy or nonexistent. Download your trail maps on apps like AllTrails (Use code: vivchow30 for 30% off) while connected to Wi-Fi so you can track your location offline throughout the day.
Carry Physical Cash for Hut Facilities: Although card machines are common across the Dolomites, high altitude satellite terminals frequently cut out during mountain storms or cloudy spells. Keep small €1 coins handy for the public restrooms in the huts, plus €30 to €50 in physical cash for meals, drinks, and snacks so you never get caught out.


Where to Stay Near Tre Cime di Lavaredo (If Not Staying in a Rifugio)
If you prefer the comfort of a hotel, a private apartment, or a dedicated campsite down in the valley instead of sleeping in a mountain hut dormitory, you have three prime base towns to choose from. Each offers distinct advantages depending on your transport plans and budget:
Misurina: The Closest Base to the Trailhead
Sitting at the foot of the toll road around Lake Misurina, this small lakeside hamlet is the closest place you can physically sleep to Tre Cime di Lavaredo without staying up on the mountain itself.
Drive Time to Rifugio Auronzo: Around 15 to 20 minutes up the mountain toll road.
Why Stay Here: If catching sunrise at Cadini di Misurina or beating the early toll booth congestion is your priority, Misurina is unbeatable. You can wake up, drive straight to the barrier, and be on the trail before the crowds from further towns even hit the road.
Accommodation Options: Misurina has a handful of historic lakeside hotels (such as Grand Hotel Misurina and Hotel Lavaredo) right on the water. For campers and outdoor lovers, Camping Alla Baita sits nestled in the spruce forest just off the road toward the toll gate, offering scenic camping pitches as well as cozy wooden glamping pods.
Cortina d’Ampezzo
Located southwest of the massif, Cortina d’Ampezzo is the bustling capital of the Ampezzo Dolomites, surrounded by towering peaks and filled with outdoor gear shops, cafes, and restaurants.
Drive Time to Rifugio Auronzo: Around 35 to 45 minutes along the scenic SR48 mountain road via Tre Croci Pass.
Why Stay Here: Cortina is the premier choice for travelers looking for vibrant evening dining, boutique accommodation, and extensive transit connections. If you are exploring without a car, Cortina is the main bus junction where you can catch Dolomiti Bus Line 51 to Lake Misurina and connect directly onto Line 50 climbing to the top.
Accommodation Options: Everything from budget alpine hostels and traditional family run bed and breakfasts to world class luxury spa hotels.
Dobbiaco (Toblach)
Situated on the South Tyrolean side of the mountains in Val Pusteria, Dobbiaco is a charming alpine town that serves as the primary northern access point for the Three Peaks nature park.
Drive Time to Rifugio Auronzo: Around 30 to 40 minutes driving south through the Landro Valley (Valle di Landro).
Why Stay Here: Dobbiaco is arguably the best base for car free travelers coming by train. Dobbiaco railway station connects directly into the South Tyrolean train network, and Shuttle Bus 444 departs straight from outside the station to drop you directly at Rifugio Auronzo in 45 minutes. It is also an ideal launchpad if you want to pair Tre Cime with Lago di Braies (Pragser Wildsee).
Accommodation Options: Dobbiaco boasts an abundance of lodging, from traditional Tyrolean guesthouses and alpine wellness hotels to well equipped holiday apartments and camping resorts.
Support Our Adventures!
Hi there! If you found our guides helpful, please consider using our affiliate links below when booking your next trip. It comes at no extra cost to you, but it helps us keep creating these resources. Thank you so much for your support!
Flights & Hotels: Book your stay with Trip.com
Car Rentals: Find the best rates via Discover Cars
Alltrails: Sign up with vivchow30 here to get 30% off today!
Have a specific question about your upcoming trek? Drop us an email or send a DM to @vivchowvals we’d love to help!
If you’ve enjoyed our content, you can treat us to a ‘virtual’ coffee here.
